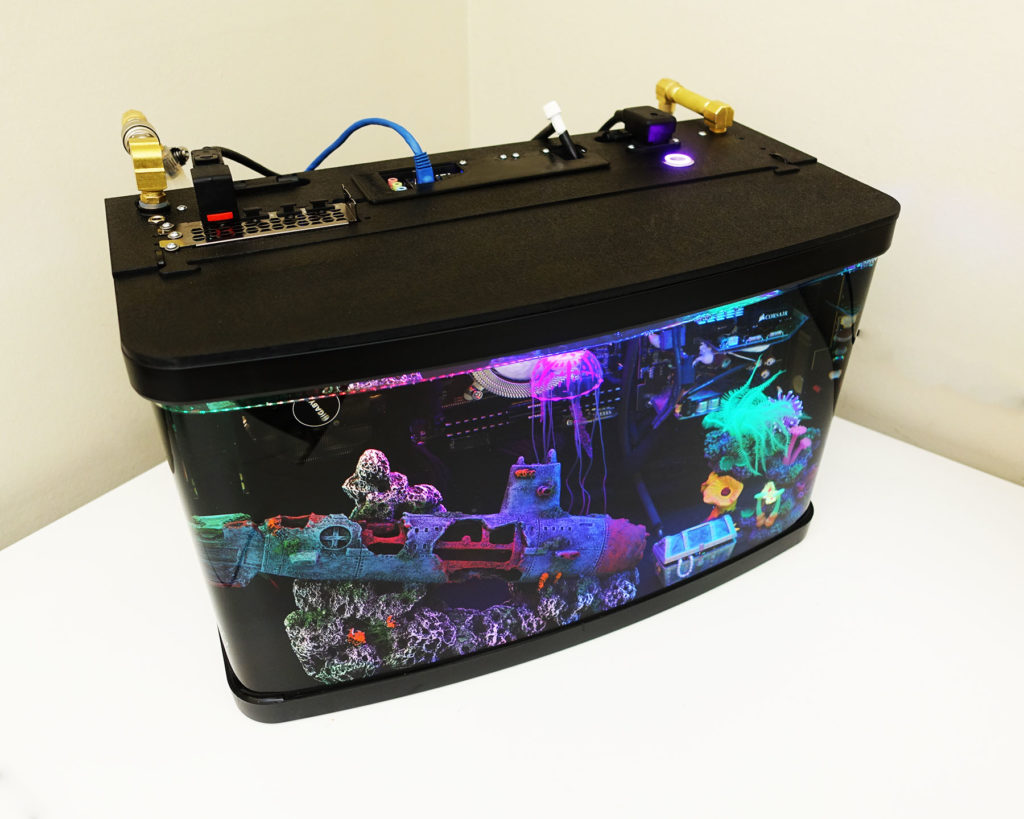
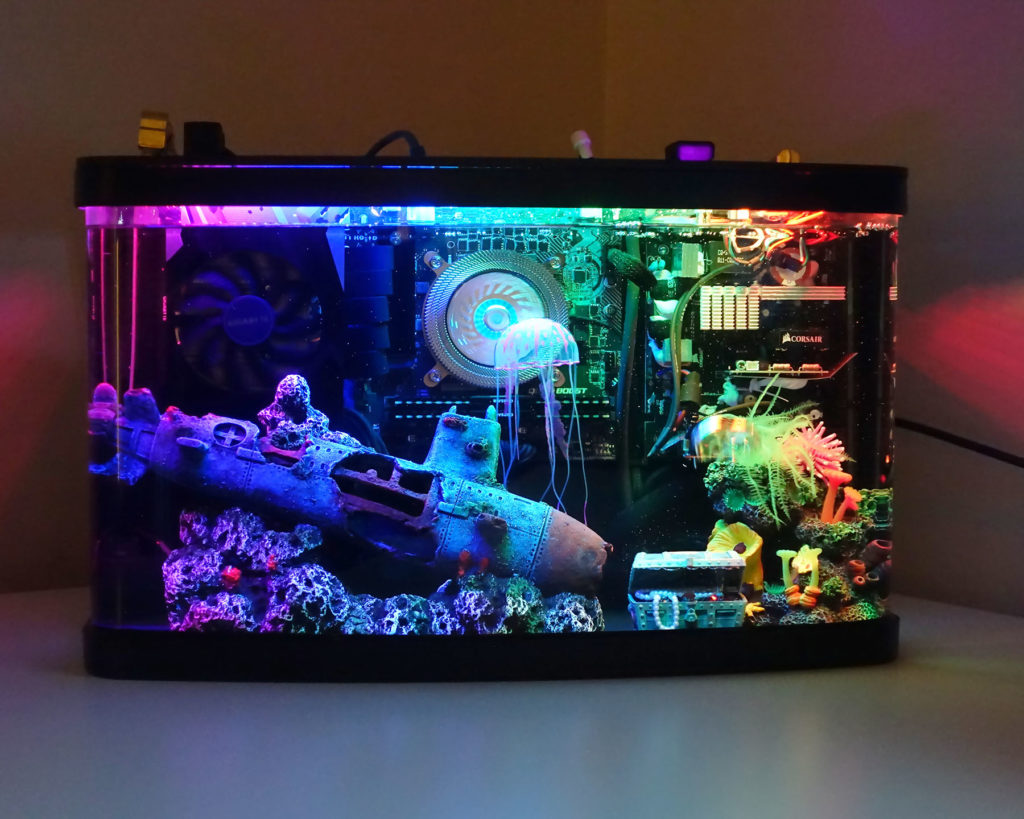
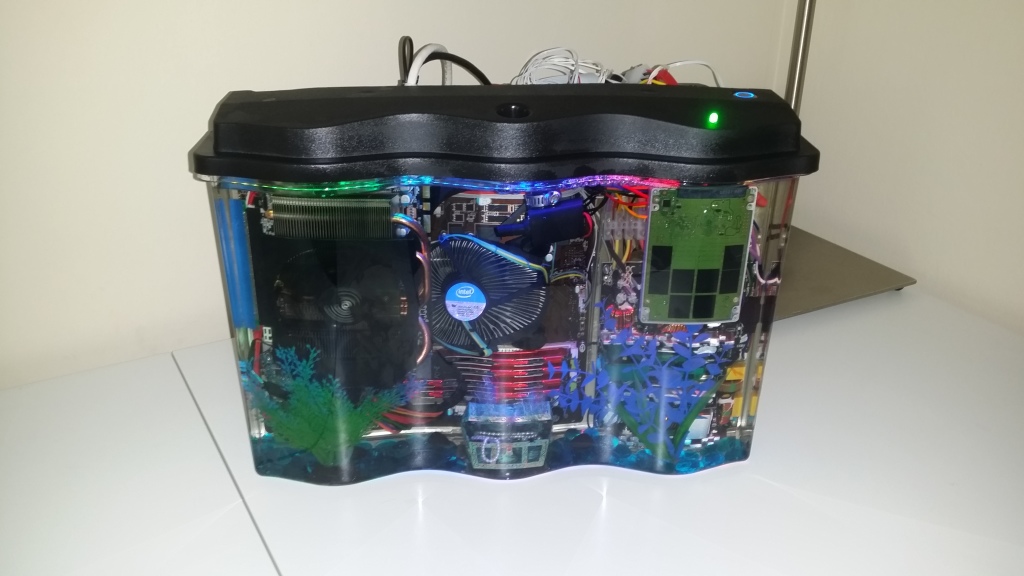
This is a mineral oil submerged computer. Mineral oil is a liquid that looks and behaves like water but does not conduct electricity, hence why it is safe to run electronics inside it. The mineral oil also aids to control the temperature of the entire system, by soaking up and removing heat away from hot components like the CPU.
You might have already seen my first computer, which was also an aquarium computer. Something mighty unfortunate happened to it… This new aquarium computer is built with all the lessons learned from the first. Please continue reading to find out the details
Due to many factors, not much of the old computer could be salvaged. I took the chance to start from scratch with the latest technologies available.
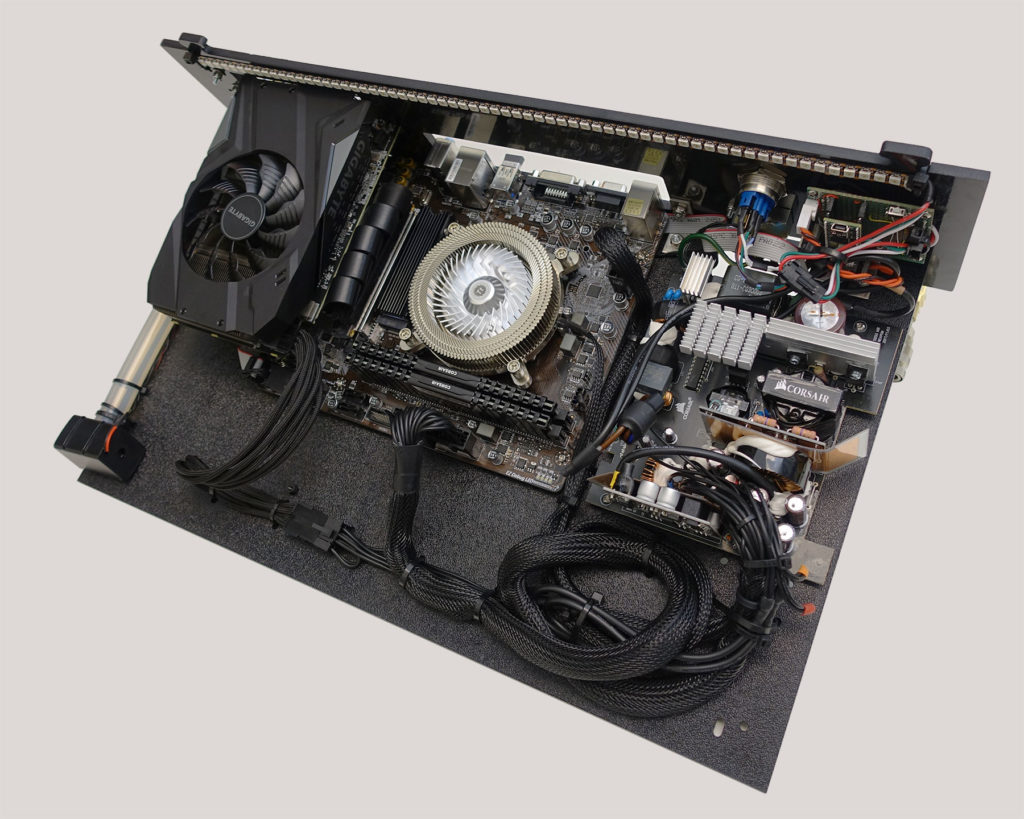
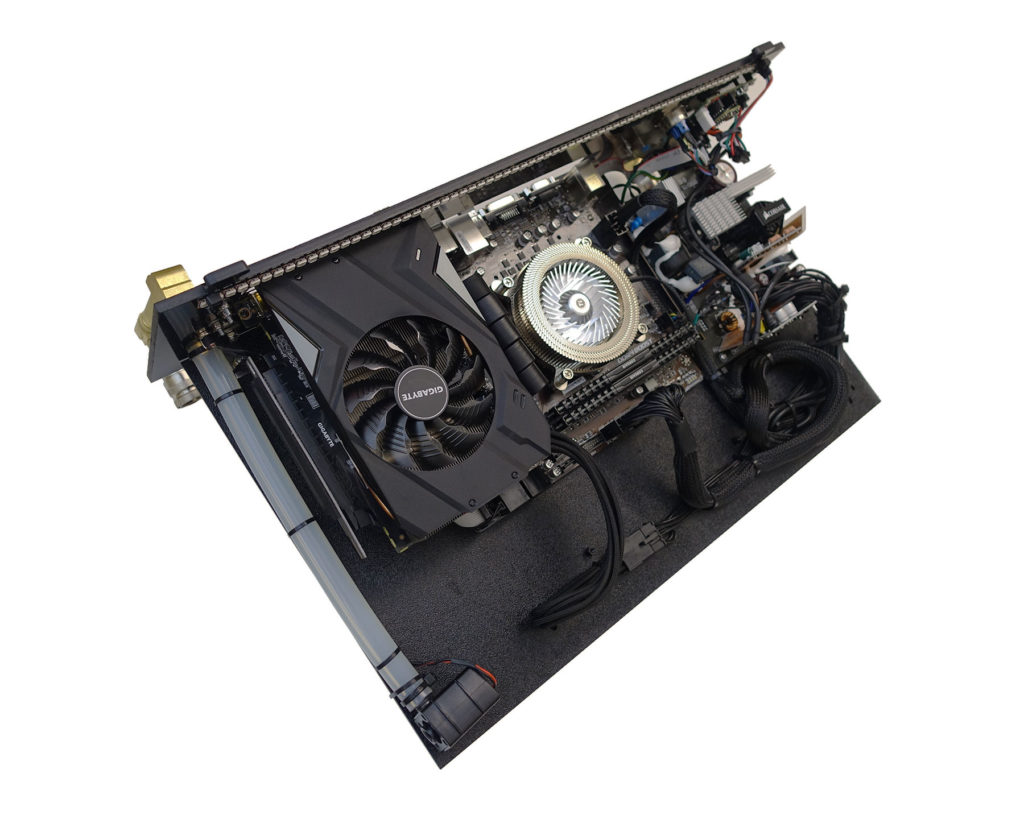
- CPU, upgraded from dual core Sandy Bridge to a 6 core Coffee Lake. With higher clock speeds and still the same 65W TDP as before.
- GPU, upgraded from a Nvidia GTX 970 to a GTX 1660 Ti
- RAM, upgraded from DDR3 to DDR4, 32GB total
- Storage, upgraded from a SATA3 SSD to a Samsung 970 Evo Plus, which uses NVMe on PCIe 3.0
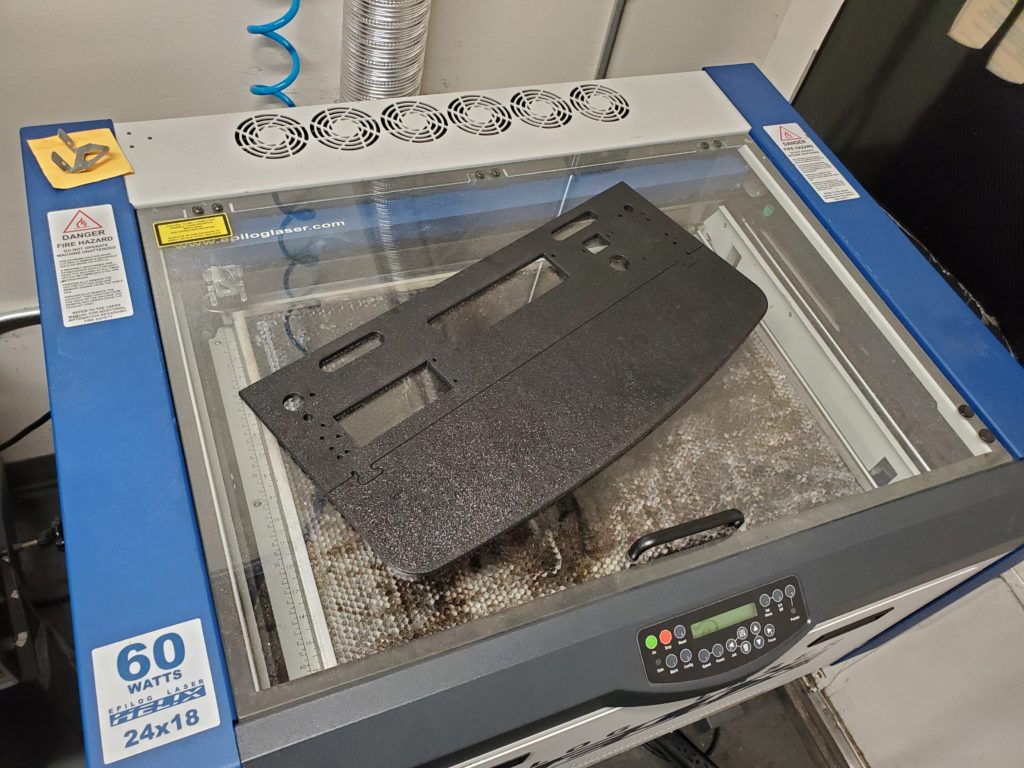
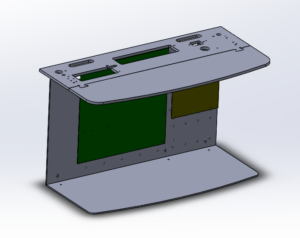
The previous build was done many years ago when I just moved out into my own apartment. Today, I am wiser, having learned many new things, and made many new friends with laser cutters! The frame of the old computer was made with polycarbonate sheets cut by hand, the new frame is made with laser cut ABS sheets.
The new computer also required less soldering done to the PSU. I decided to minimize the soldering since the new bigger tank can fit the original cables that are attached to the PSU. The only solder was done to safely ground a few points on the PSU.
Cooling Performance
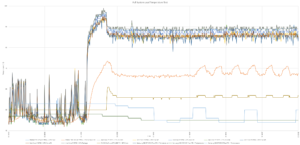
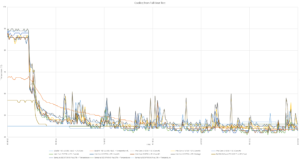
The new cooling system will bring the temperature down from fully-loaded down to idle in less than 2 minutes. See graphs for details.
The Disaster
If you haven’t seen the first old aquarium computer, please see this page
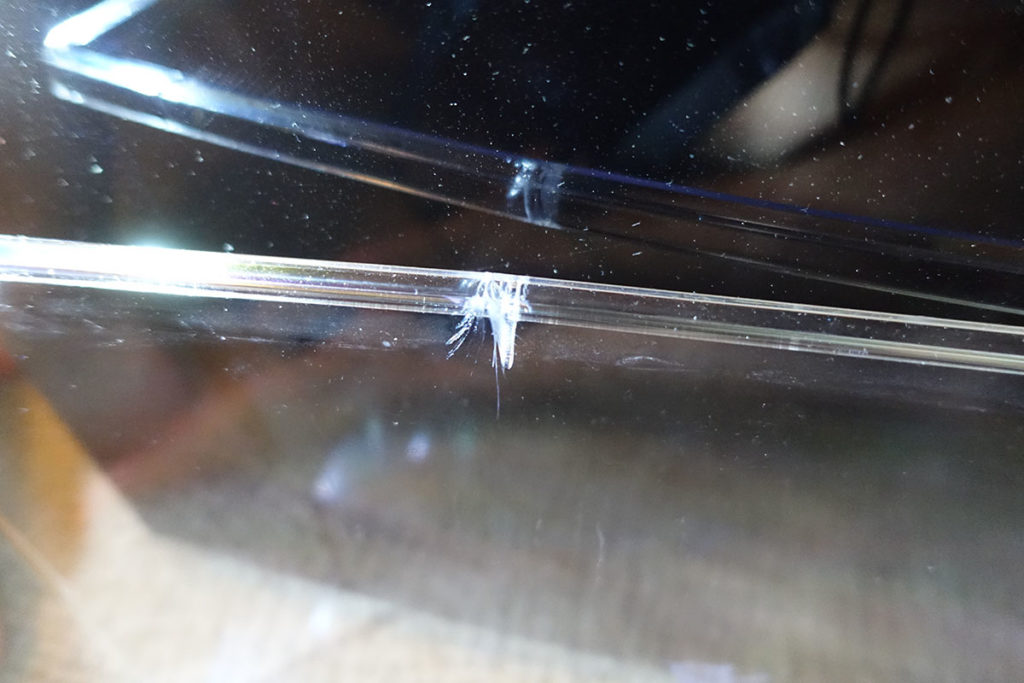
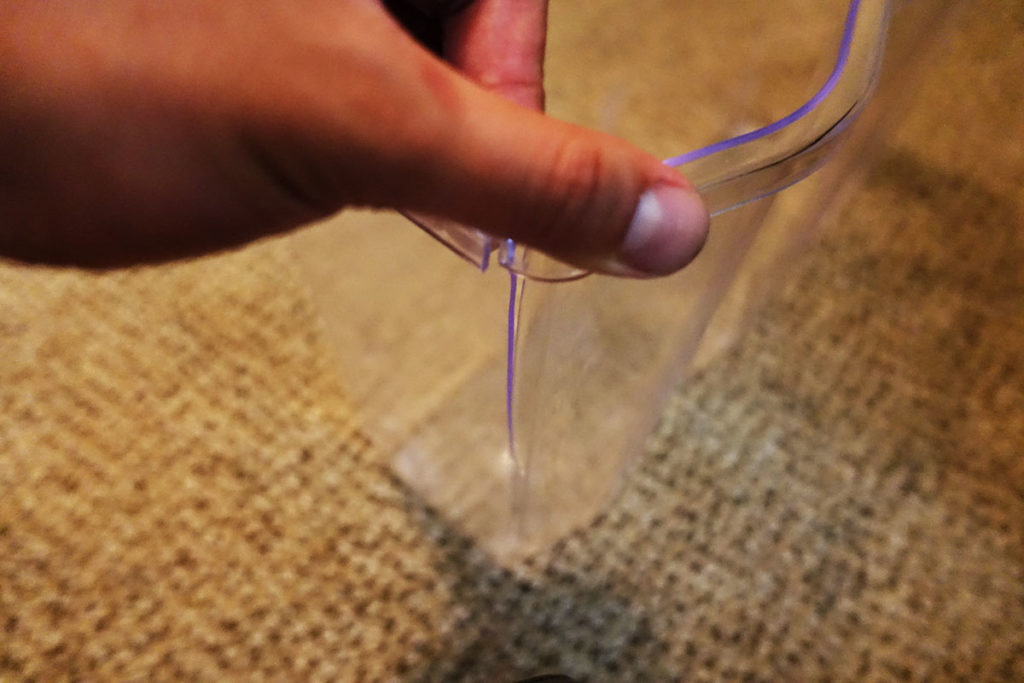
The old computer was built using a 5 gallon acrylic fish tank. Unknown to me, a small crack developed in the back of the tank, and oil was leaking out at a very very slow rate, but enough to require some cleaning of the desk once in a while.
The crack probably happened because of some poor planning of the motherboard mounting plate. While cleaning the oil, I attempted to move the tank, and it caused a much more catastrophic crack where all 5 gallons of oil broke out like a burst dam.
I felt like I just lost a friend, honestly, the closest I’ve come to losing a friend so far. That computer made me more capable as a person, it was both a tool and a canvas. I have accomplished so much with it and those accomplishments led to new friends and allowed me to help the world.
It was also a really nice night-light, the room just didn’t feel as warm without it.
The plastic probably got really weak from the years of thermal cycling. The computer ran very warm, you’ll see why soon. The new computer uses a 8.5 gallon glass tank, with a seamless front. This drove up the cost of the build by an entire magnitude.
#NoFilter
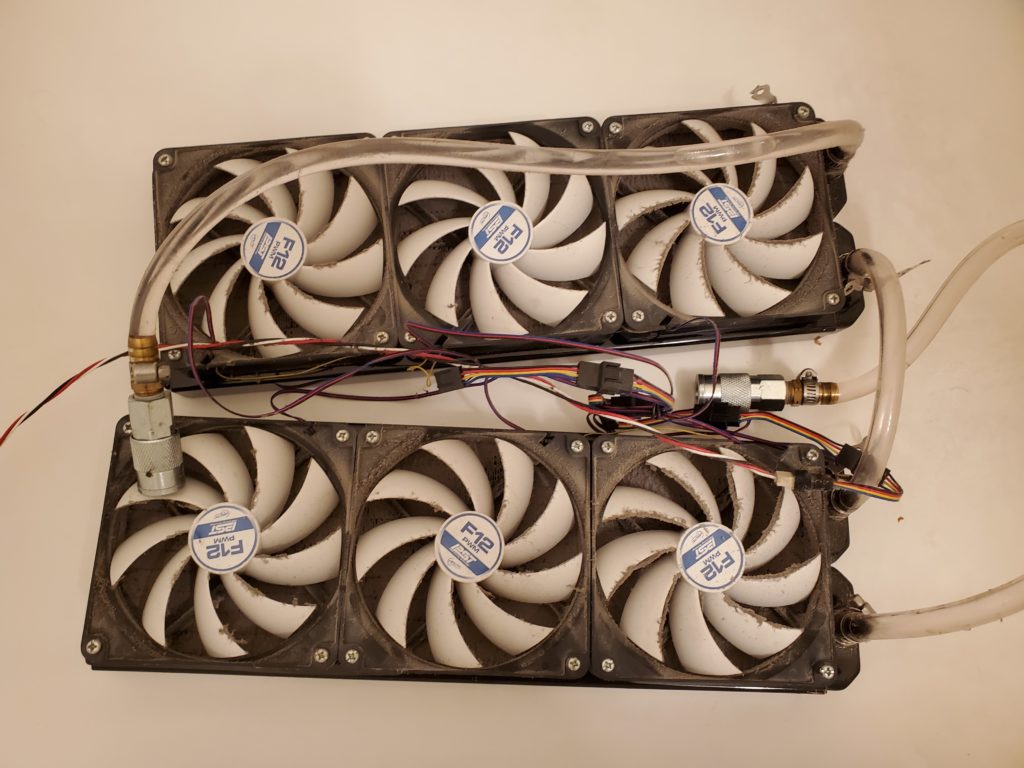
Another major mistake: I had zero PC building experience the first time around and completely neglected dust control… Zoom in on the picture to see how clogged up the radiator fins are.
This is probably why the computer ran very warm. But my over-engineering meant that convection kept the computer always under safe temperature levels.
The old radiators are not worth salvaging, the screws that was provided were sheet metal screws and they were almost impossible to remove. The new computer has a brand new radiator, just a single one with 3x 120mm fans, and a filter.
The new coolant pump is mounted at the bottom of the tank instead of the top. This makes no difference in performance but it makes the build look cleaner, and it helps remove the oil if needed (it can’t remove oil if it’s mounted too high).
Other Lessons
All the PVC coated wires and the vinyl tubing on the old computer became super stiff. I suspect this also contributed to the bubble tube leaking. Having learnt this, the new computer uses silicone tubing everywhere as opposed to vinyl.
I did not bother with all the fancy custom temperature monitoring circuitry I built last time. This time I’m solely relying on the motherboard’s own sensor. Less custom circuity means the new build looks much cleaner.
I originally tried to use a Nvidia GTX 1650 because it was such low power, it didn’t require the 12V cable coming from the PSU. But it didn’t work right… as soon as the Nvidia drivers were loaded, it would go black-screen, making it impossible to boot. I actually suspect that it is a problem with the power availability through the PCIe extender I had to use.
Sprung a Leak
May 27 – 2020: At the beginning of the COVID-19 crisis, I ran this new computer for Folding@Home. It turns out that under sustained maximum load, the mineral oil will reach a dangerous 80°C. This heat warped the ABS cover slightly, which is not a big problem. A leak begin to happen after this incident, and it was hard to locate. It turns out, the radiator had expanded due to the high temperature and some of the plugs had become loose. A contributing factor is that the fitting threads on the radiator itself is not truly NPT, and thus, not tapered.
Awesome iteration!
this looks great and i would love to build one some day. kudos.
Really interesting and fTW, you can get a far more robust radiator and fan (12v) for a small car. I suspect that fan could be run much slower as well to cut down on the noise.
Don
I am surprised that you don’t have issues with the fans on the cards inside the tank when they deal with the higher viscosity of the oil. They look like they are running at a max of 10% WAG?
The only thing I would add is a few very colourfull plastic fish attached to the bottom to bob a bit in the currents. Then would be PERFECT!.
Dave
Just curious how much would something like this cost just an average build.