Monthly Archives: October 2014

FrSky X4R-SB Smart Port hack and Naze32

Continuing from my previous FrSky X4R-SB hack (read for some context), I really wanted Smart Port telemetry to work with Naze32. I forked the original baseflight firmware and added two key new functionalities:

  • implemented the Smart Port telemetry protocol
  • GPS can be assigned to any serial port (as opposed to only one port)
    • this is important because we are running out of ports
    • I made it possible for GPS to be connected to software/bitbang serial, to free up a hardware UART

please read my fork’s wiki, at this time, I can only test with my limited hardware, more help testing/coding would be appreciated.

Update 10/26/2014: I was asked to make the same contribution to Cleanflight, which I have done today.

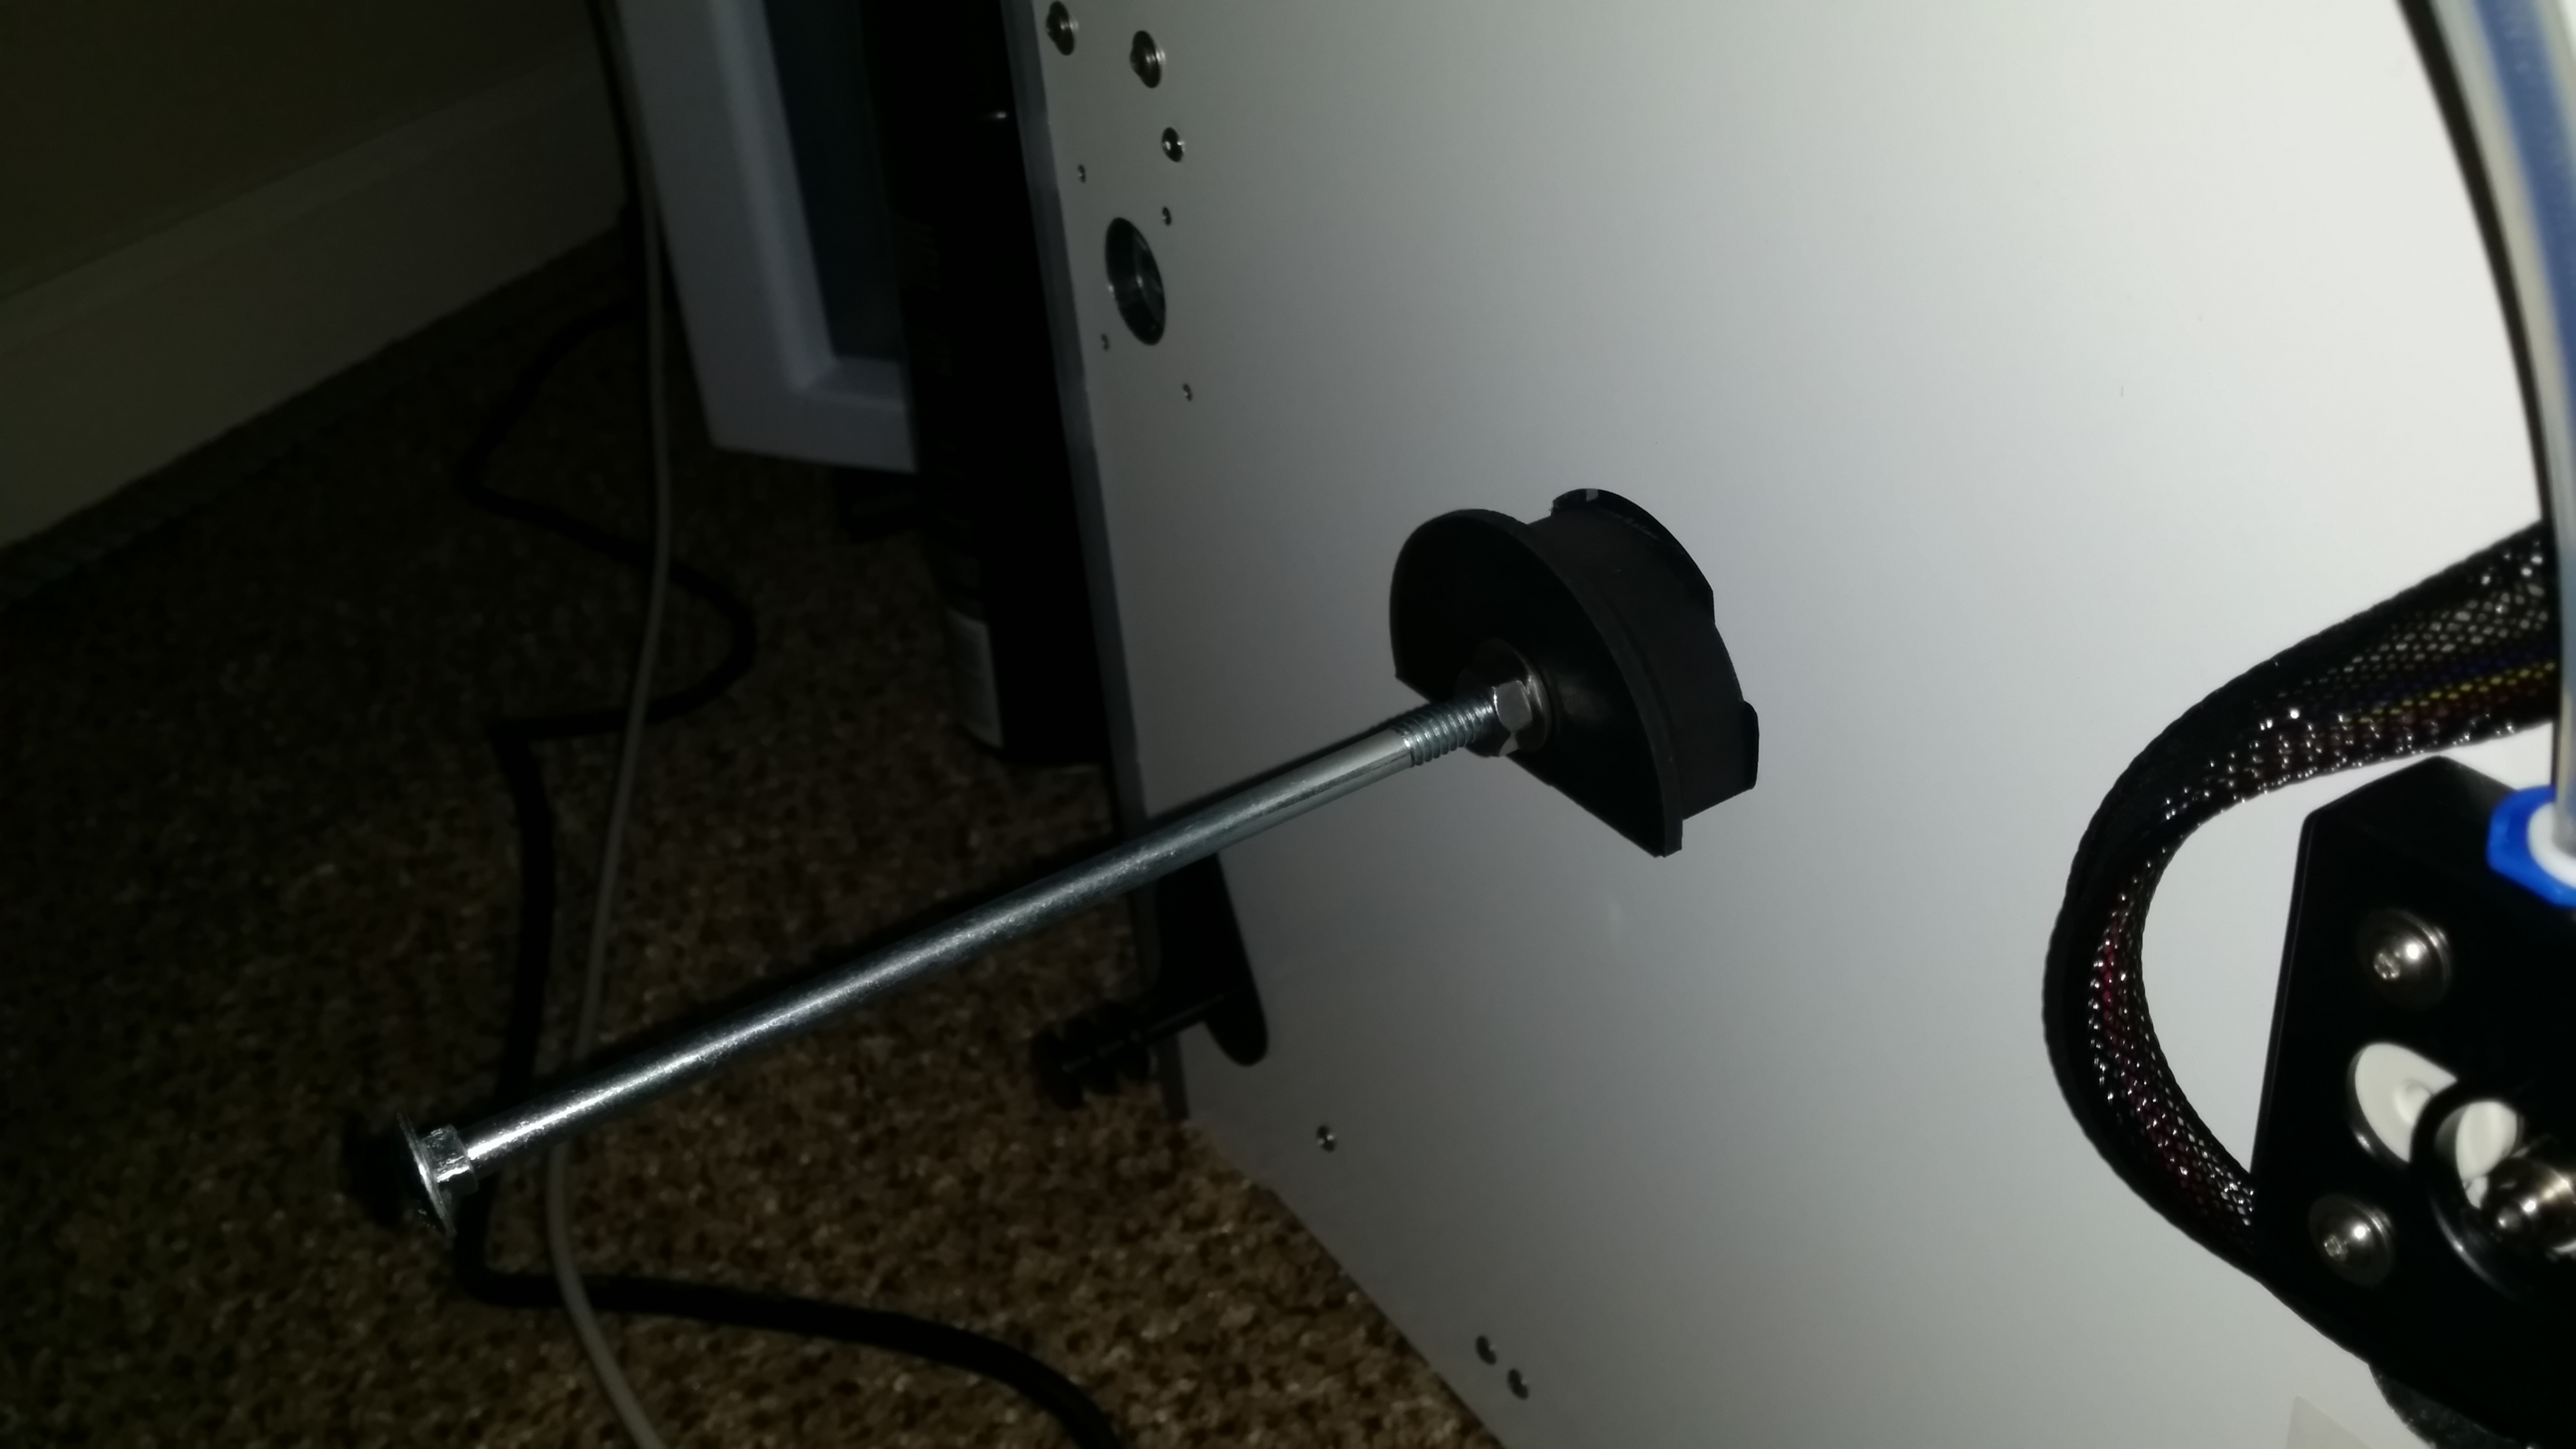
The new forked firmware requires a circuit modification on both the X4R-SB and Naze32, see pictures: Continue reading

FrSky X4R-SB S.BUS anti-invert hack

I am building a quadcopter using a FrSky Taranis X9D radio. It came with a FrSky X8R receiver. I wanted to keep my wiring clean by using the S.BUS feature on the FrSky receivers, I purchased a smaller FrSky X4R-SB receiver. The X8R has 8 PWM channel pins and the X4R-SB has 3 PWM channel pins, but if I use S.BUS (which is serial, not PWM), I can access 16 channels using only 1 pin, on both X8R and X4R-SB. The X4R-SB is much smaller, making it more ideal. (do not confuse the X4R-SB with the D4R-II, this is important, D4R-II uses CPPM, not S.BUS)

(update 10/25/2014: a follow up hack for Smart Port)

I want to use a Naze32 flight controller, which is open source and does have code to interpret S.BUS protocol. S.BUS is UART communication but it is inverted and the Naze32’s UART cannot accept inverted input. Continue reading

3D Printed Raspberry Pi Case + Camera Case + Server

There is a law of the universe which states that if you own a Raspberry Pi and a 3D printer, you must print a case for it.

3d_trans20141018_193540 (Large)20141018_193504 (Large)20141018_193521 (Large)20141018_193530 (Large)3d_exp_bot3d_exp_top20141018_005438 (Large)20141018_005336 (Large)3d.fw

There are plenty of case designs for the original R-Pi Model B, and some for the R-Pi Model B+, but there are a few minor annoyances I noticed about them. Plus I really like DIY my own designs, so I designed my own case to suit my own needs.

  • Designed specifically for 3D printing, meaning careful attention to how plastic is extruded, no weak spots, and no overhangs. Plenty of fillets and chamfers.
  • No screws required. The case is held together using latches that take advantage of the plastic’s natural flexibility. It is designed for just sitting on a desk, or attached via velcro/double-sided-tape.
  • I also designed a small case for the camera, which follows the same principles.

These parts are because I am going to set up a web server for my 3D printer, running OctoPrint and also serving live video through the camera. I also setup a cron job to take a picture periodically and upload it to this server. I can also stream video to my Ustream channel. (neither of these servers are 24/7)

I am sharing all of the source files for the models, not just STL files. It is very annoying when people only share STL files, because STL are not import or editing friendly. With my SLDPRT file, you can change one height dimension inside and it will re-adjust the entire case, maybe if you need more clearance on the bottom for screws.

files for R-Pi case

files for camera case

Ultimaker2 Improved Filament Feeder

The Ultimaker2 3D printer has a problematic filament feeder mechanism assembly. When the filament is stuck and the feeder motor turns, it can grind away the filament, causing a gouge in the filament. The gouge makes the problem worse since the tensioner bearing will force the gouge into the feeder’s knurled wheel more, causing even more grinding. This jam happens frequently because sometimes even if the temperature sensor reports that the print head hot end has heated up, the plastic hasn’t melted yet and can’t move yet.

The Ultimaker2’s feeder design is both beautiful and disappointing. It is beautiful in the sense that is is symmetrical and compact. If you had a dual extruder, you can use the same feeder mechanism for both feeders, cutting down on manufacturing costs. But it is impossible to disassemble without removing the stepper motor because the same 4 screws that holds the feeder together also holds the stepper motor in place. If you attempt to open the feeder mechanism to clear a jam, the motor will fall off. The motor is also covered by a metal casing so you need to remove the casing as well. This is very annoying.

There is no other way to move the tensioner bearing because the design is so compact and the spring is tight. There is no other way to remove the feed tube either.

What I needed was a feeder mechanism that can be opened up without removing the stepper motor, and also allow the tensioner bearing to be moved out of the way easily. I came up with the following design:


3dscreenshot23dscreenshot13dscreenshot3

Continue reading