I spend my Saturdays volunteering at a public library makerspace, the South San Francisco Public Library. I help people operate a few 3D printers, a CNC mill, vinyl cutter, etc. While preparing for my annual RoboGames entry, I thought it’d be cool to teach the library’s patrons about robotics.
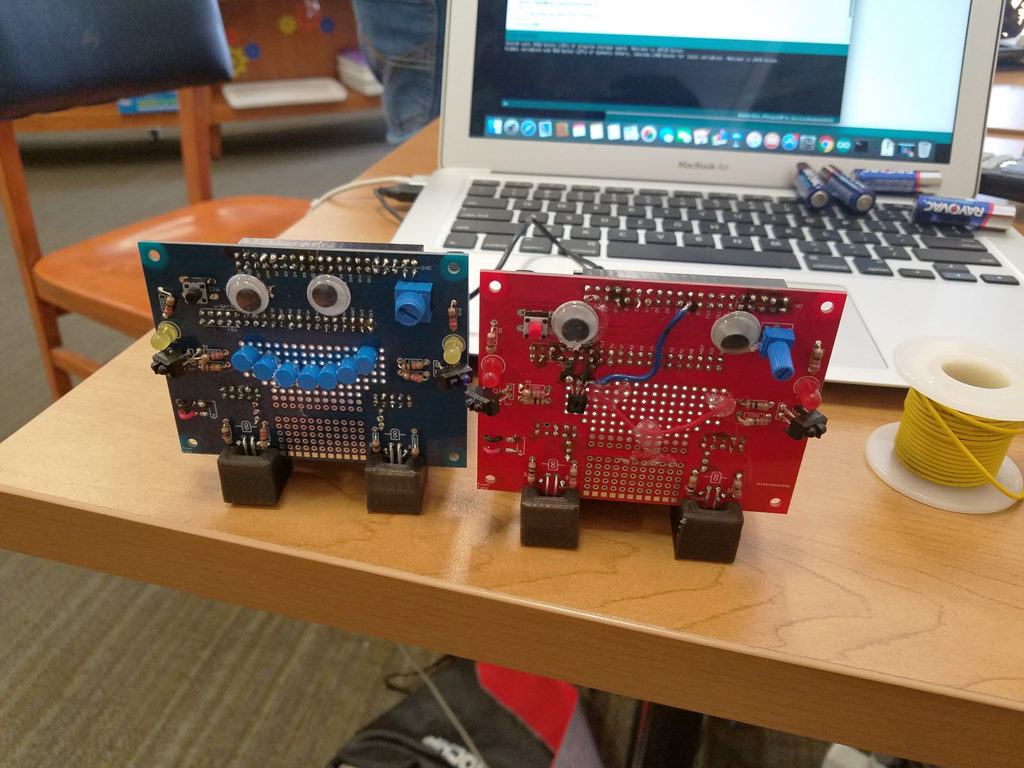
I designed a robot kit, partly 3D printed, with electronics that has to be soldered, and running with an Arduino Nano. The three classes are for 3D CAD modelling, soldering, and programming.
The robots are designed to be cheap enough for the library to actually give away. All of my courseware is open source, hosted on GitHub. A lot of the tools and parts were donated by people I know in my professional circles.
Here’s a link to the class content: click here
This blog post is about what I observed, what I did right, what I did wrong.
Day 1 – July 7 2018
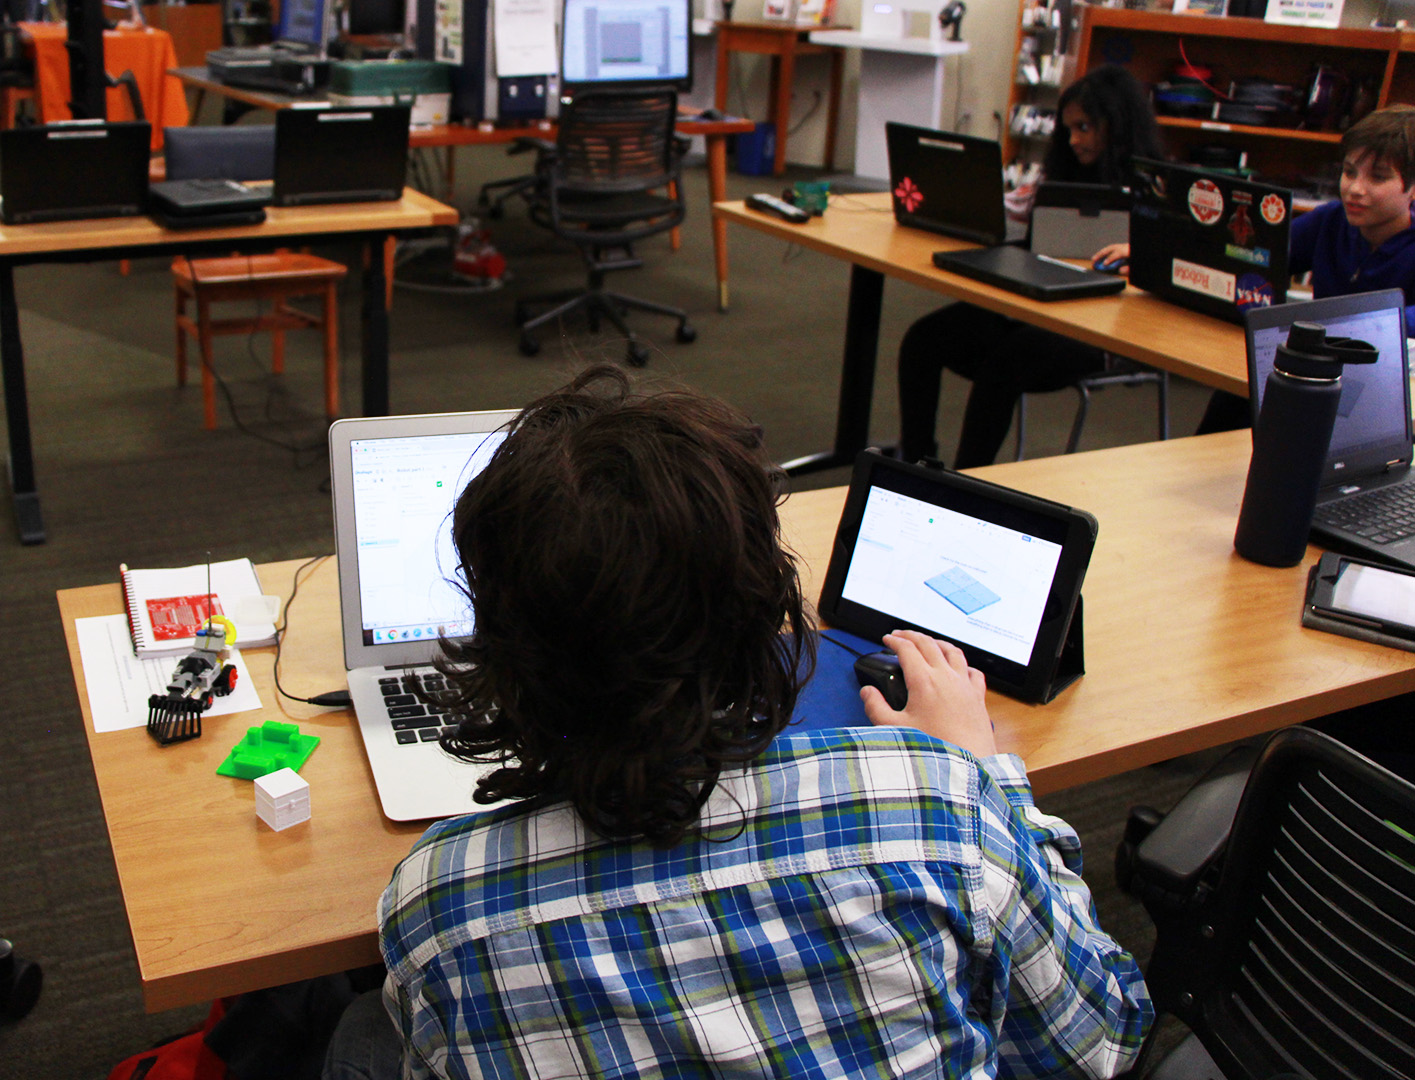
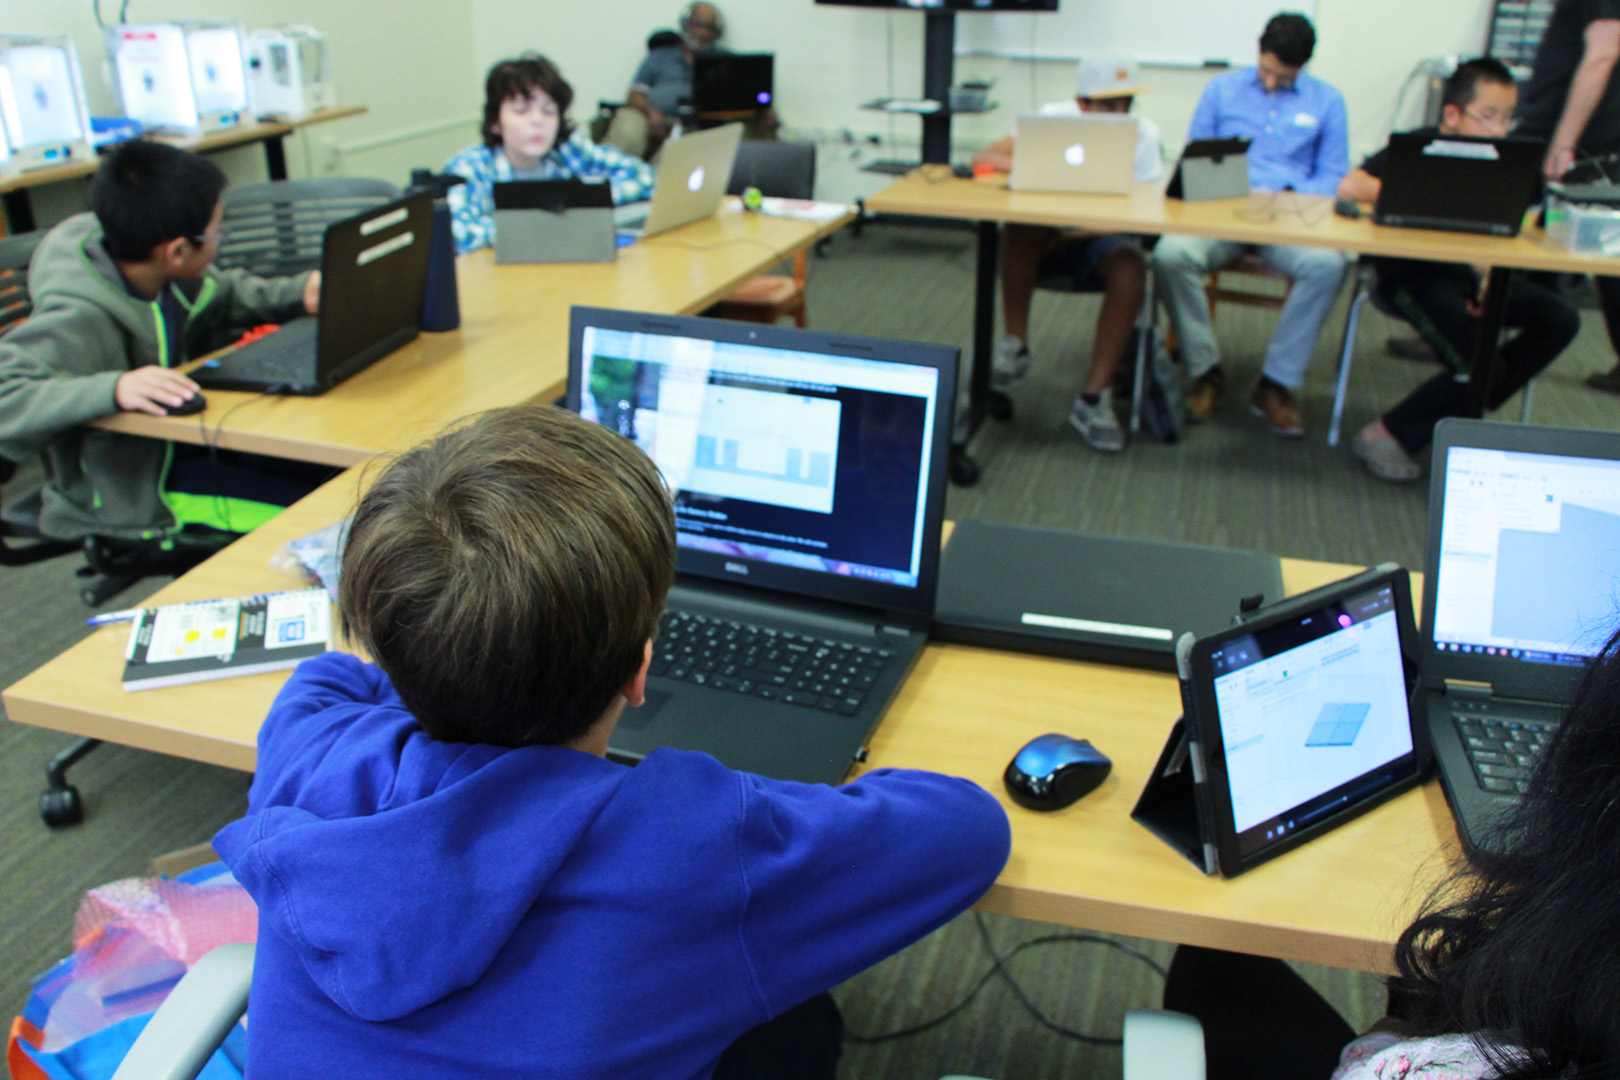
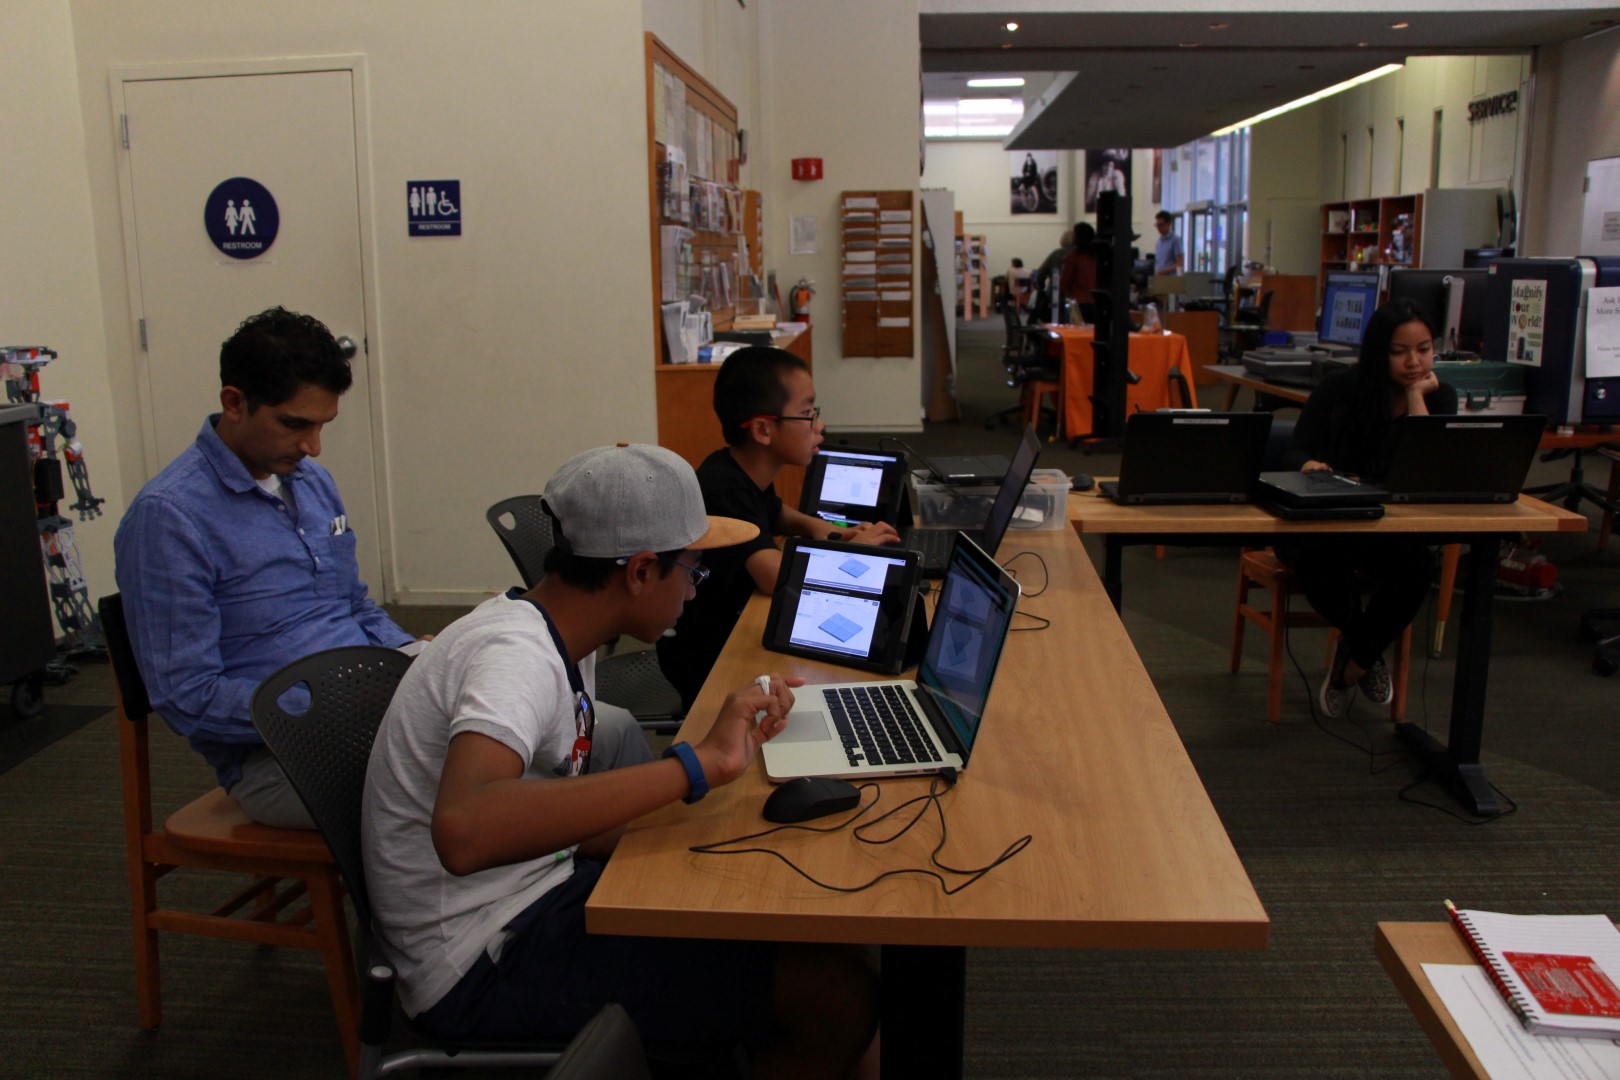
Today is the 3D modelling class!
For reference, all the class material used on this date is git hash 31871E2325BAFFEC8535DCAC8AB0131F2227401C. Use this to see what improvements were made to the class content after this date. Click Here to see this particular lesson’s page.

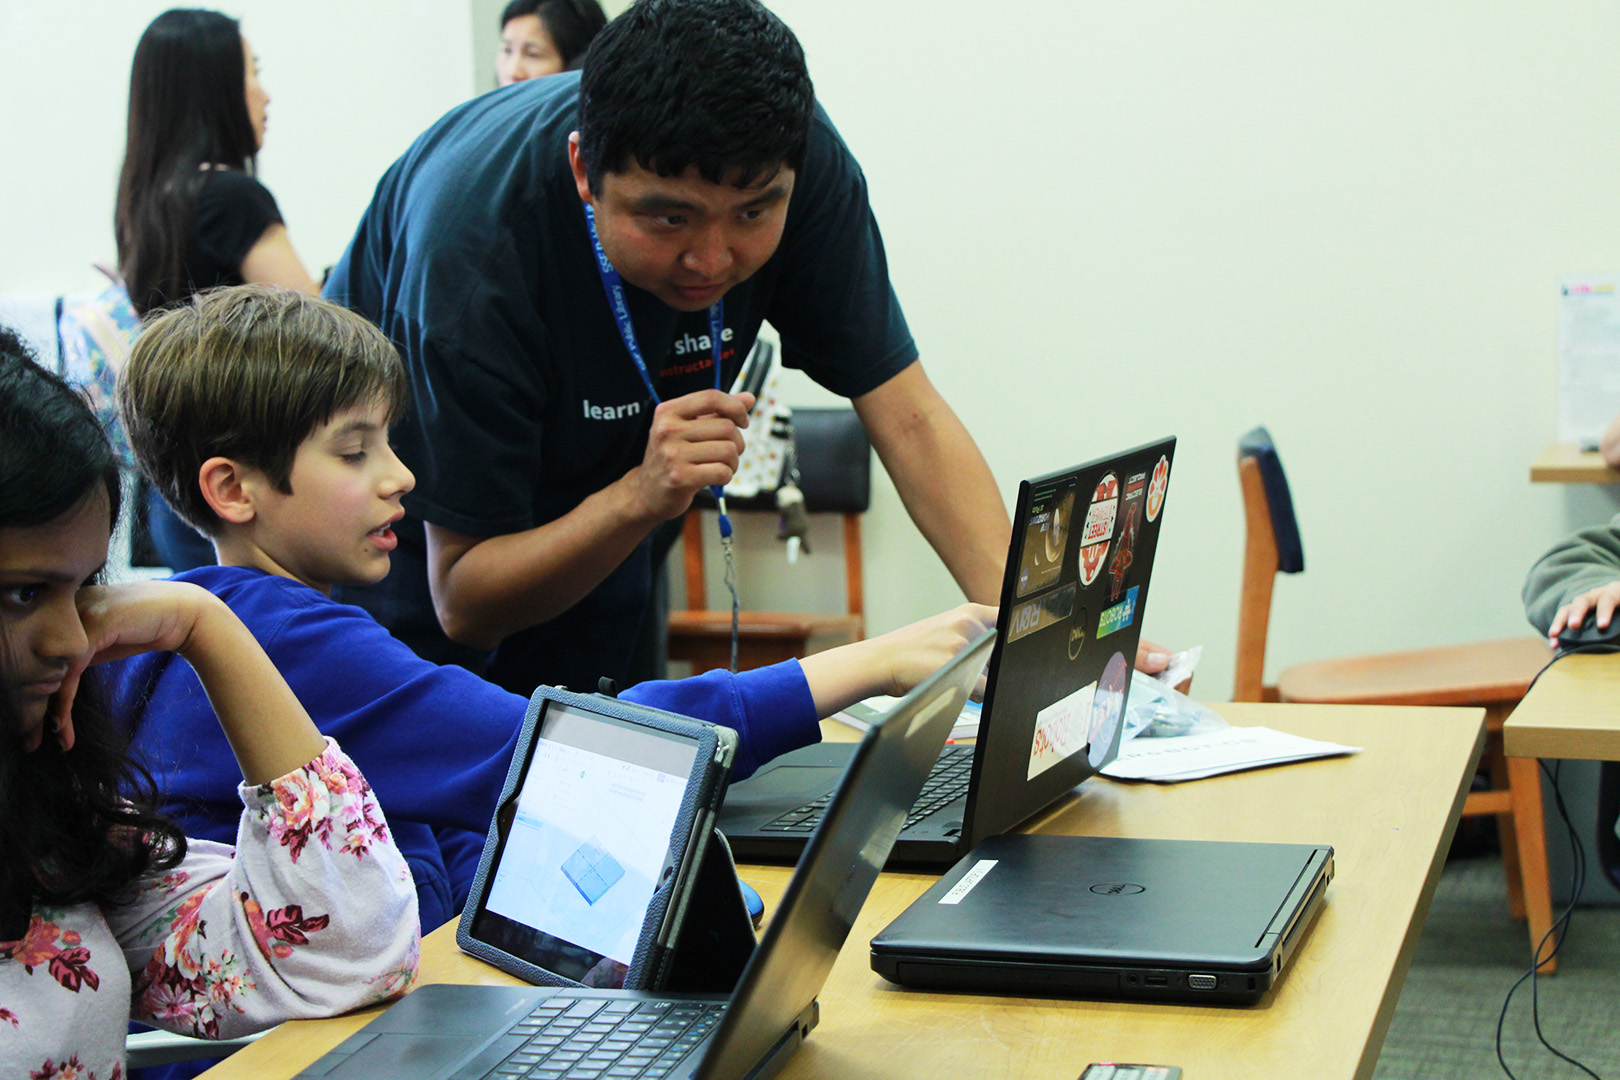

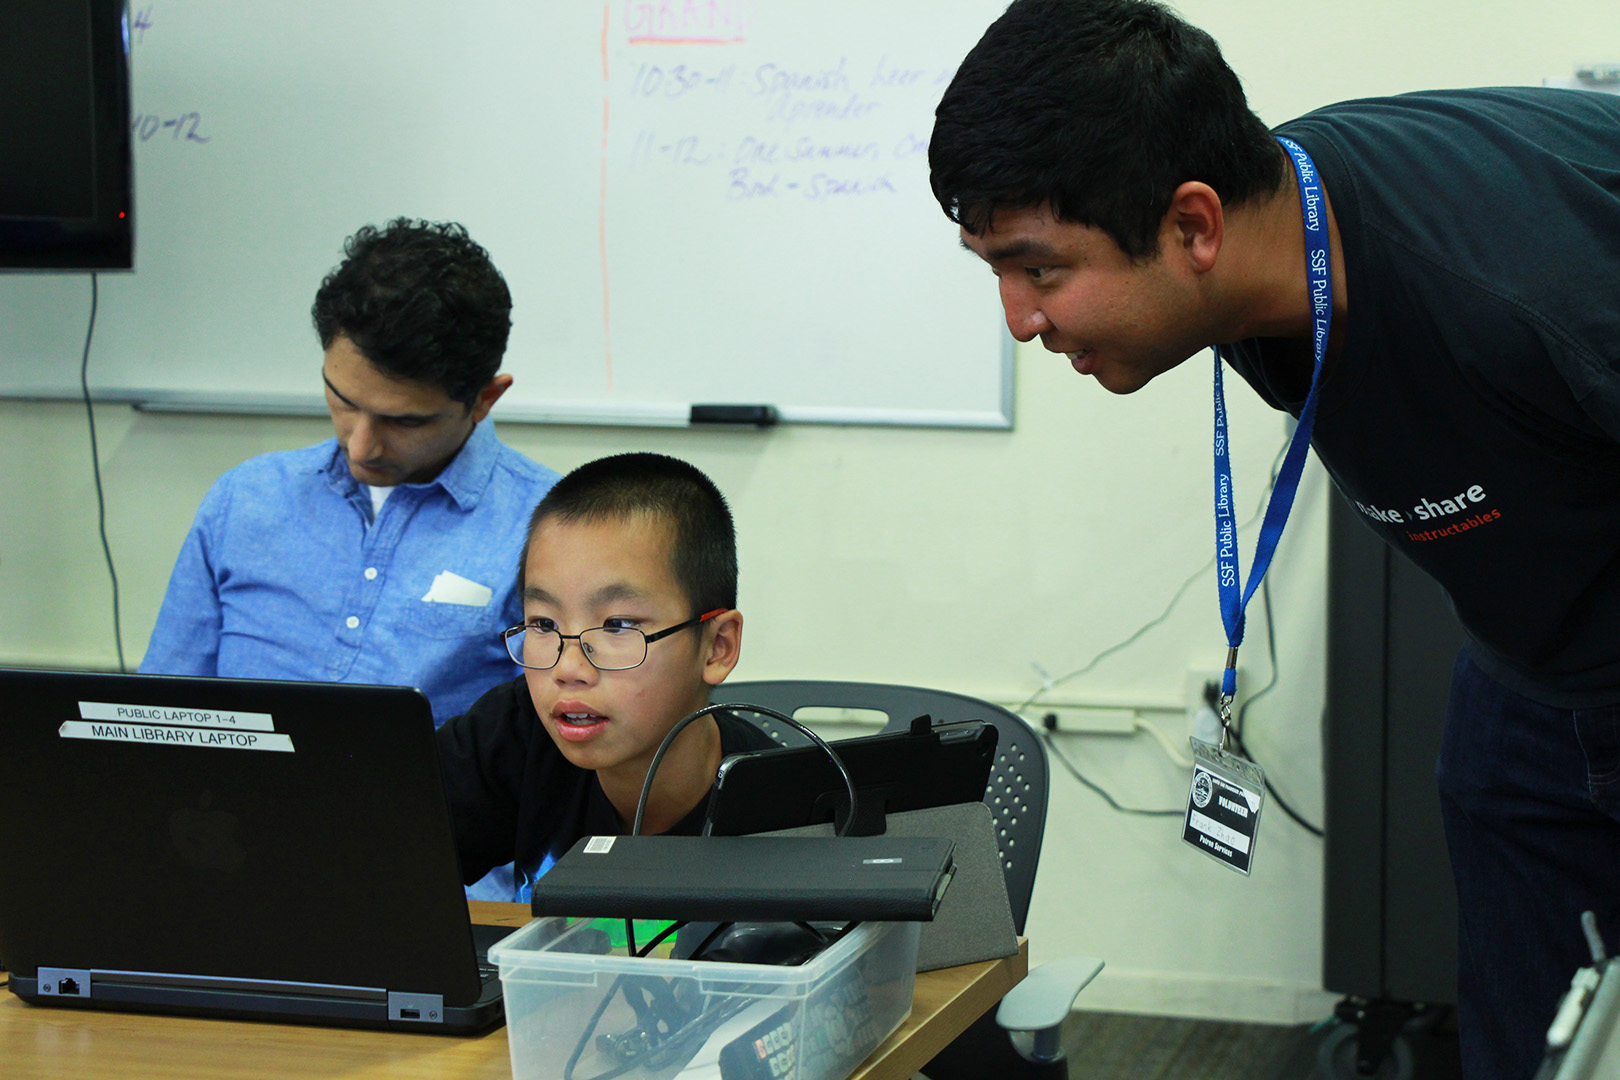

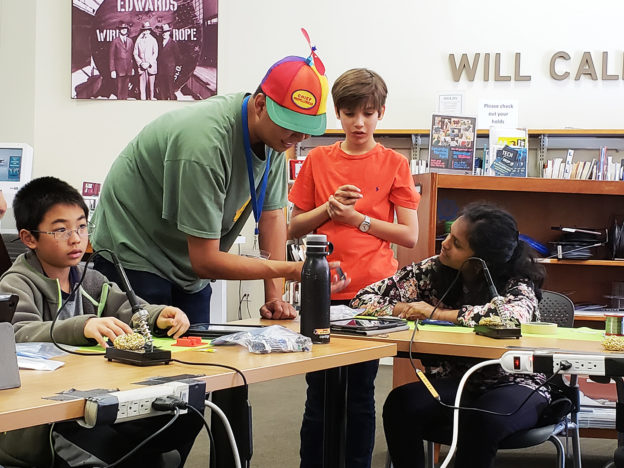
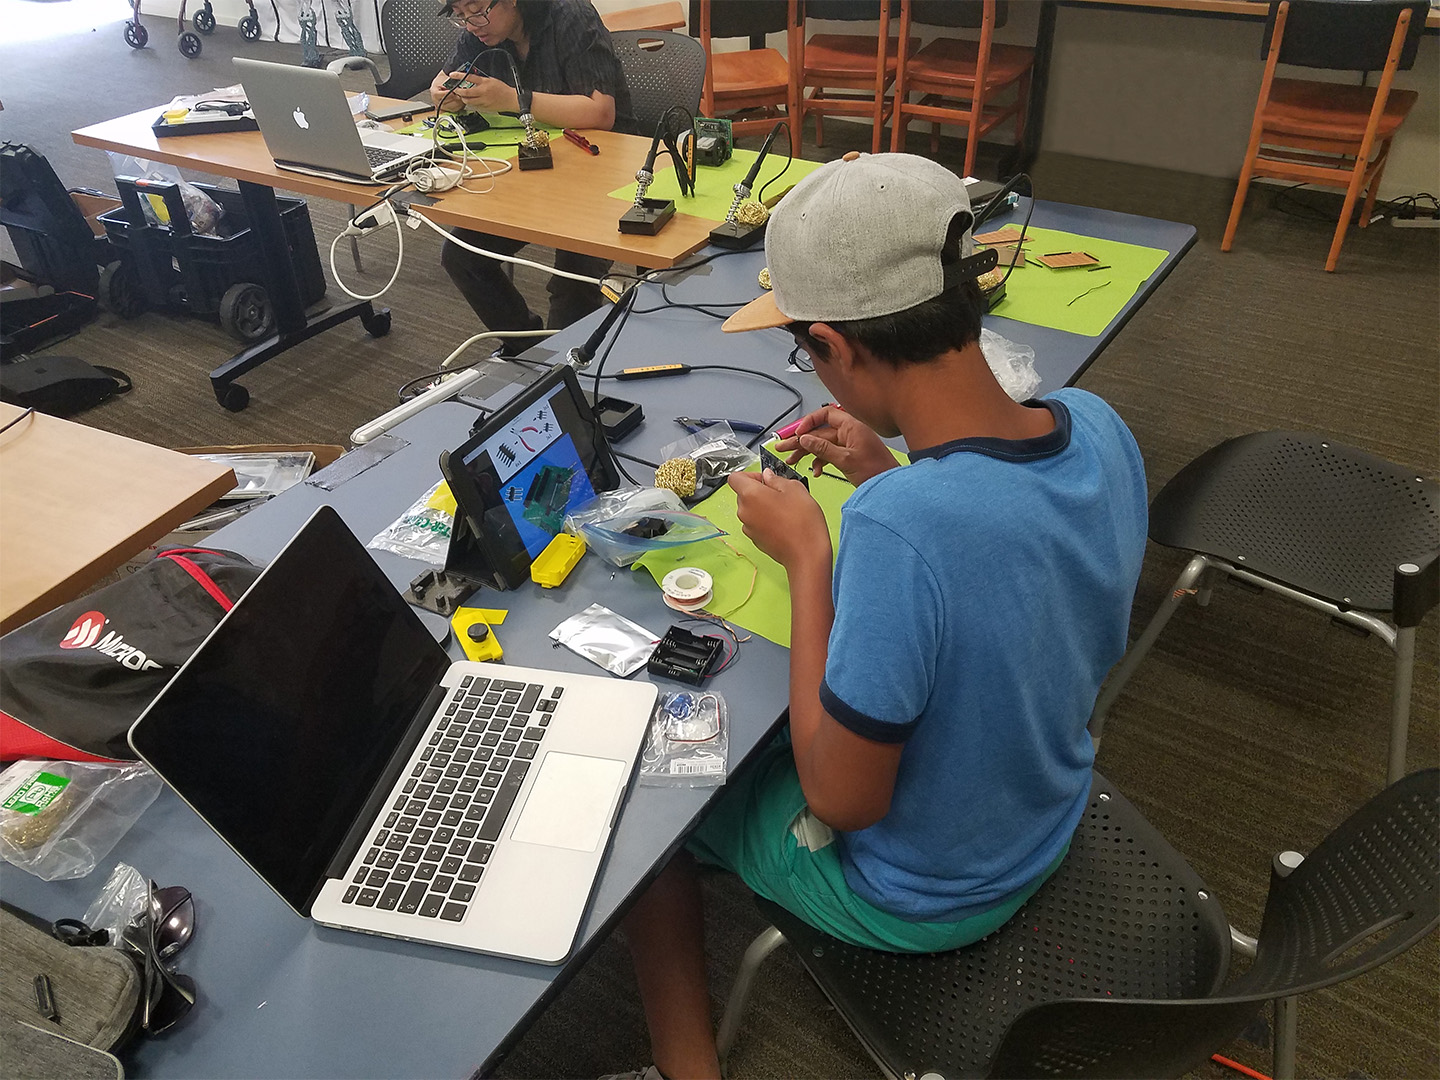
Day 2 – July 14 2018
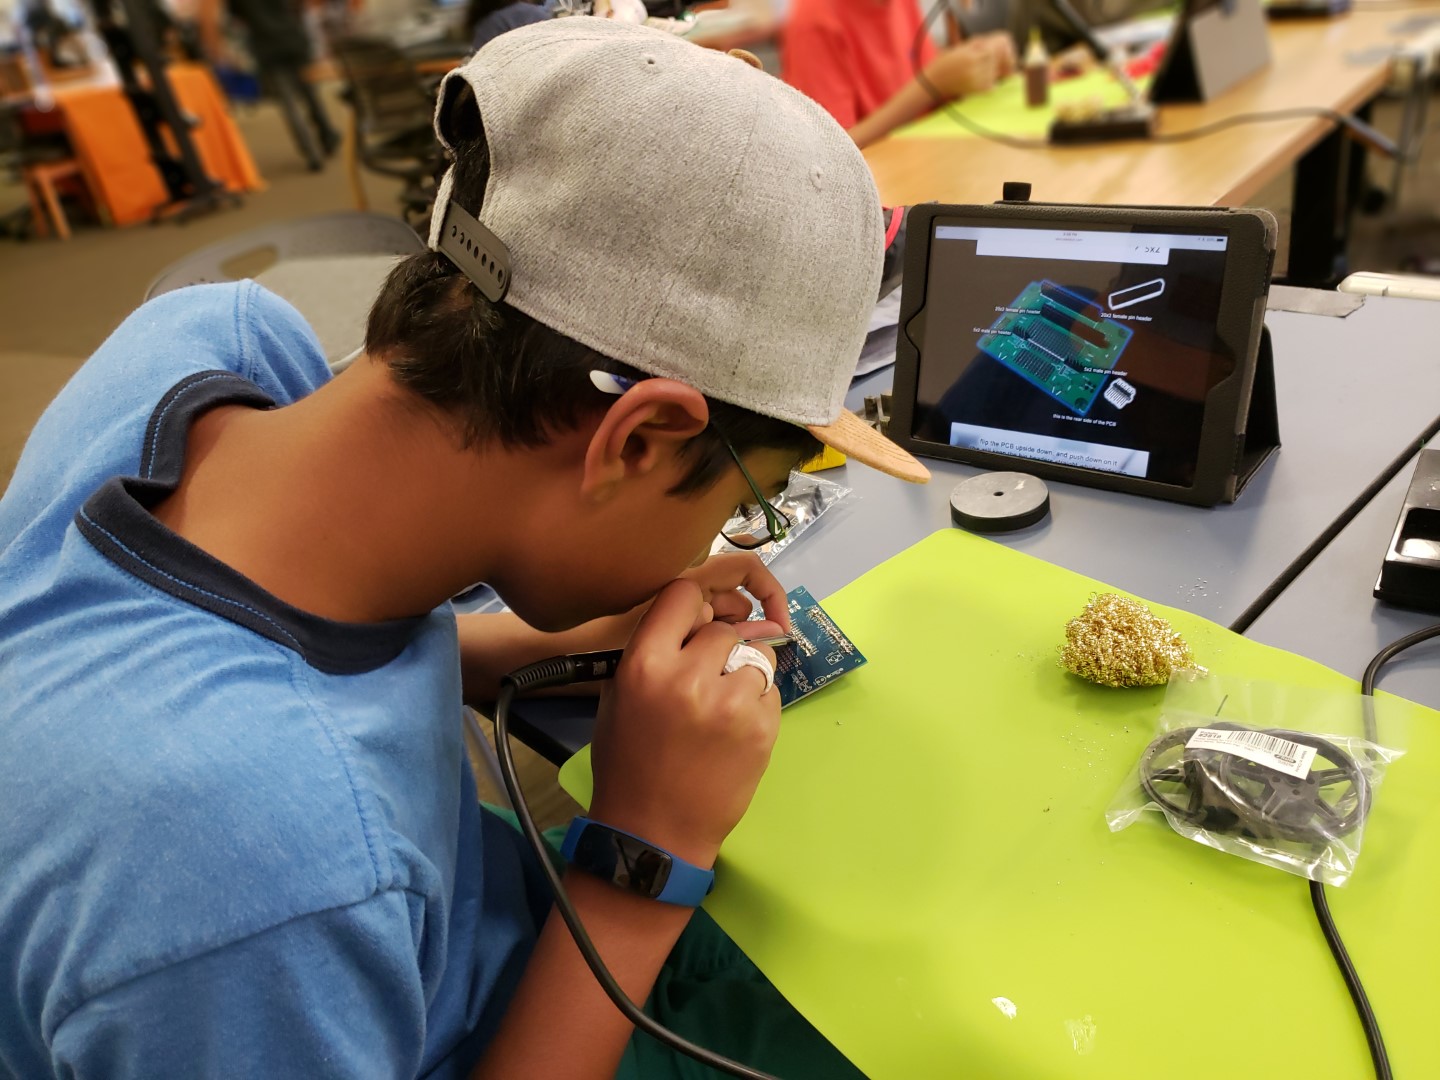
Today is the soldering and assembly class! (git hash f58d4a93e65082035128776576f01747e5ea00f0)
Click Here to see this particular lesson’s page.

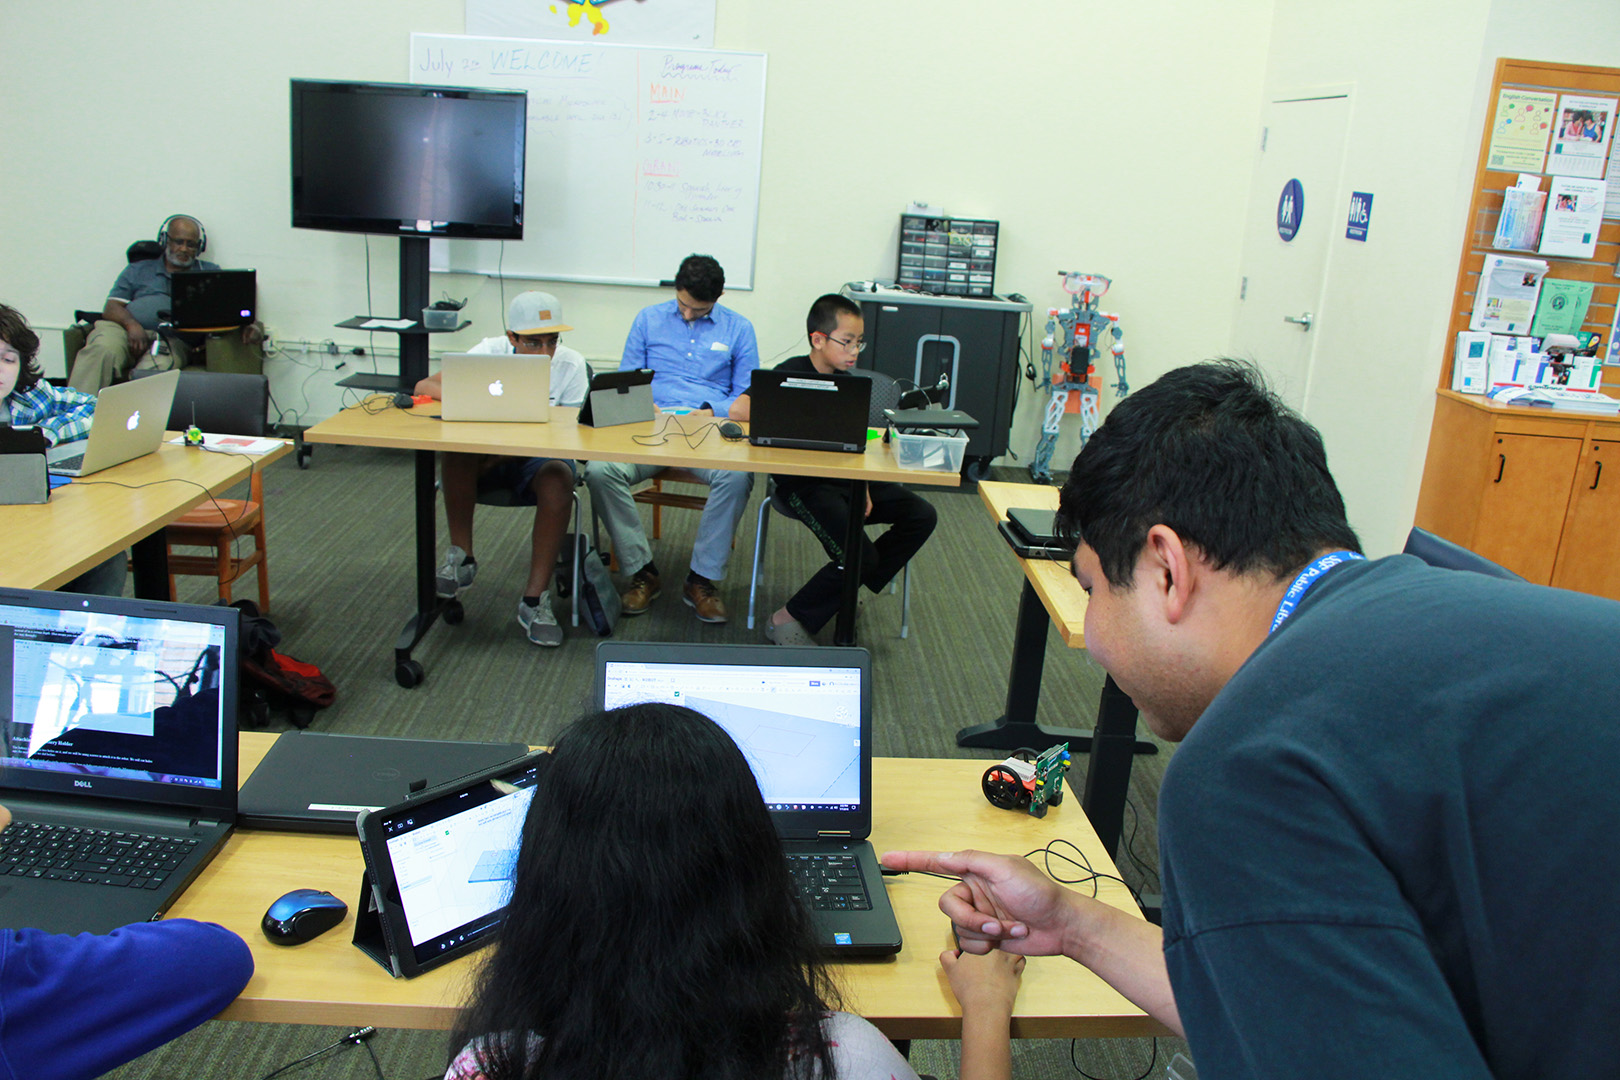
I started setup efforts around 1:30PM, the kids started showing up at around 2PM, and helped me setup. You can tell they were excited to be back. They got started when I was mostly setup and the tools were out. The class had to end at 4:30PM for cleanup.
Although I sent out emails saying there might be extra slots, no extra people showed up. Most of the same attendees from the last class showed up today, with a new additional adult.
While the original class size was capped at 10, it was clear that I was having difficulty keeping up with 5. I actually got overwhelmed enough to deny one “walk-in”, but they didn’t complain, that kid was too young and they knew it. Basically, this event cannot be as much of a “future engineer factory” with just one instructor. (even clean-up alone took slightly more than 30 minutes)
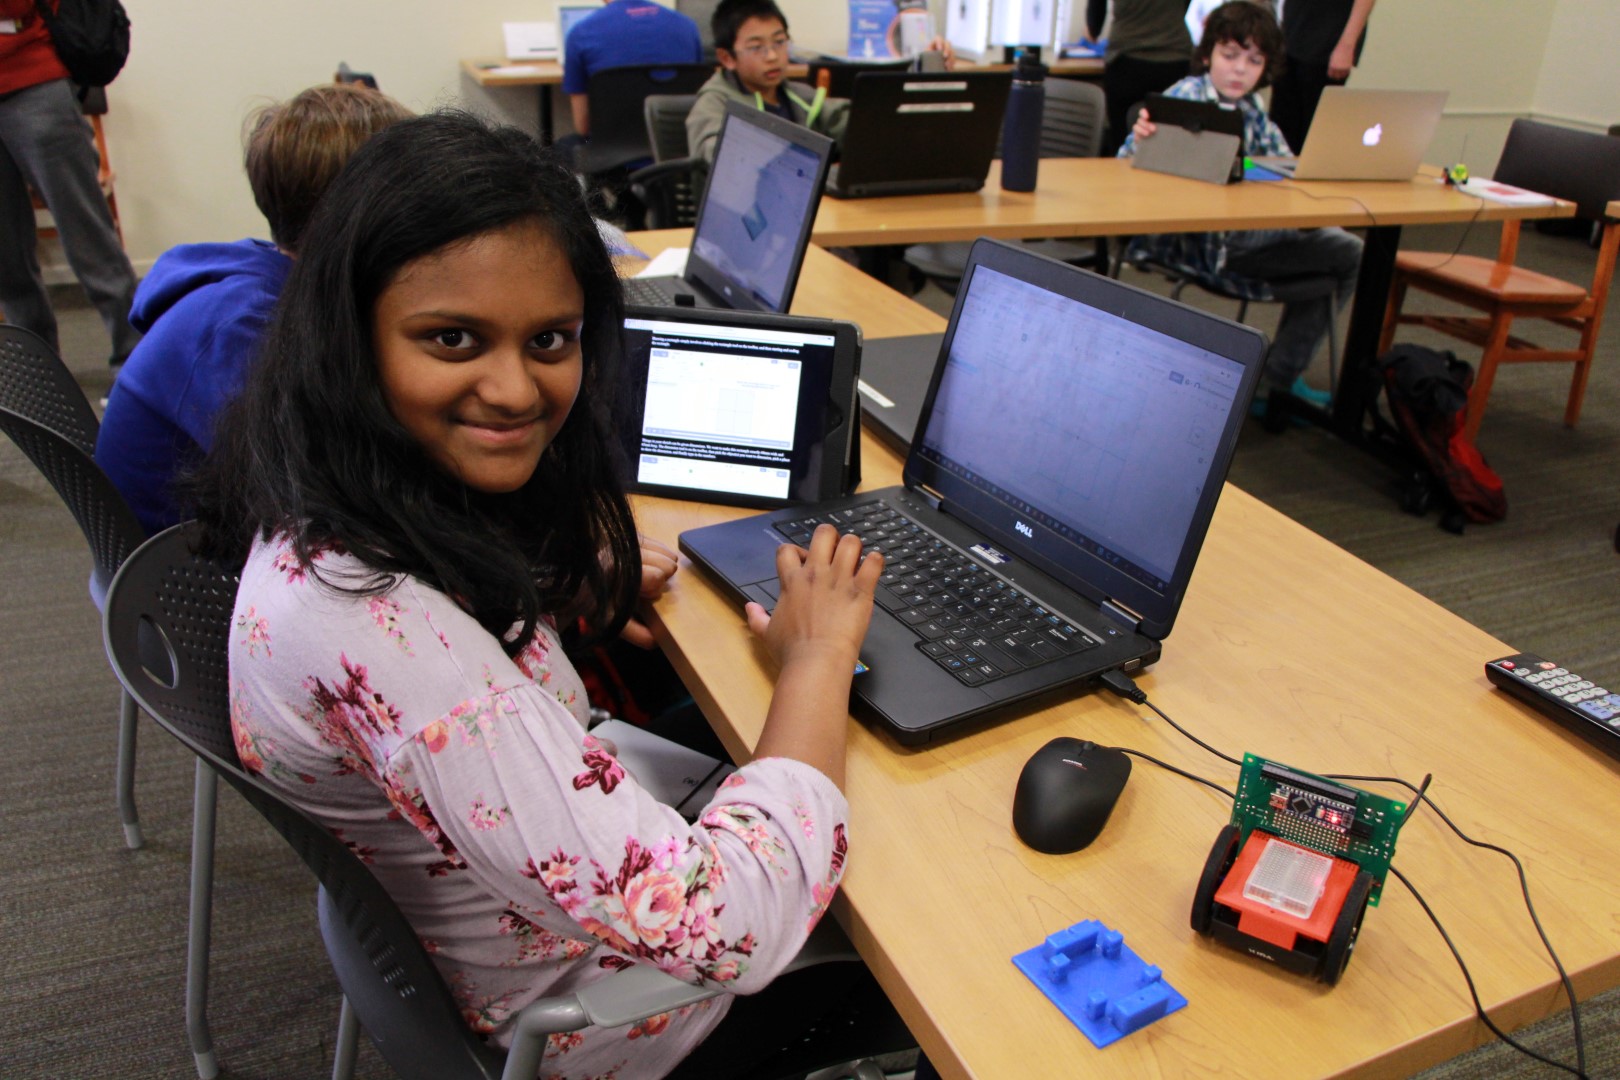
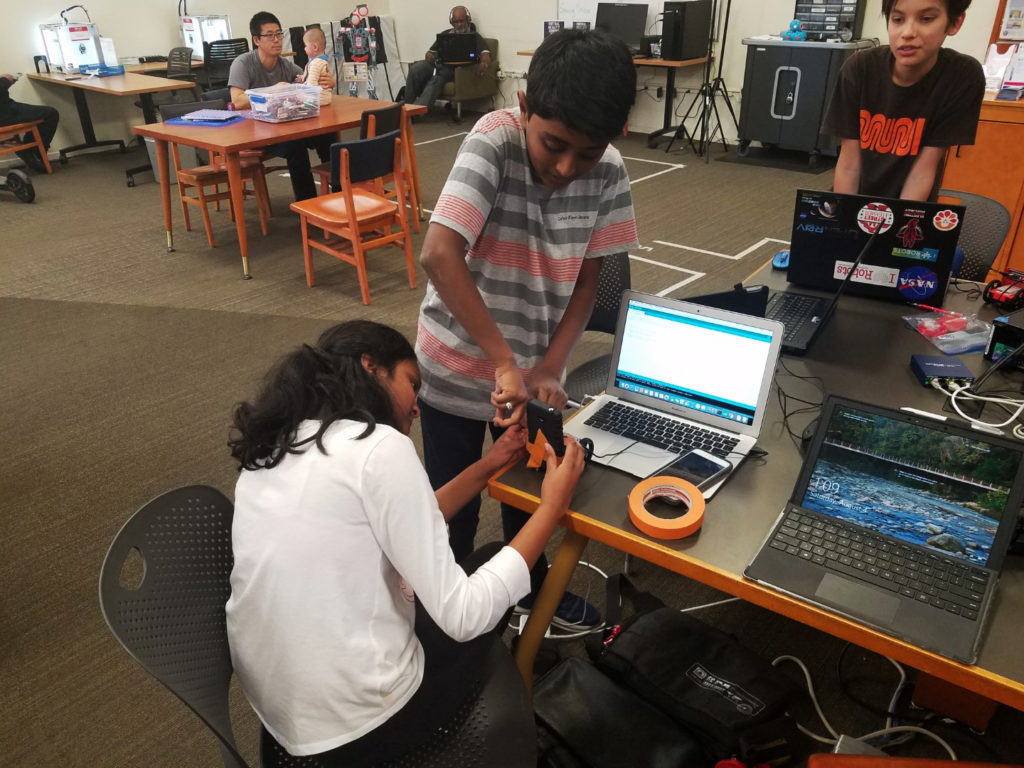
The adult actually pretty much finished the robot. The girl who asked the most questions and needed the most help actually made the best solder joints and got the furthest. Everybody else at least got in a sensor or two.
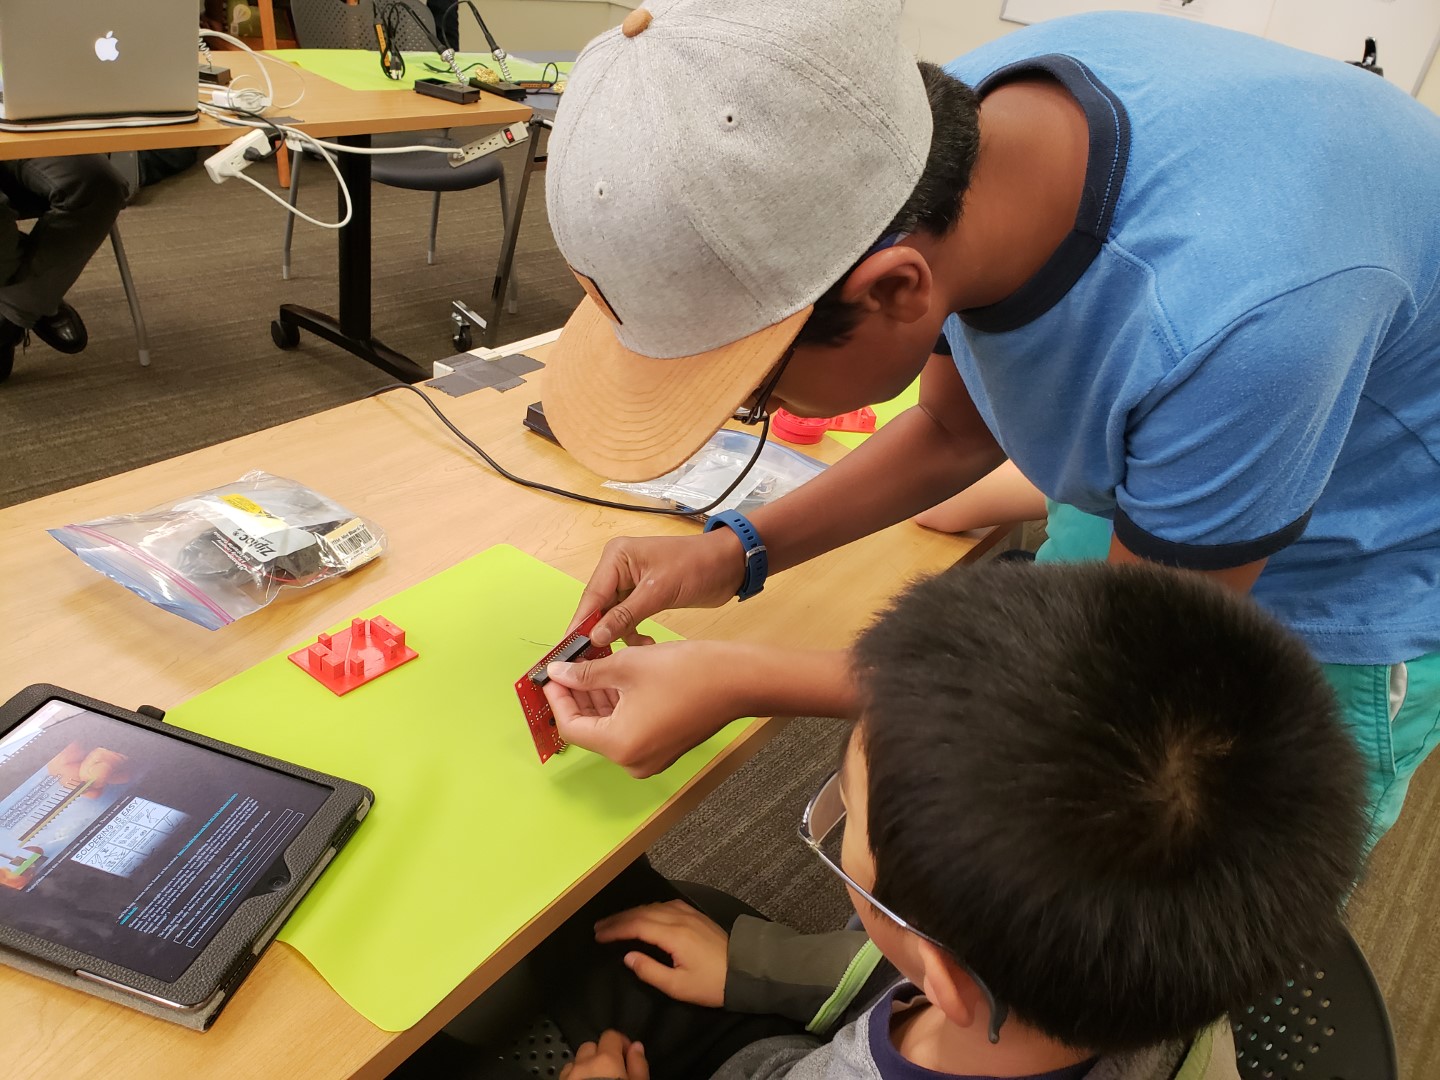
I missed something major in my instructions… nobody knew which way male pin headers went in! Whether the short side or the long side had to go into the holes. This should be hilarious to anybody who works with electronics, and totally understandable.
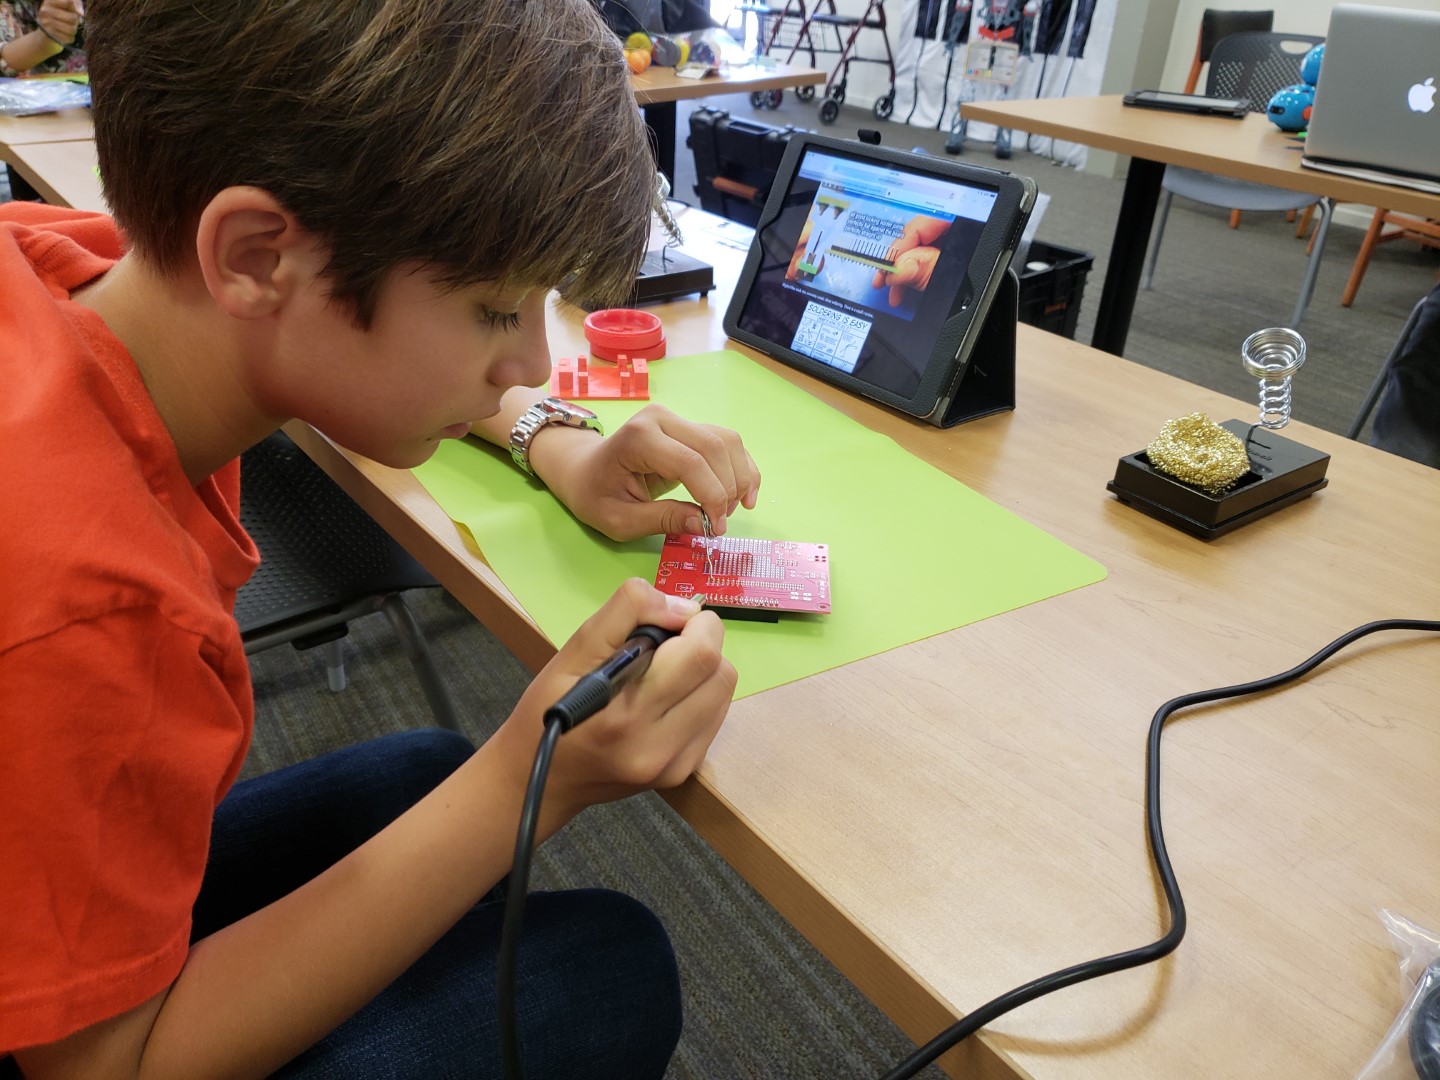
With the less time available, I couldn’t show proper technique as much as I should have. A lot of desoldering had to be done as a result. I actually had to teach some interesting desoldering techniques, like how to clear a blocked hole by passing through a wire or pressing the component in while holding the iron to it.
The older kids I simply pointed at the bucket of tools and they just went off mostly guidance-free, grabbing and sharing tools and solder as needed. At one point I even got one to teach another while I was busy…
But That little girl who asked for the most help still beat them in terms of speed and quality (the speed was lost when desoldering came into play). I’d like to find a way for the little girl to adopt the “just try it” attitude but keeping her work ethic, I don’t want somebody with good skills to be simply following orders later in life.
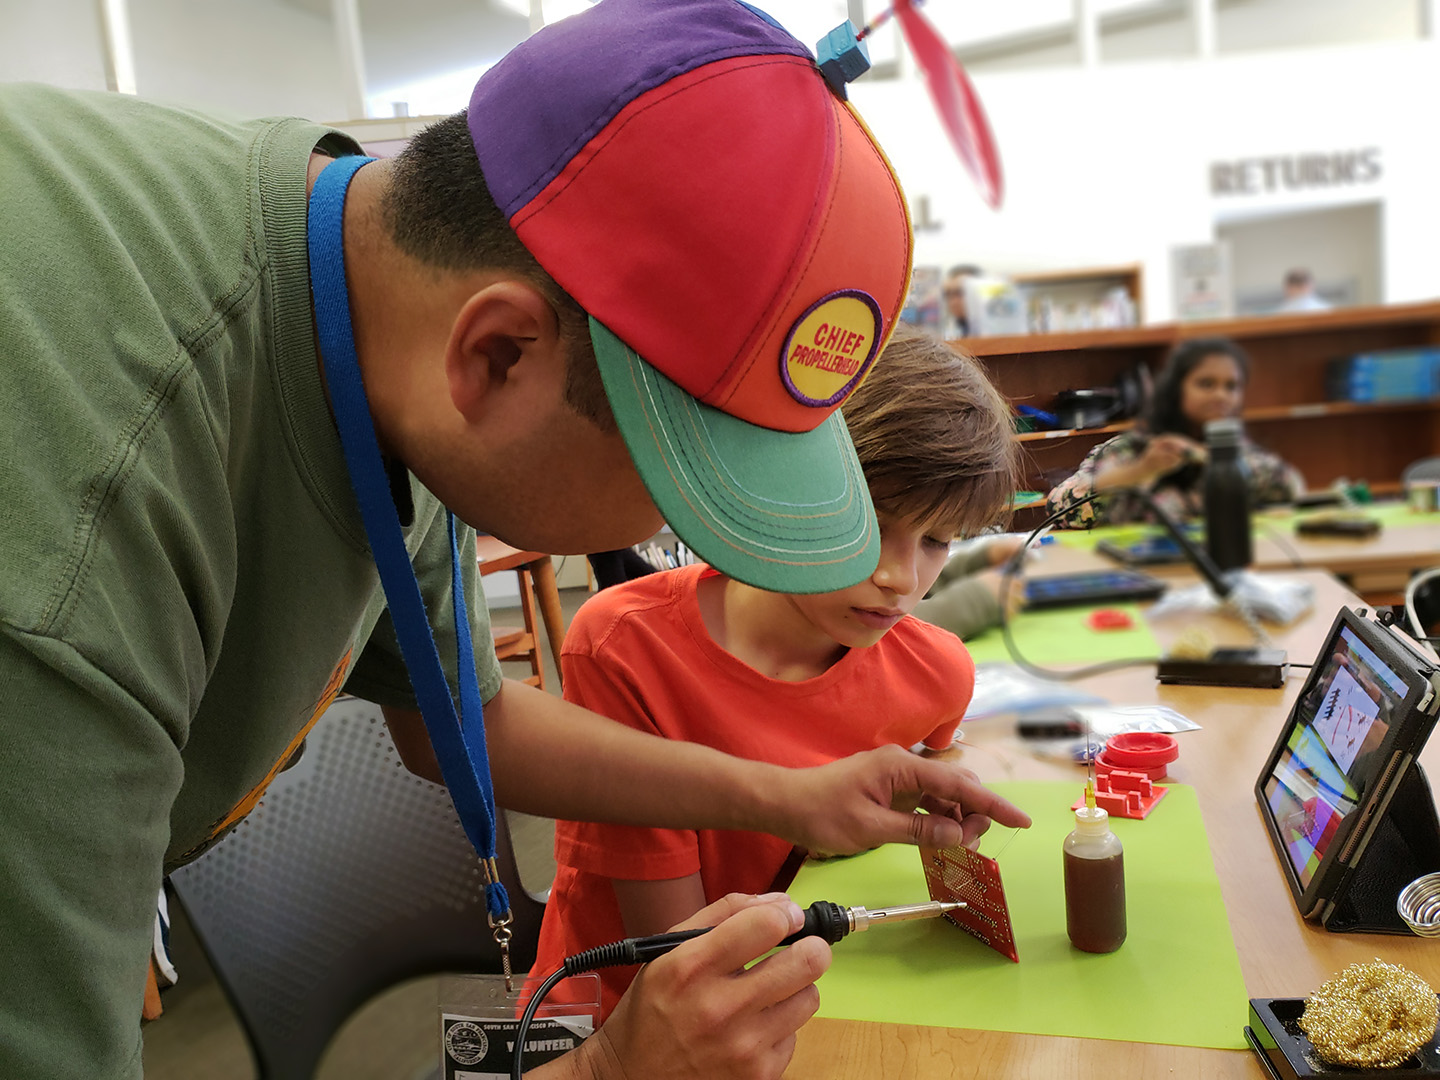
In hindsight, what should have been done is a big demo with all the kids watching me at once, but since everybody showed up at different times and I wanted to maximize time, I just let people start right away. I did do one-on-one demos with everybody but I think it was less effective when it is not pre-planned.
The soldering irons we got had two problems. The metal thread that held the element cover comes loose after becoming hot, but at least the plastic didn’t come loose. The solution was to tighten that nut while the iron is hot. The other problem is that the soldering irons have a firmware bug (or a pseudo feature) where it gets stuck on the lowest temperature setting and stops responding to button presses. Unplug-then-replug fixes it but it happened to multiple people.
I put good effort into making sure everybody was safe. Proper instructions of course, duct-taping the power strips behind each table, making sure first-aid for burns was ready to go. The cord length of the soldering irons posed no problems. There were zero safety incidents today. The soldering mats were actually simple silicone sheets meant for kitchen use, for hot pots and pans. We discovered today that they hold a ton of static charge, you can feel it… like a fuzz feeling when your hand gets close.
One student, aged 12, did try reading my “circuit basics” lesson but was not able to fully understand it. I didn’t actually ask anybody else but that’s one data point. I’d like to get feedback on my interactive circuit demos someday (they are a mix of javascript and animations).
The instructions I wrote actually took 2 months, and 2/3 of that work was wasted. The first robot was built using perfboard, and the entire build was filmed and edited, then realizing the point-to-point soldering of 30 gauge kynar wire would’ve been too advanced of a technique. The second attempt was done using PCB and still using videos, and the length of all the videos, even after editing, would’ve slowed down the class. The 3rd attempt was done using pictures only. It seems ok, the adult student went through it all without asking for any help.
July 21 2018
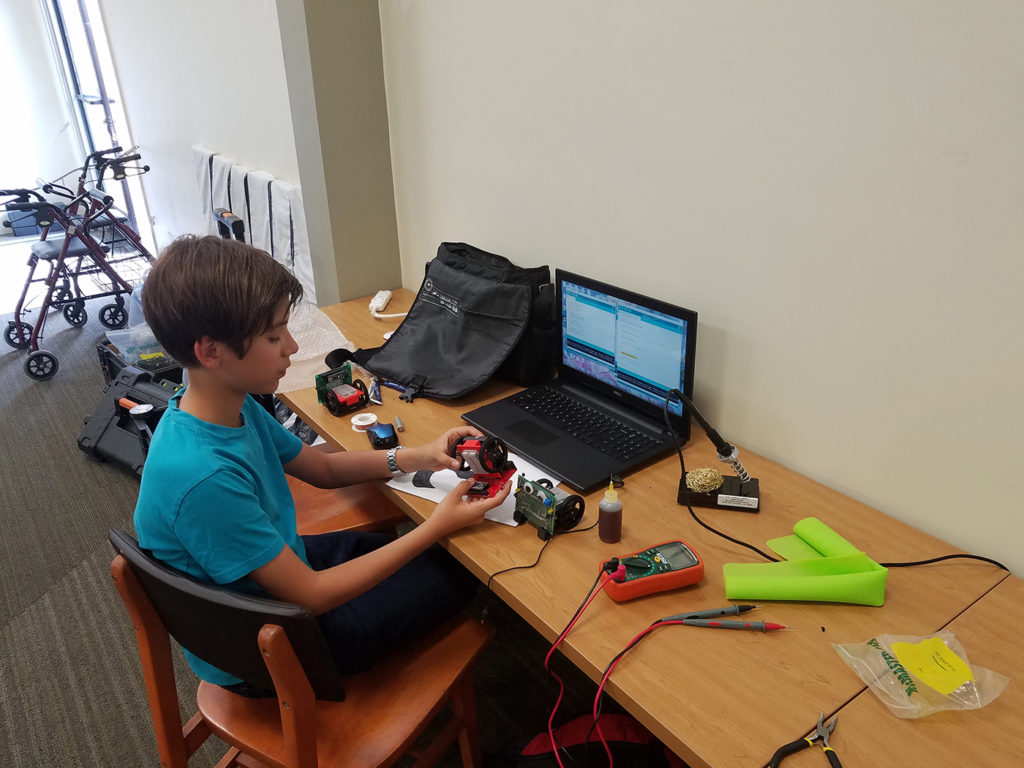
Today was not an officially scheduled class day, but two students still showed up. With enough time for intense 1-on-1 supervision, I made a huge difference in their work quality.
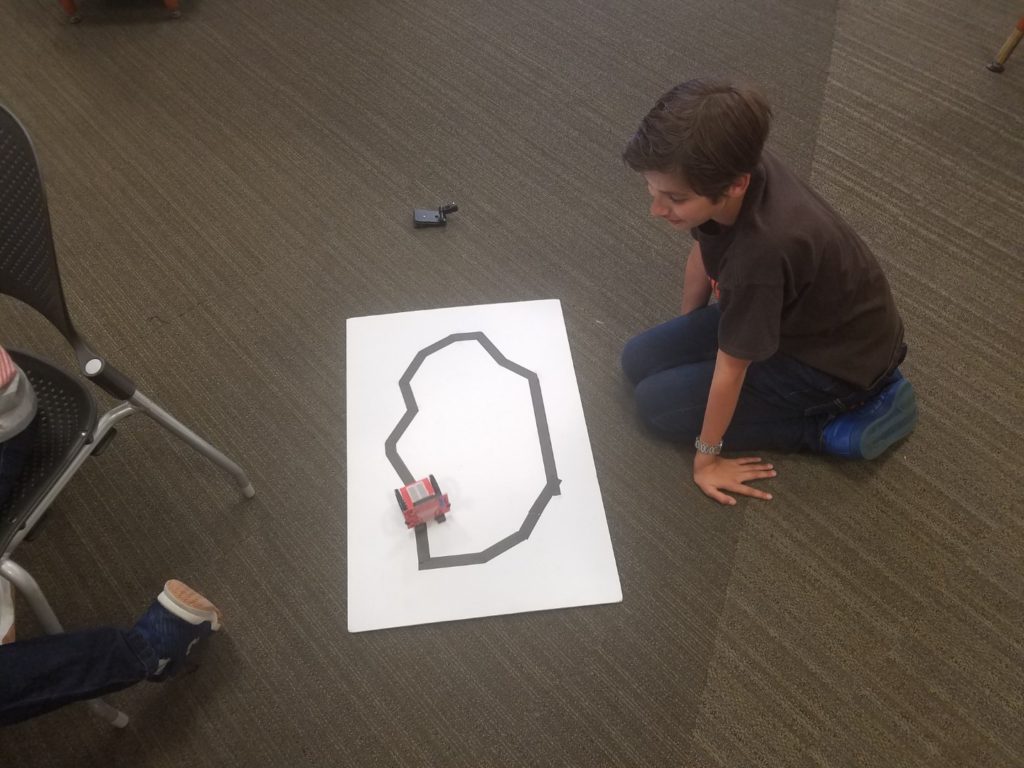
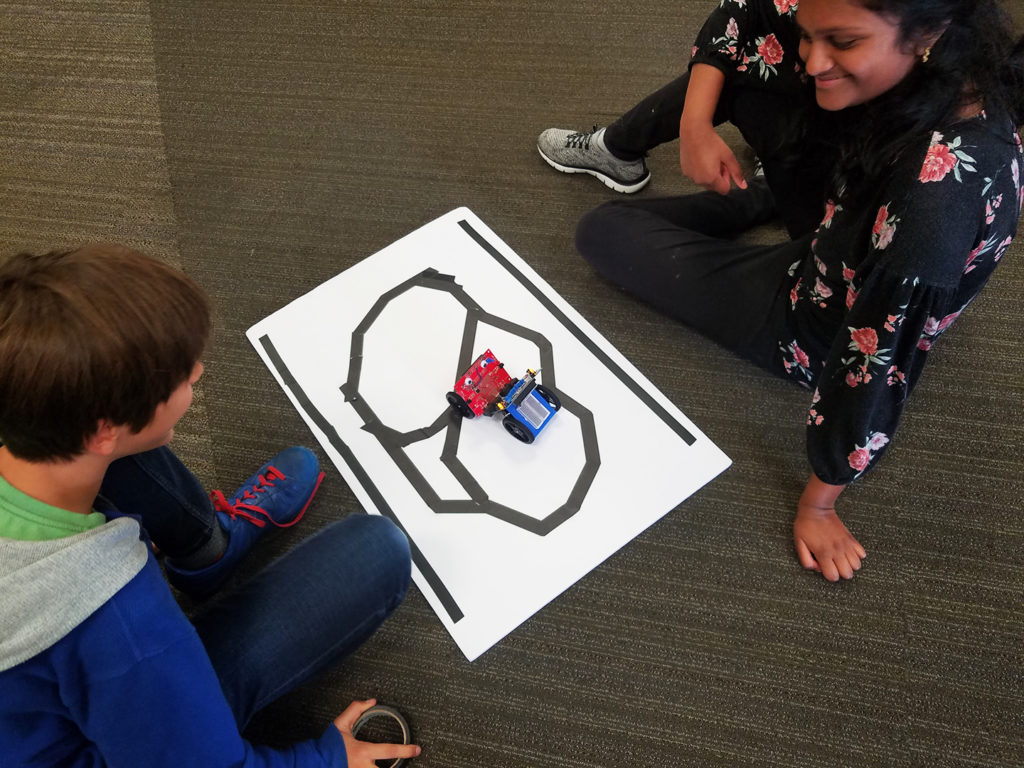
One of them stayed the whole day and even got to programming in the line following algorithm, with no prior knowledge of C++ at all. Holy crap he actually just jumped right in and honest to god he started typing in Python and expected it to work. And since he knew Python but needed semicolons, his code ended up looking like
if (lblack == true); {
    BookWorm.move(600, 0);
}
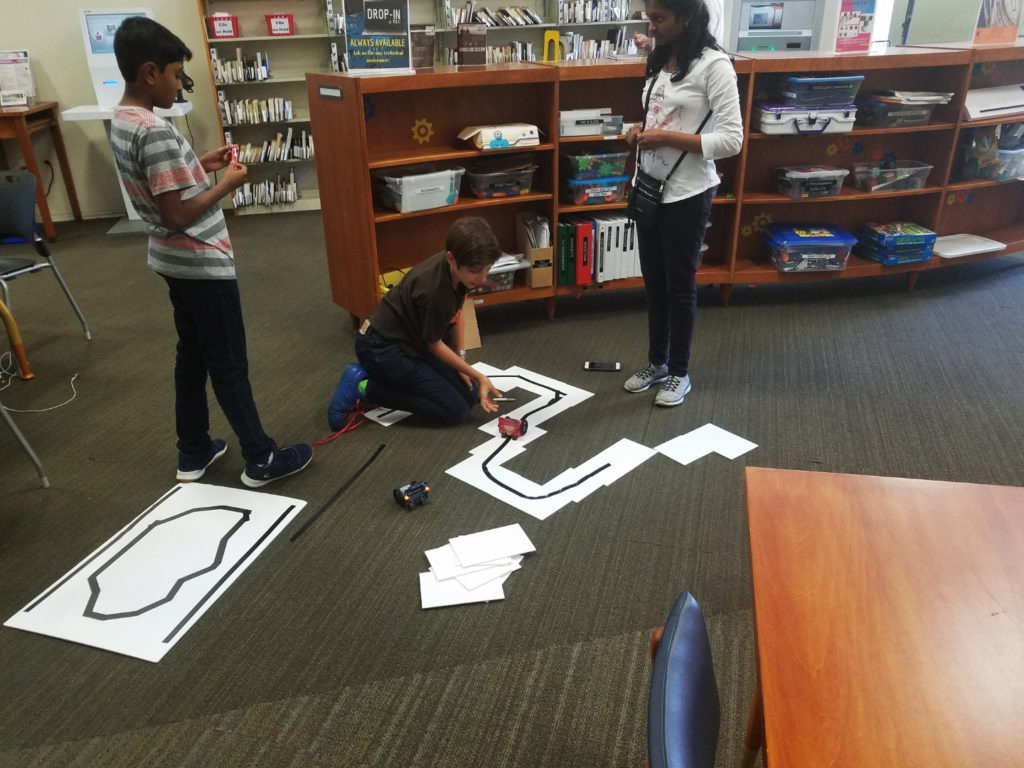
The sensitivity of the IR phototransistors appears to vary a lot, or maybe it’s the emitter, I can’t quite diagnose it properly.
July 28 2018
Everybody ended up finishing their robot today! Today was scheduled to be the Arduino class but since everybody who showed up still haven’t finished their robot, I busted out the tools again.
The most difficult thing today was somebody soldered in the IR sensors into the wrong side of the board. It’s not possible to desolder the entire part without cutting it to pieces so that’s what we did. In the end, the holes were still damaged, so a drill and wires were involved.
A drill… yes, today power tools were involved. The screws that held in the battery holder are very tight and one youngster simply did not have the hand strength to twist it. I got to amaze people with my DeWalt Gyroscopic Screwdriver. This was a mistake… they all started using it for EVERYTHING, which meant stripped screws and stripped plastic… oops
Annoyingly enough, I had to help somebody install the CH340 drivers on a MacBook and she did not have admin privileges. So at most I let her test her robot using my own laptop. At least we made sure that everything works.
Once again, it was easy to get one kid to help another. I suck at using Macs and I actually delegated the above to another Mac user.
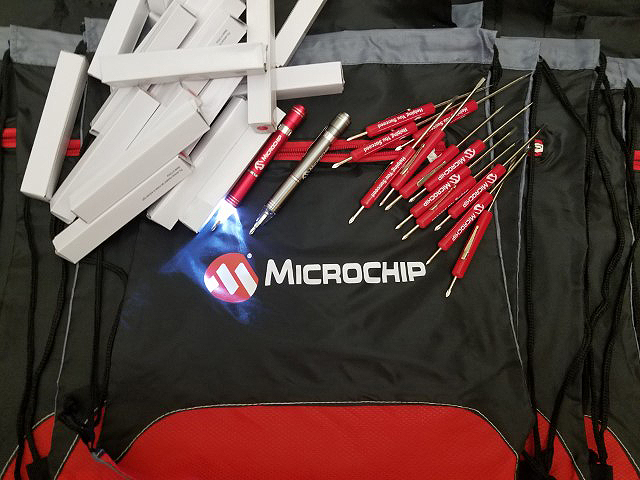
Everybody loves the free swag that my sponsors provided! The screwdrivers especially and unsurprisingly.
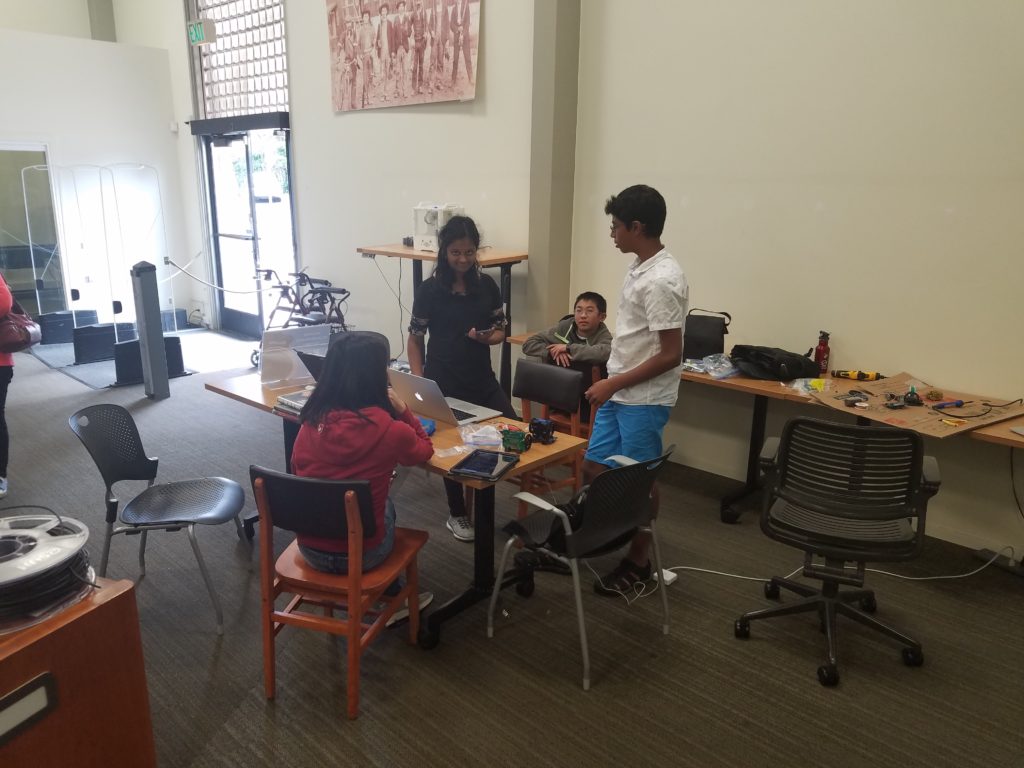
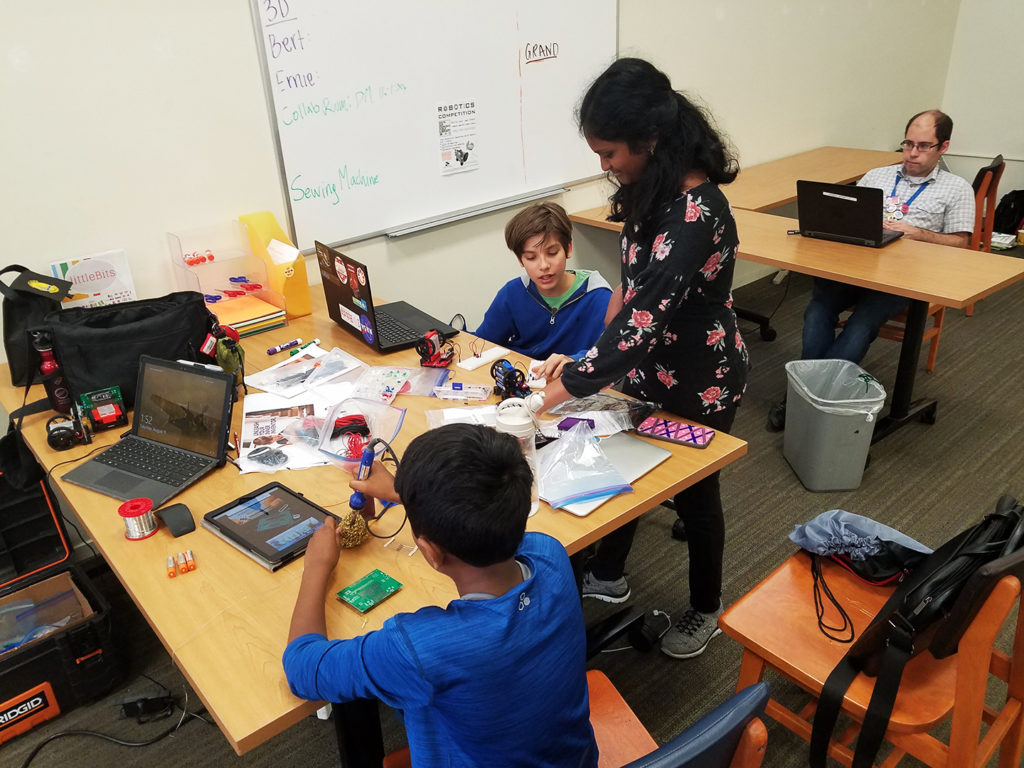
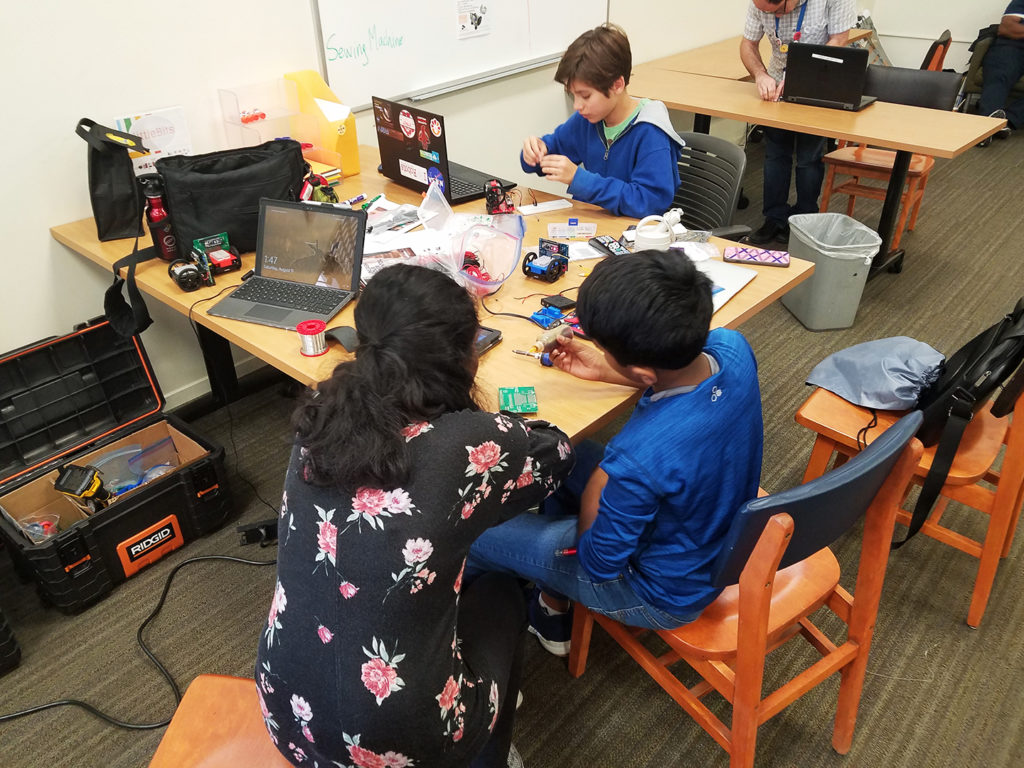
August 4 2018
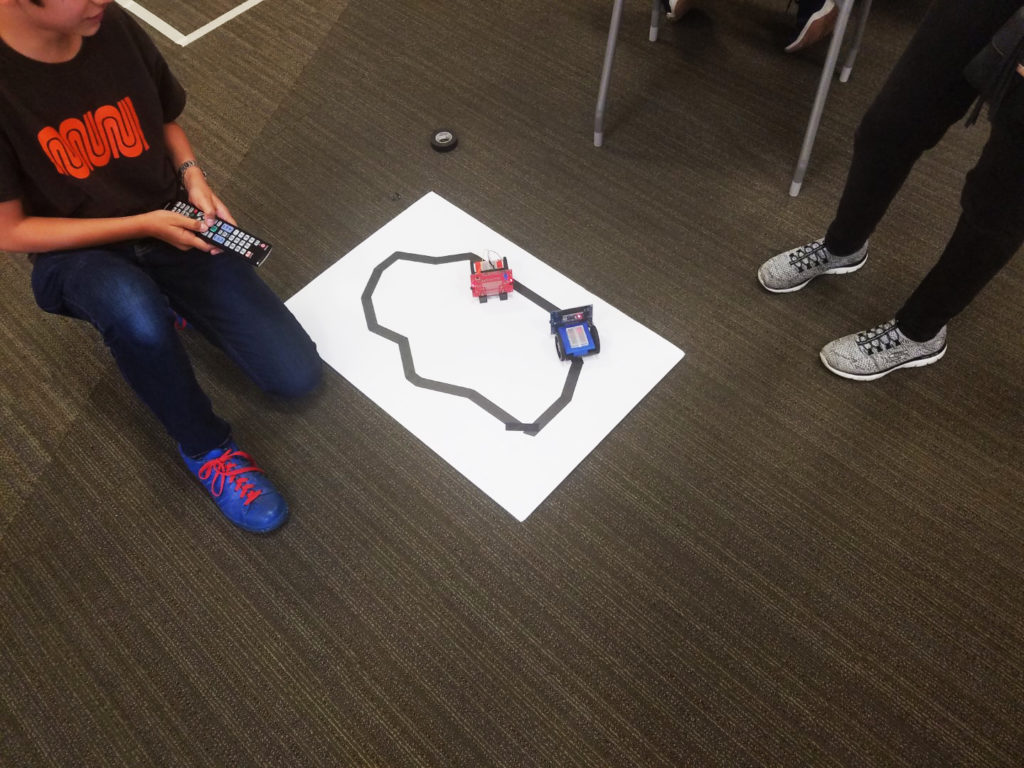
We are coding today! 2 familiar faces + 1 new one showed up. The brightest of the bunch actually got as far as going through the “extra” lesson on how to connect up a IR remote receiver to the robot.
The little girl I had to couch slowly at first, getting her used to cause-and-effect, editing the code that meant to make the robot spin in circles so that it goes in a straight line. I got her used to changing numbers meaning changing speed, how the left and right speeds affect direction, etc. Once she accomplished that, all hell broke loose, she wanted to tape her phone to her robot to record a video from FPV (first person view)…
But it kept toppling over so the next half hour was me and a bunch of kids trying to find a way to keep the robot balanced… We ended up with:
Her cousin also joined the class, starting from lesson 1 on CAD. But these two quickly lost focus and at one point even begged me to take them to McDonalds. They eventually called their parents back, had lunch, and came back with McFlurries in hand.
She was also insanely bothered by the fact that the cheap continuous rotation servos won’t let her robot drive in a perfectly straight line. This is because of component tolerance affecting how the servo driver interprets the lengths of the electrical pulses (my written lessons covers this). To make everybody understand, I asked everybody to count to 10 in their heads, and raise their hands when they reach 10. Of course everybody raised their hands at different times, which was my point, that these cheap servos are bad at interpreting the timed pulses because they are each slightly different.
Obviously nobody would believe me if I told them that no robot can drive in a straight line. I explained a bit about putting rotary quadrature encoders on the wheels, and how it is often impossible for something to do a task perfectly without some sort of way to know that it is not doing the task perfectly, my way of explaining feedback mechanisms and non-idealities.
Getting her back on track, I had to teach how computers make decisions: IF-statements (after I covered serial port debugging to reading sensors). Getting her to write her own code is pretty much impossible because she did not read any books on C++ yet, so I tried another approach. I wrote out a if-elseif-elseif-else block for if whether one, or both, or none of the sensors detect a black line. She knew how to write at least the move(leftspeed, rightspeed); function, so I got her to write that into a blank space in the code first, and then cut-and-paste it inth the appropriate if-blocks.
Mission accomplished, her robot follows a line!
Weird thing is… whenever I say “I don’t know” to her, she actually hops right into Chrome to ask Google. I guess some people just prefer human interaction whenever possible. Her father is director of software engineering at a near by Silicon Valley company. A busy guy, but he should be able to keep her going at home. I’ve been reporting a lot more of my observations to some of the parents, they are very appreciative.
Party time!
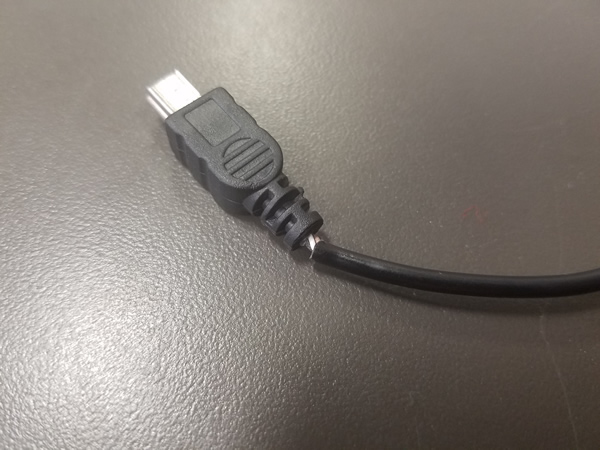
Off topic: behold, USB cables so cheap that I can buy them in a pack of 50 and give them away, but after being yanked on by robots that are coded by a 12 year old
August 12 2018
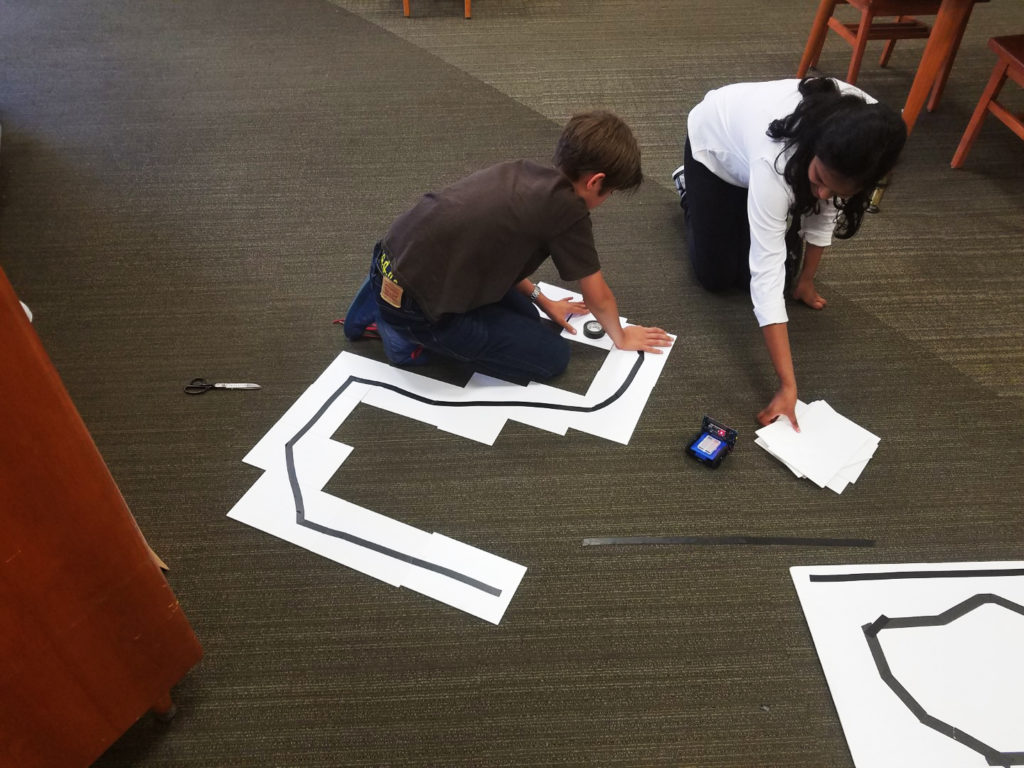
We did a bit of breadboarding, though… the girl did not read any of the circuit lesson so teaching her was impossible. Her cousin started soldering, she was eager to help.
Once their ability to focus was drained, I let them go nuts with my hot glue gun.
They also spent plenty of time pranking each other, commenting out lines of code… sticking tape underneath computer mice…
Special Thanks: Microchip Technology
A big thanks to Microchip Technology. These guys manufacture the chip in the middle of your Arduino. My professional contacts at their local office generously donated an insane amount of screwdrivers and backpacks. These classes would not have been possible without their help.
Their kindness will not be forgotten. Personally I thank Microchip for jumpstarting my own path in this hobby and career. Microchip Technology is a huge supporter of STEM programs, I definitely have many of their dev kits simply because they handed them out to me in university. Even when I was a poor highschooler, I got started with their PIC microcontrollers because they were essentially free. I truly believe they are the reason why I am insanely good at writing low-level bare-metal embedded firmware. By the time Arduino Diecimila (the first Arduino with USB) was available, I immediately outgrew the Arduino IDE because of just how far using a PIC has pushed me.
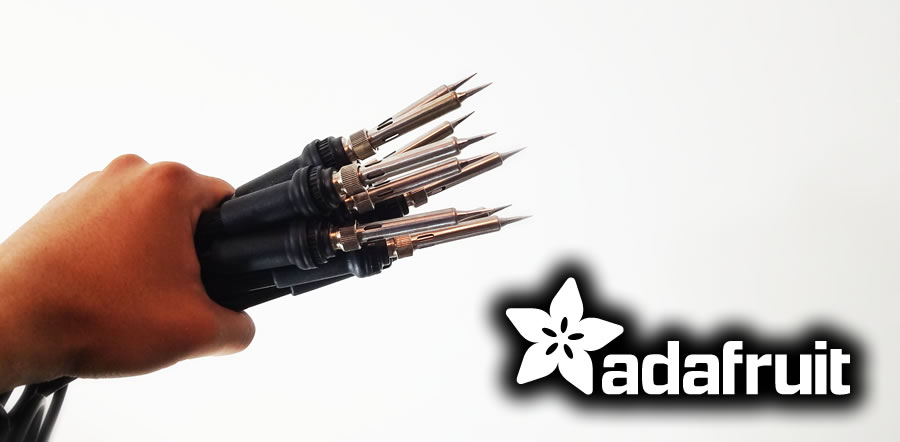
Special Thanks: Adafruit Industries
Adafruit Industries is a founding pillar of the maker movement from the very beginning, and a champion for women engineers and entrepreneurs. Limor “Ladyada” Fried and Phillip Torrone (former senior editor at Make: Magazine, Hackaday, Popular Science, Howtoons) donated all the soldering irons we need that makes these classes possible. These irons are the good stuff, coated tips, adjustable ceramic heaters, fire-proof wiring!
As a huge supporter of STEAM education, Adafruit Industries have written literally thousands of guides and tutorials, along side their amazing collection of products that makes it easy for everyday people to accomplish what used to be impossible. How do I know they are so good? I used to work for Adafruit myself, I wrote some of those tutorials and designed some of those products. Even today my real job’s engineering department use their stuff regularly, their breakout boards are just so convenient for quick prototypes. Everything is manufactured proudly on home turf in their New York City office. I recommend all hobbyists to follow their blog, it’s a good mix of electronics, 3D printing, art, and other fun news.
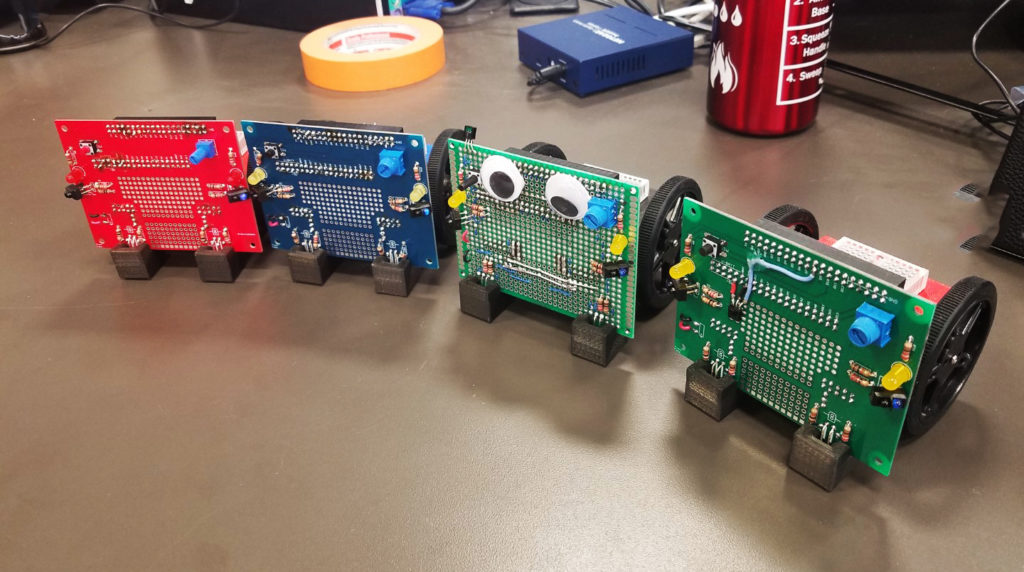
Special Thanks: PCBWay
PCBWay is a speedy and cheap PCB manufacturer and electronics assembly company. They generously provided us with multi-colour PCBs for free, so your robots can be pretty and more unique.
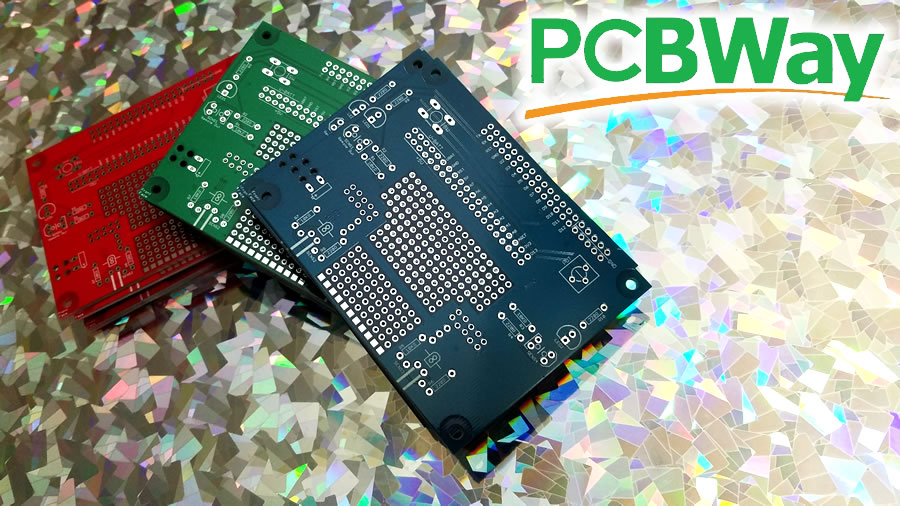
Their service is speedy and at a price that was unheard of before the maker movement took off, making it more accessible to hobbyists and students, allowing the little guys to keep up with the big tech companies. PCBWay also do a lot of community outreach to hobbyists and student teams, hosting contests and offering sponsorships.
Their PCBs are pretty high quality, there’s nothing to complain about. Great looking silkscreen. Soldermask and drills are on point. Edges are milled clean. No splatter with the plating. No hassle using their website to order. Each one of our robot PCBs would cost roughly $3.50 each including shipping, and take one week from time-of-order to your doorstep. Great job PCBWay.
Special Thanks: Silicon Labs
I reached out to people I know at the local Silicon Labs office, and they gave us a big box of goodies to encourage people to participate in STEM programs at our library.

They are a company who manufacture a lot of different microchips, such as the USB interface chips that hobbyists often use to debug the Raspberry Pi and other embedded Linux platforms. If you are into the drone racing hobby, most likely your drone already has four microcontrollers made by Silicon Labs. They’ve been growing rapidly in the past decade and is currently well known for having unique, high performance, and low power products, as well as legacy products that are solid and dirt cheap.
Special Thanks: Hackaday
Hackaday always have a special place in my life, providing me with constant motivation and keeping me up-to-date on both my hobby and professional life. They are literally the biggest reason why I am working a dream job in sunny California. I think their blog is inspirational to everybody here and so they gave me a pile of stickers to give to my class!
They are the host of an excellent online community at Hackaday.io, hosts awesome events such as the Hackaday SuperConference and their Hackaday Prize, and also they run the beloved Tindie where creative makers and hackers can sell their creations.
Thank you for your peek into the world of STEM at a library. The 26 registered and 6 show up is, well, familiar to me. Your skills are way, way more advanced than mine. I only wish you lived in New Jersey rather than San Francisco. I guess I’ll have to continue to depend on my mechanical engineering husband to help design PCB boards and work through projects with me (sigh). He was the one that found your site.
I’m a librarian in New Jersey. I got a wonderful grant to run a computational making camp this summer which I now have to do online. This is going to be…interesting… I see the need for two devices.
Thank you for all the info and advice. The planning that you put into this, dedication and skill at reading the kids and ability to hold juice boxes is inspiring!
This looks like a great project – We have been looking for a ‘Multi Discipline’ project like this for our Makerspace here in Salmon Arm BC.
Could you share this project with us.
Thankyou
Patrick
Hi Patrick
The link to the class is at https://eleccelerator.com/ssfpl_robotics_class_2018/ , this is where the students were told to visit with the iPads we handed out to them.
If you need it customized, please see https://github.com/frank26080115/SSF-PublicLibrary-Robot2018 , the files can all be downloaded and modified.
If you need further help, please continue this conversation with me via email directly.
Regards
Frank