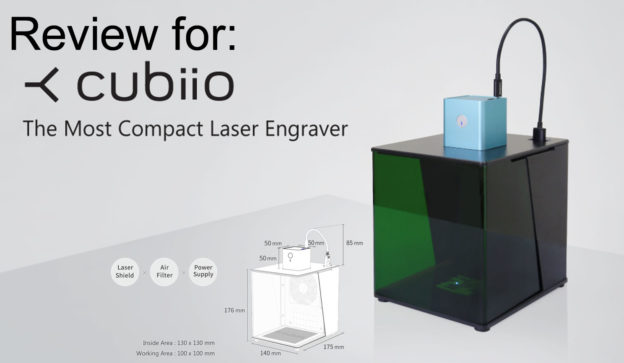
I backed a Kickstarter called Cubiio. It’s a palm sized cube shaped 800mW laser engraver. It is a rather controversial Kickstarter project. I have received and used mine for a bit and I have some personal opinions about it. This is going to be a real review, but from the perspective of an engineer and maker who is already deep into 3D printing and CNC milling. Unfortunately I am unwilling to fully tear it down for analysis as I actually do enjoy using Cubiio, so I can only speculate as to what is inside.
Controversy
There are two major controversies that I’ve noticed:
- Safety! The Kickstarter campaign originally started with an option to get just the laser itself without the safety shield. Their video showed the laser being placed on a tripod without any protection. This was universally criticized as being extremely dangerous. A kid could walk into the room and get blinded, a cat could knock over the laser and start a fire. This was resolved by them completely re-shooting the video commercial and also forcing all backers to get the safety shield. It did still ship with a tripod, and there’s an option to disable the shield requirement inside the phone app.
- A popular Youtuber named AvE posted a video explaining why this laser mechanism wouldn’t work well because the focal distance of the laser needs to be variable. I do watch his channel occasionally and this time I didn’t agree (and I have some silly beef with him). After using it, I can say that his points do not apply if you always use it within the limits of the shield.
Expectations
I never intended this to be an engineering tool. The laser is not mounted on a XY gantry always pointing straight down. This makes it almost impossible to do anything that involves exact dimensions. Cubiio is meant for artwork only. Cubiio has also been very open about what could be etched and what couldn’t. Metal and clear plastics are absolutely out of the question, trust me, I’ve tried. I expected this. Their campaign seems to emphasize their speed, I didn’t expect too much and I have no experience with more professional systems so I can’t provide a fair comparison here.
Ease of use should be a priority here. It’s a shiny package that should be ready to go. I expect it much easier to setup than any sub $100 system or any professional system.
I myself have dealt with Gcode with 3D printing and CNC milling, I have plenty of CAD and coding skills, and also skilled with Adobe Illustrator, Inkscape, and the SVG file format. There may be a lot of problems that are deal-breakers for people but I have workarounds for, either through software or hardware. Keep this in mind when reading my review.
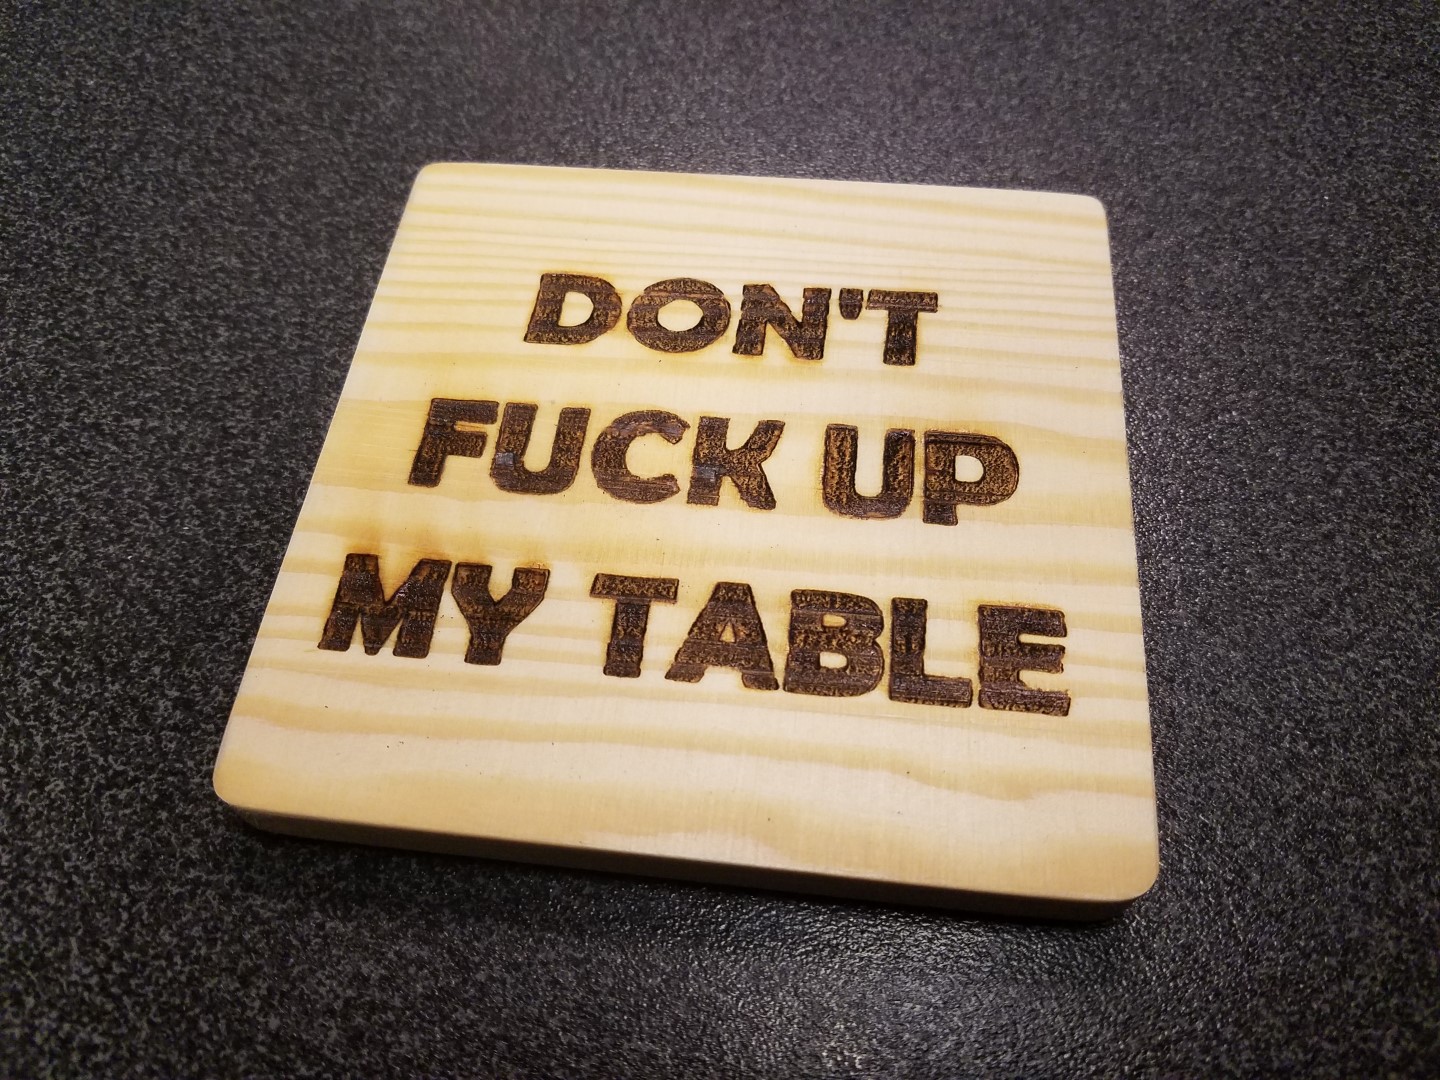
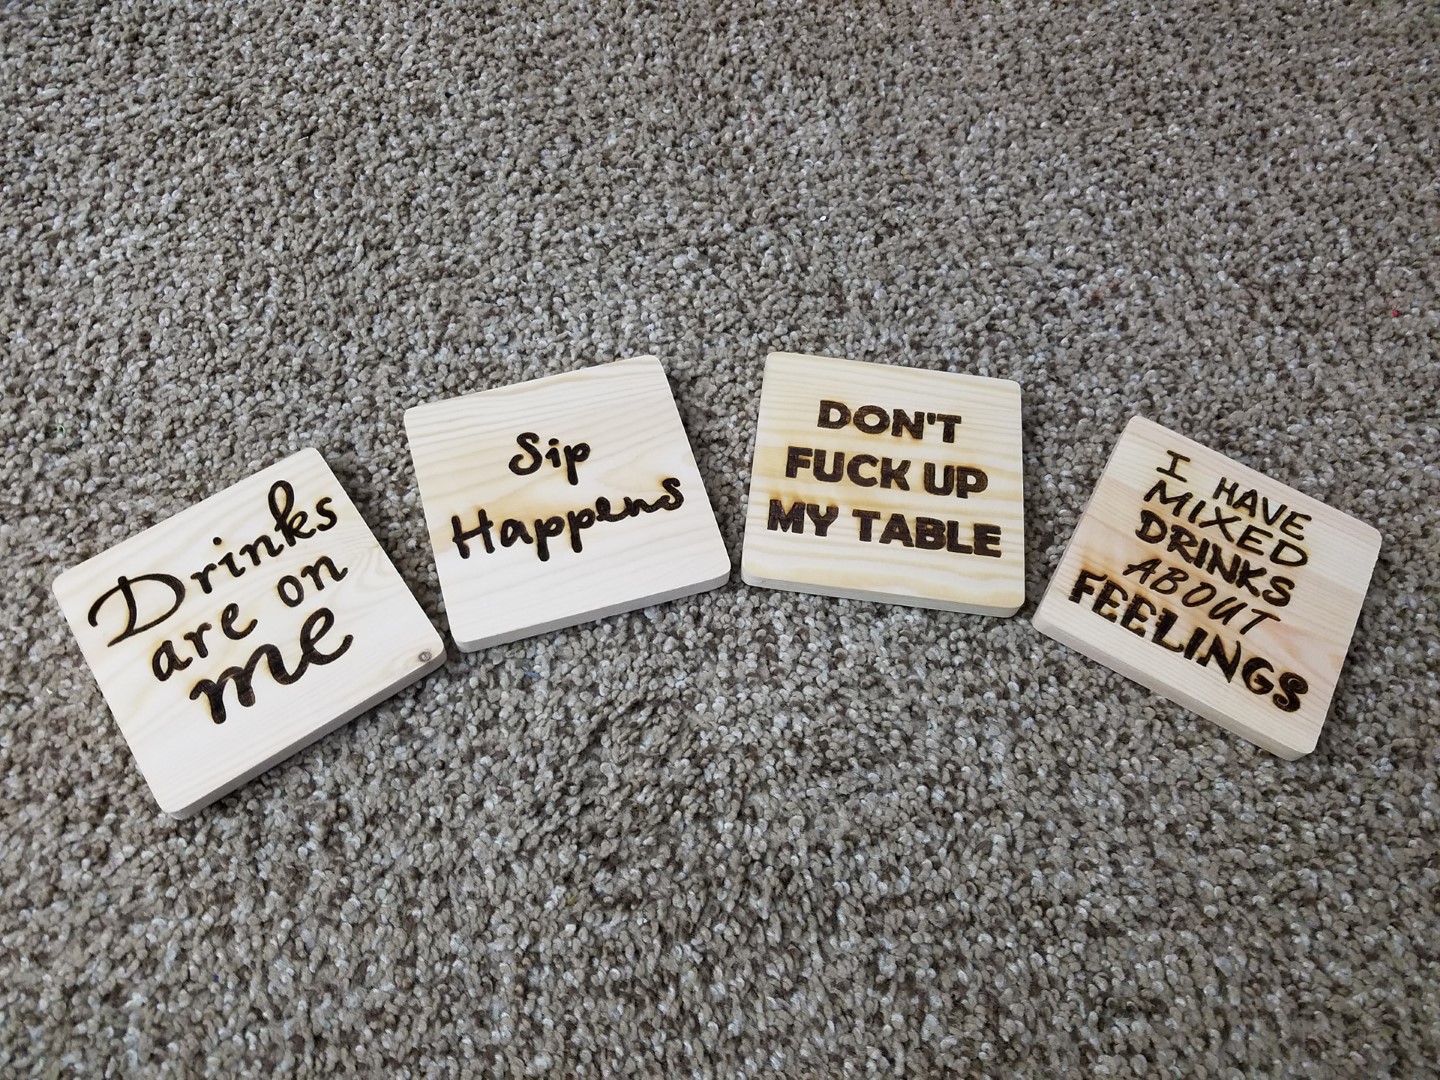
Pictures
Pictures of what I’ve been doing with my Cubiio, because of the TLDR crowd.


Build Quality
While operating, it’s actually noisy. I can hear motors (probably gears) inside spinning. It’s not a mirror galvanometer, it’s an actual motor moving the mirrors.
My unit’s microSD card slot did break after one day of use but… I don’t really want to blame Cubiio for this. The slot is supposed to be a push-in-push-out but mine is now stuck in push-out mode. I am not RMA’ing mine because it’s still a Kickstarter campaign. I am fixing it by simply using tape to hold the microSD card in.
The shield is pretty well built. No problems here. Nothing shaky or loose at all. Everything fits but the baseplate is not a prefect fit so the base does slide around by about a millimeter. This is a small problem because this can cause your material to become misaligned.
Output Quality
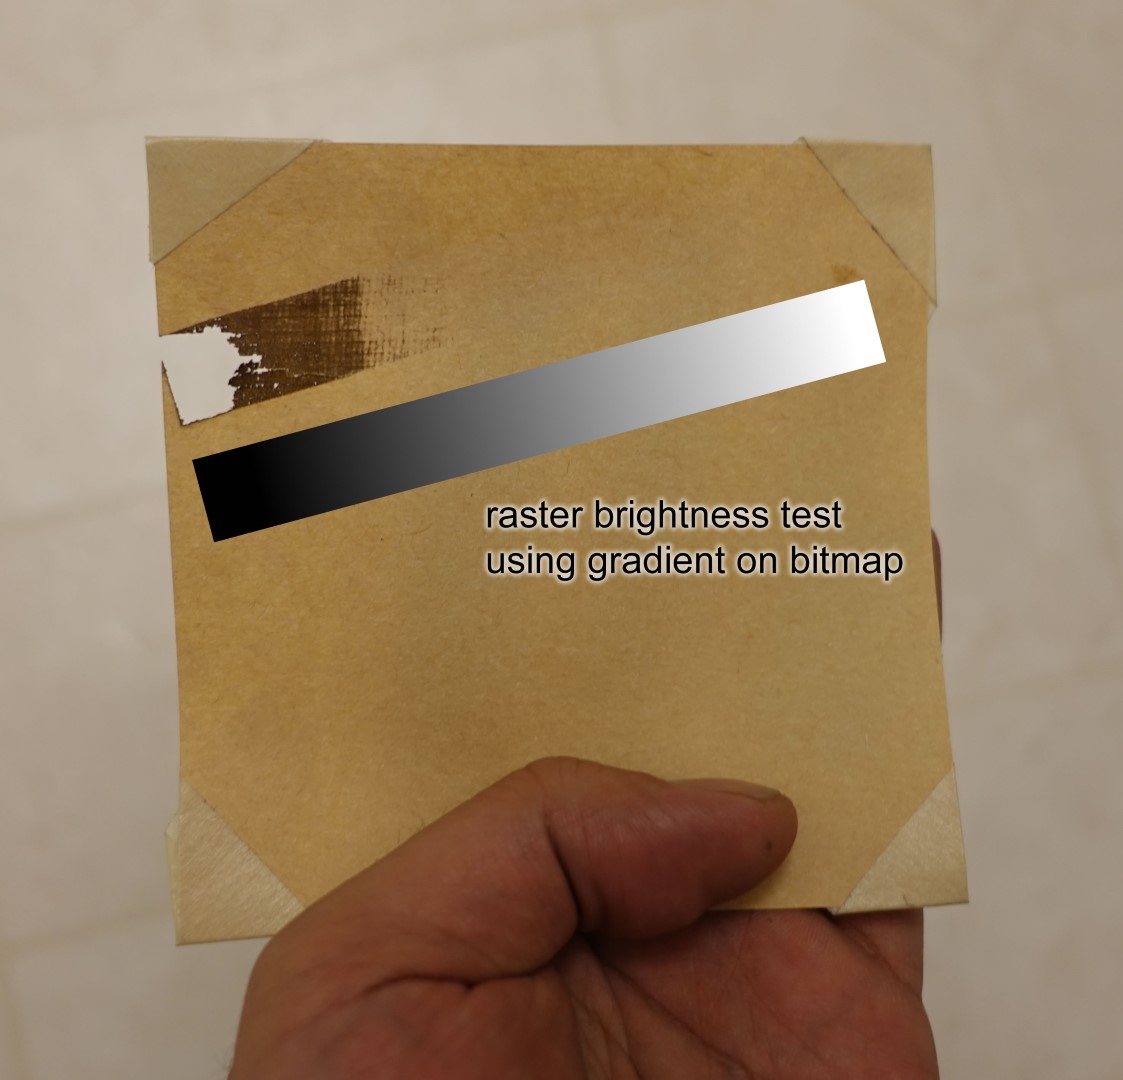
I am not too impressed. The laser brightness seems to vary as it goes very slightly, there is no pattern to the variation. The variation is not due to focal length changing. I suspect either power supply noise, dirty lens, or simply the smoke getting in the way. There is an extraction fan but the box is kinda air tight so that makes it ineffective.
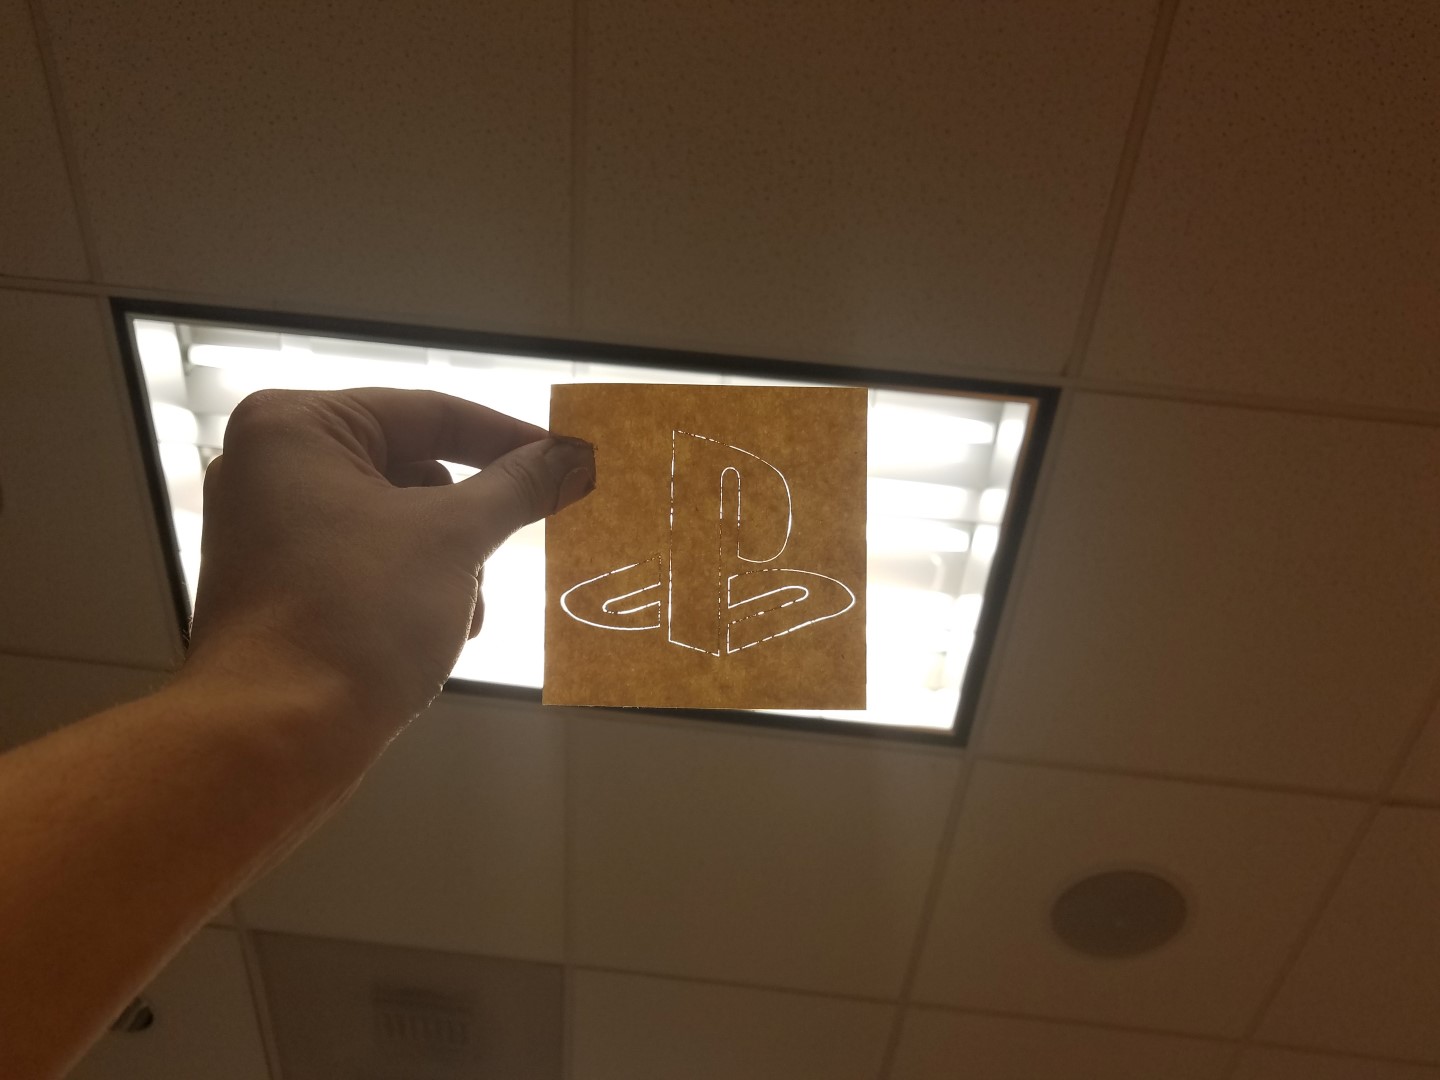
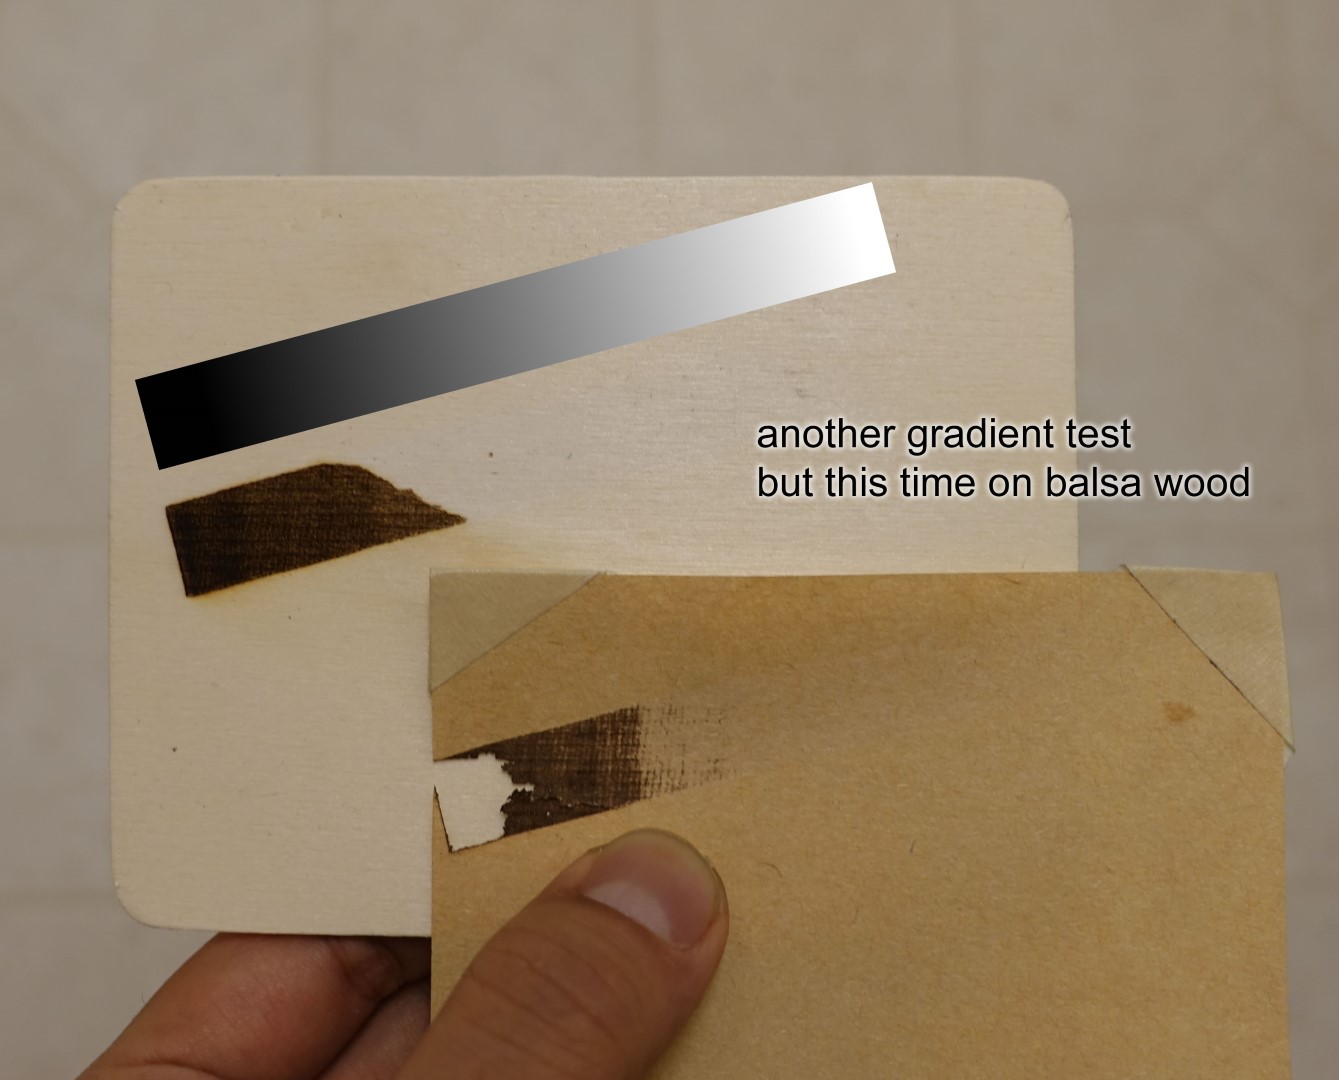
The beam width is very very thin. Vector art should definitely always either have double lines or hatch fill, otherwise a single line is so thin that it’s not noticeable on some materials.
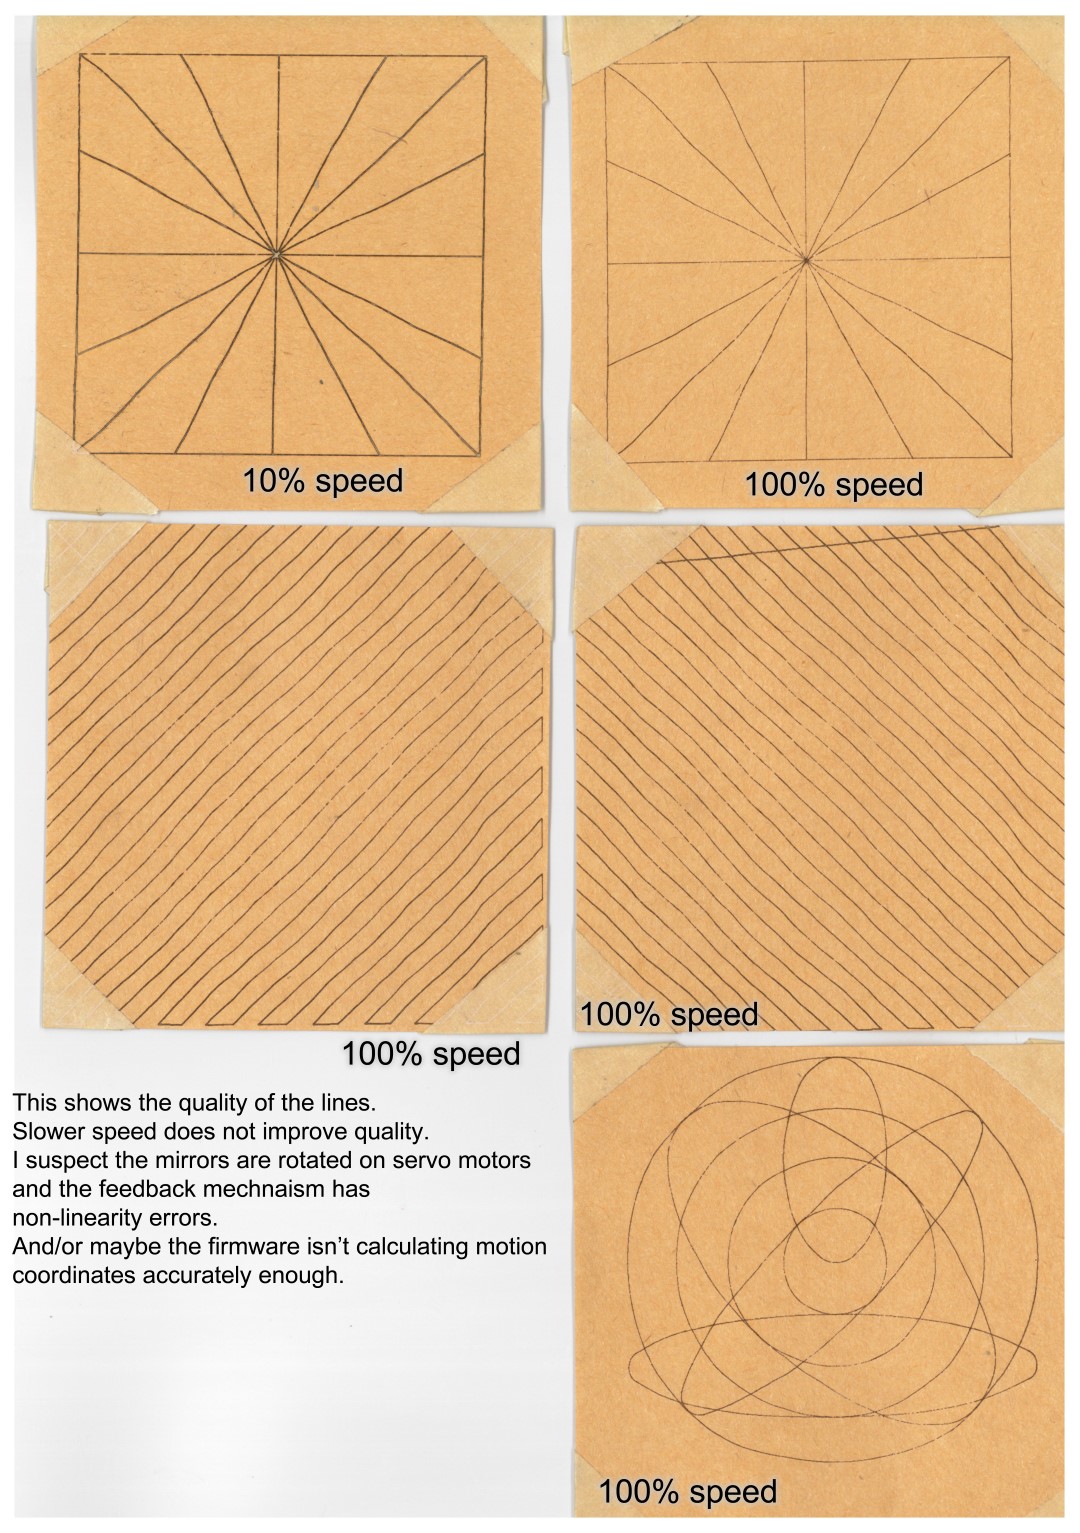
It sucks at doing straight diagonal lines. It might have something to do with the motors keeping consistent speed. This might be annoying if you do a lot of vector line art. According to my diagonal line tests, slowing down the speed does not improve this.
Explanation: To keep a consistent laser speed, the motor speed must be continuously variable as it spins. The firmware is continuously doing a lot of trigonometry calculations for this. Rotating the mirror 1 degree makes the laser dot travel more if it’s near the edges, and travel less if it’s already near the center. Now that we understand this, it could also contribute to why the laser brightness appear to vary. When the movement is slightly slower, the laser has more time to burn, so the line depth/width may have variations as the line is burnt.
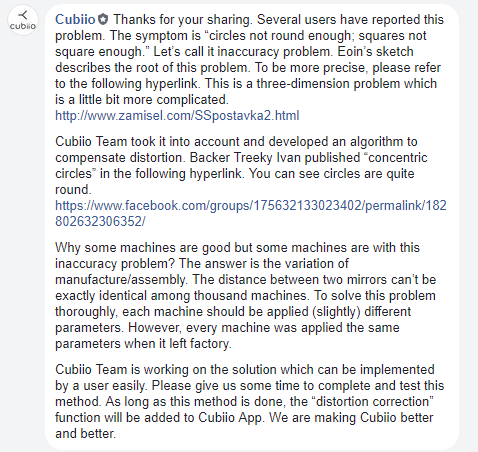
EDIT: Cubiio does have an explanation
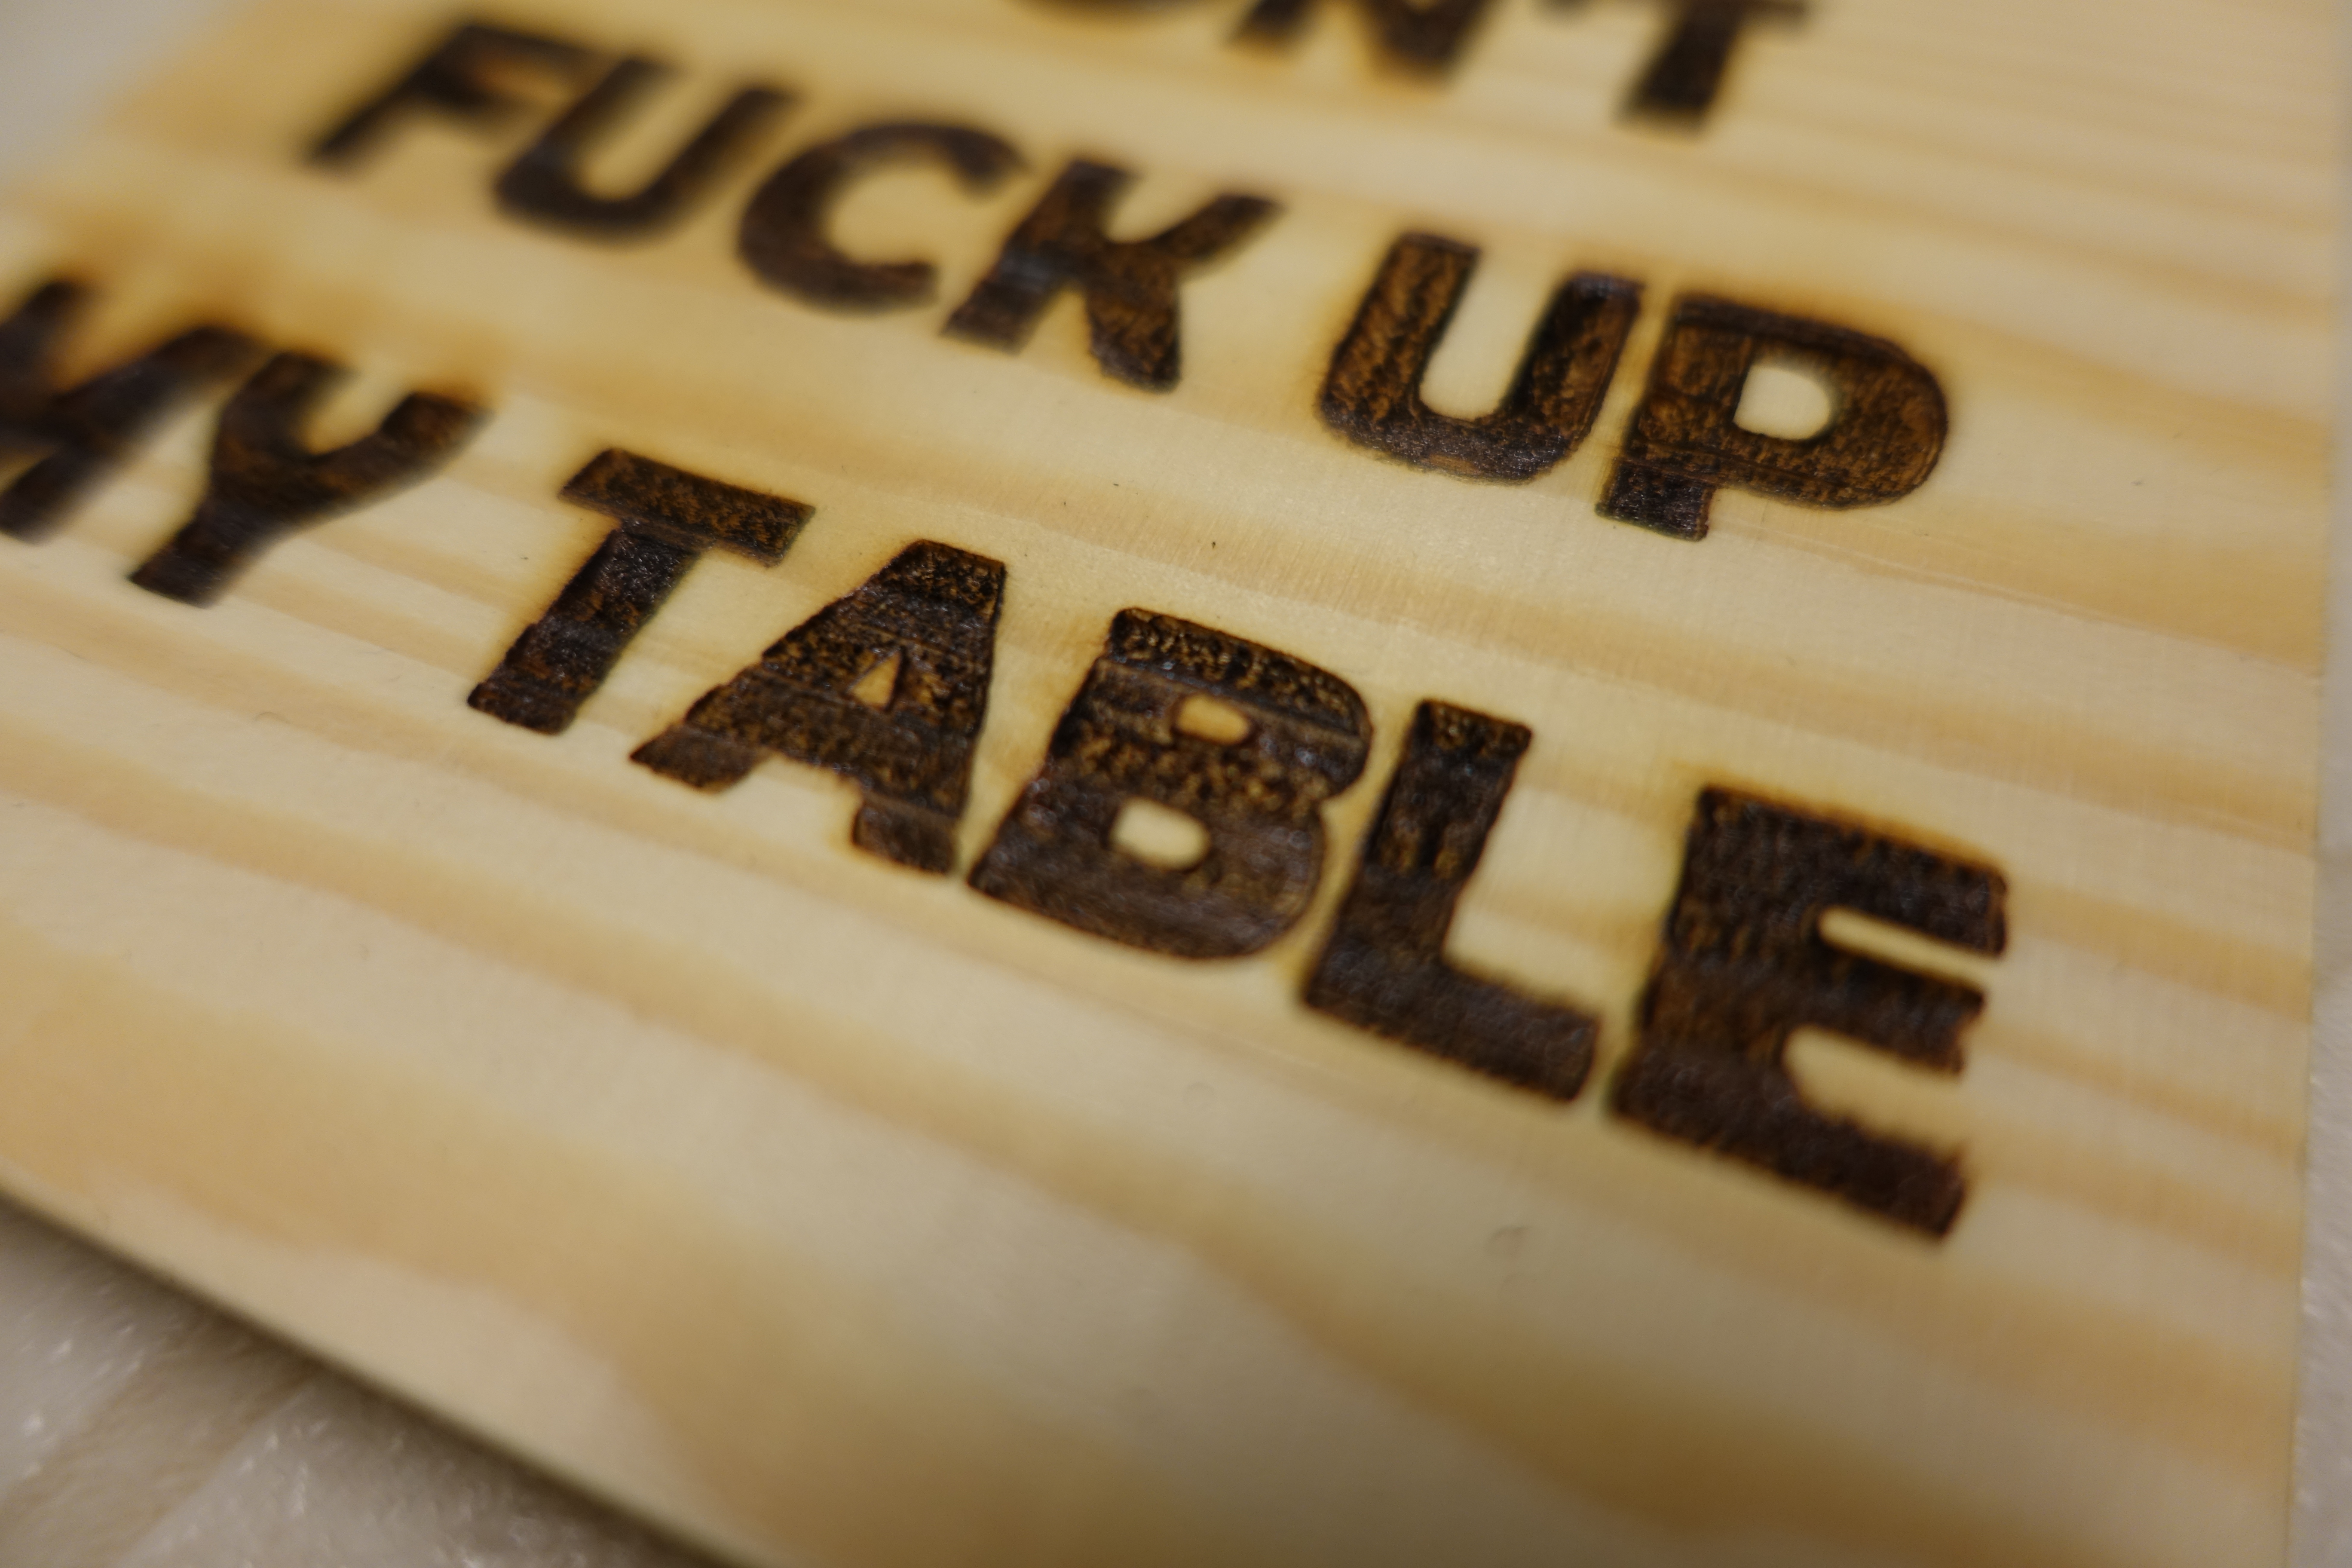
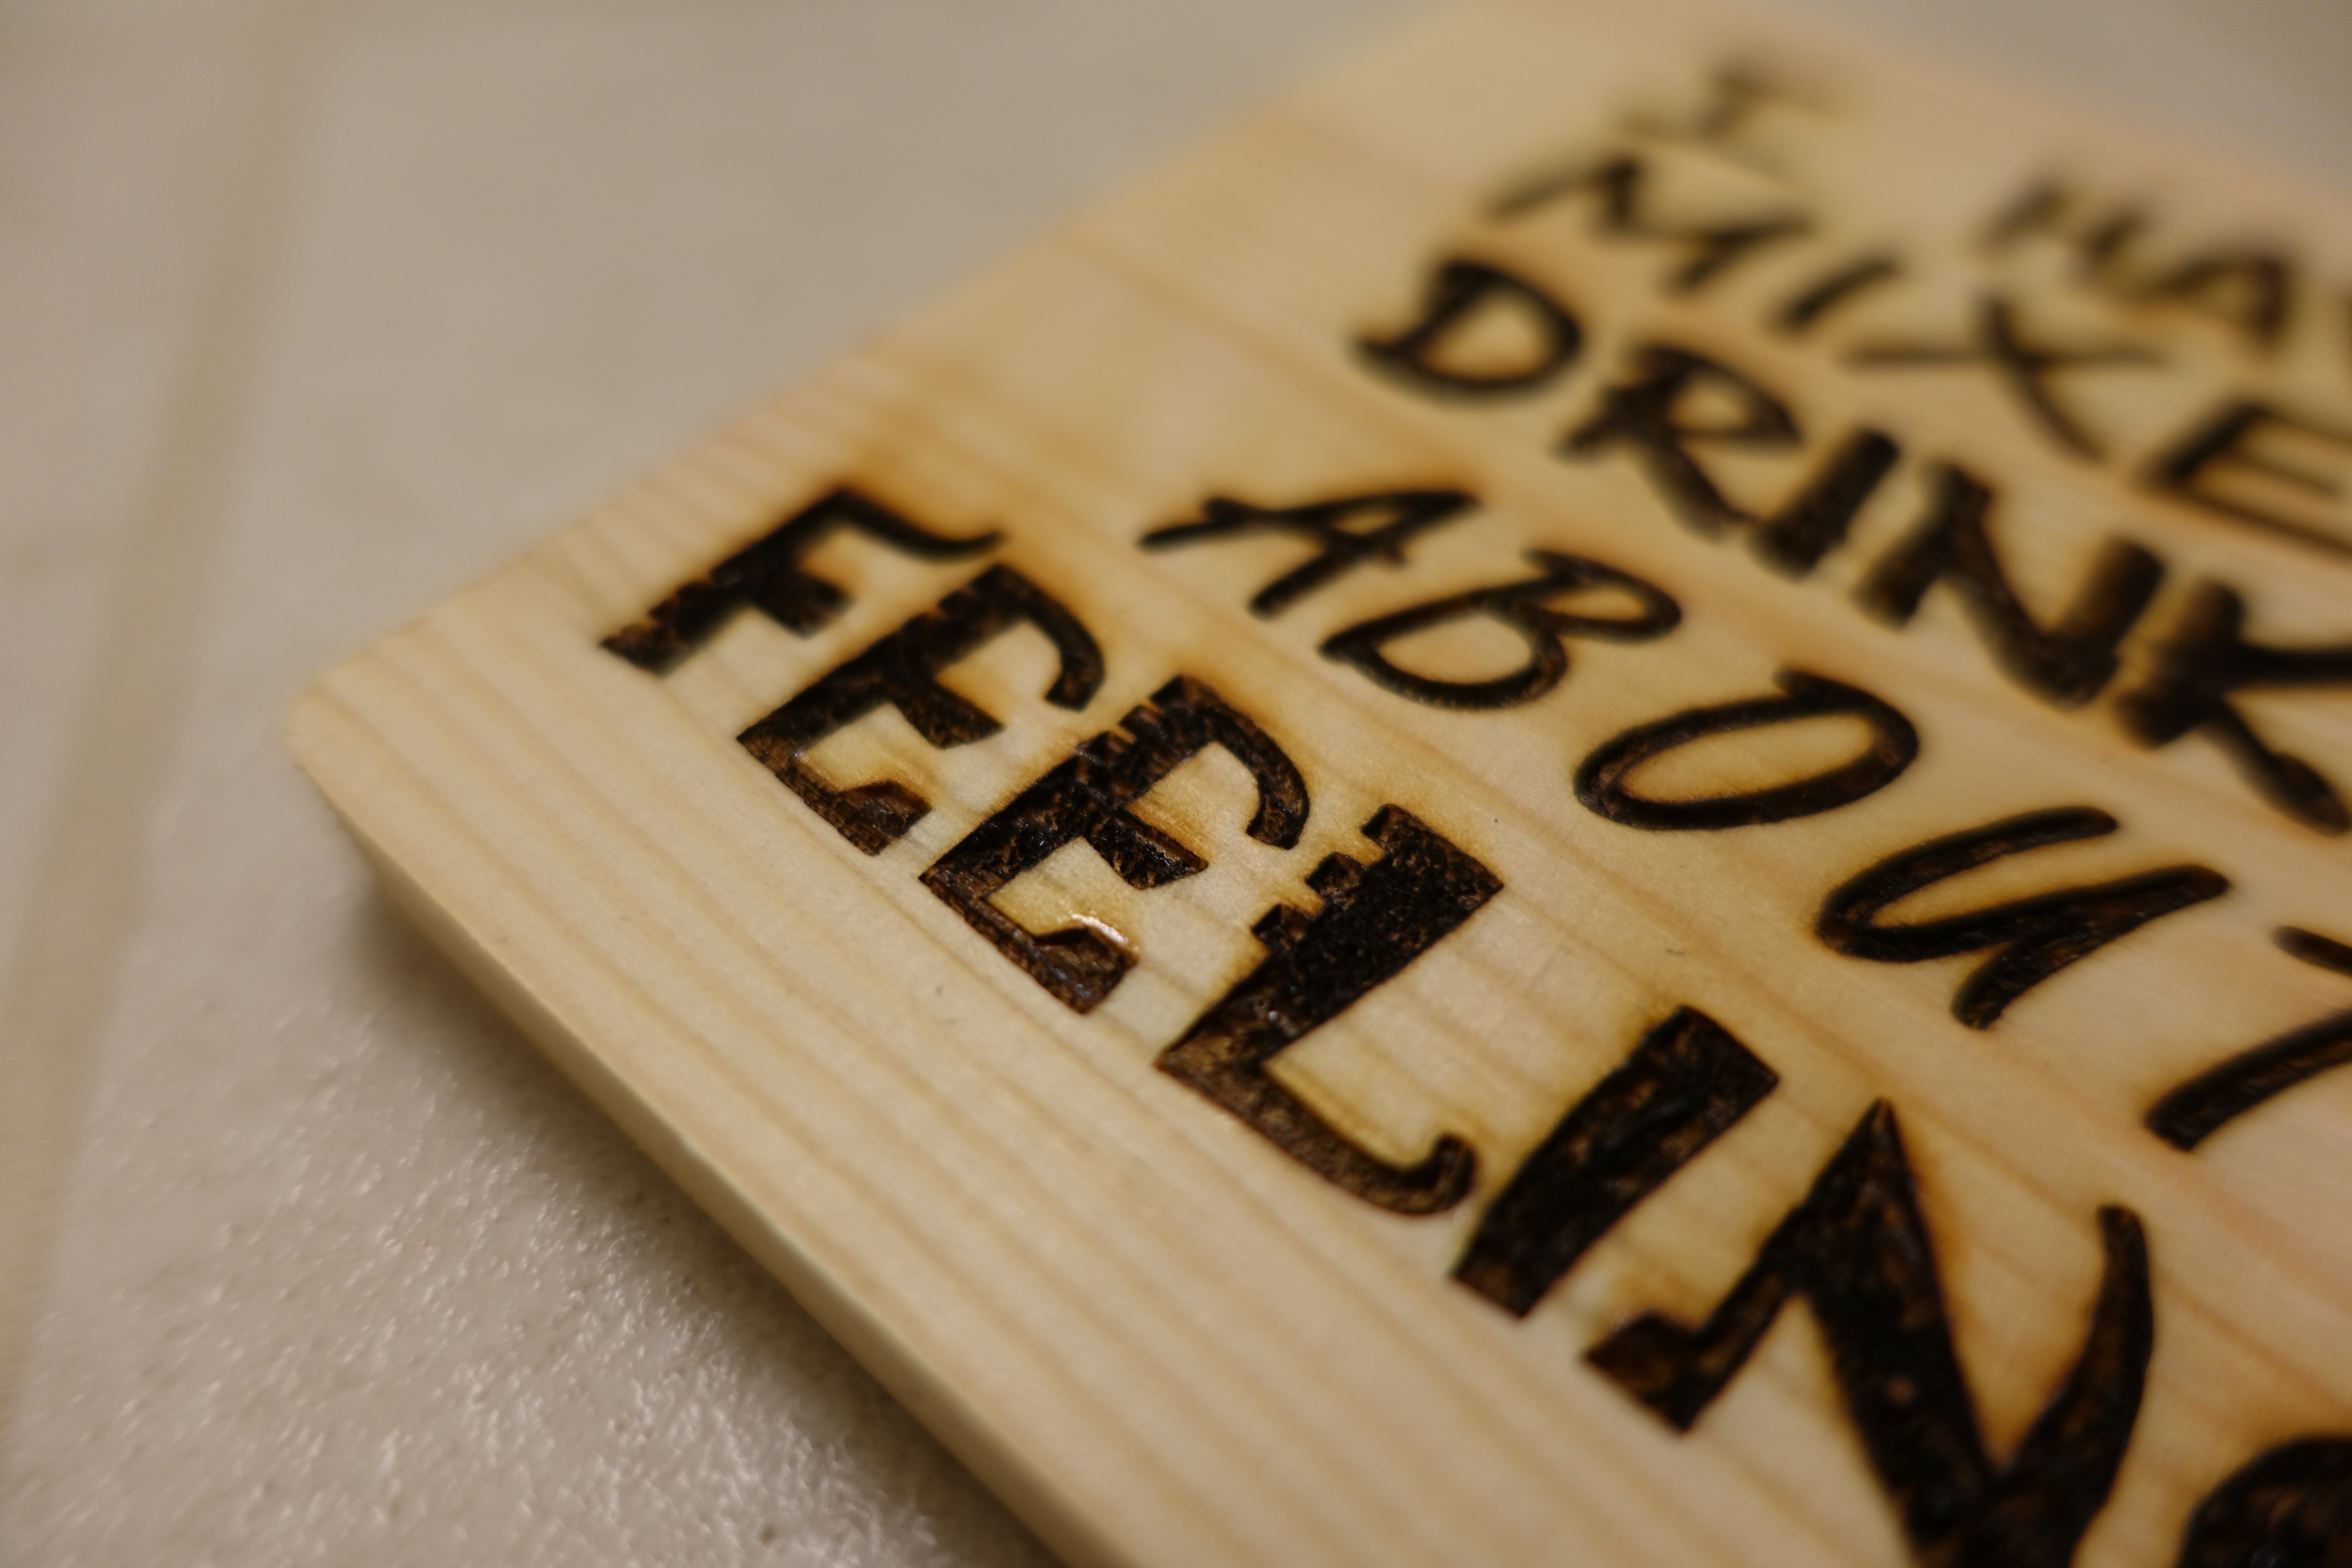
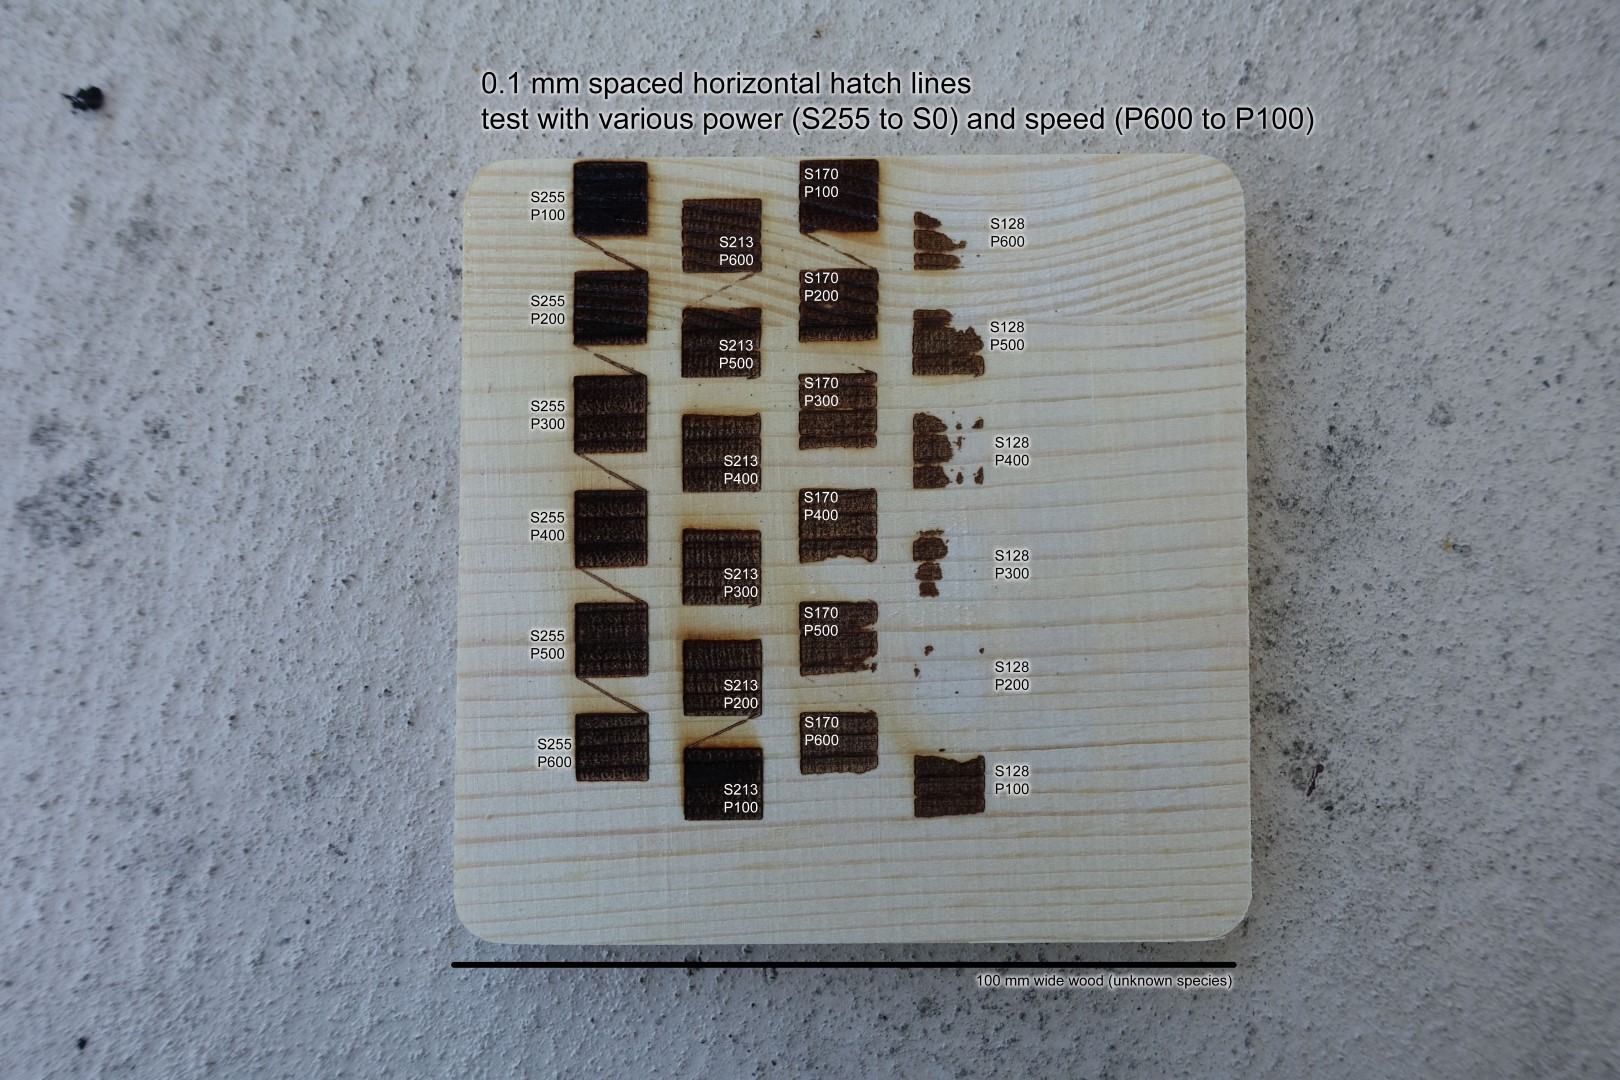
Depth of engrave in wood seems to depend on the grain of the wood. You might even like the way it looks. The pictures above show many tests done on wood. When a BMP file is used, the pixel darkness controls the laser brightness, but since wood and paper have a flashpoint, it might not look as nice when dark becomes very dark with no “grey” in between. The firmware is doing its job, but modulating laser brightness is just not the right way to solve this problem. In theory, variable spacing hatch lines or dithering the image should produce better results.
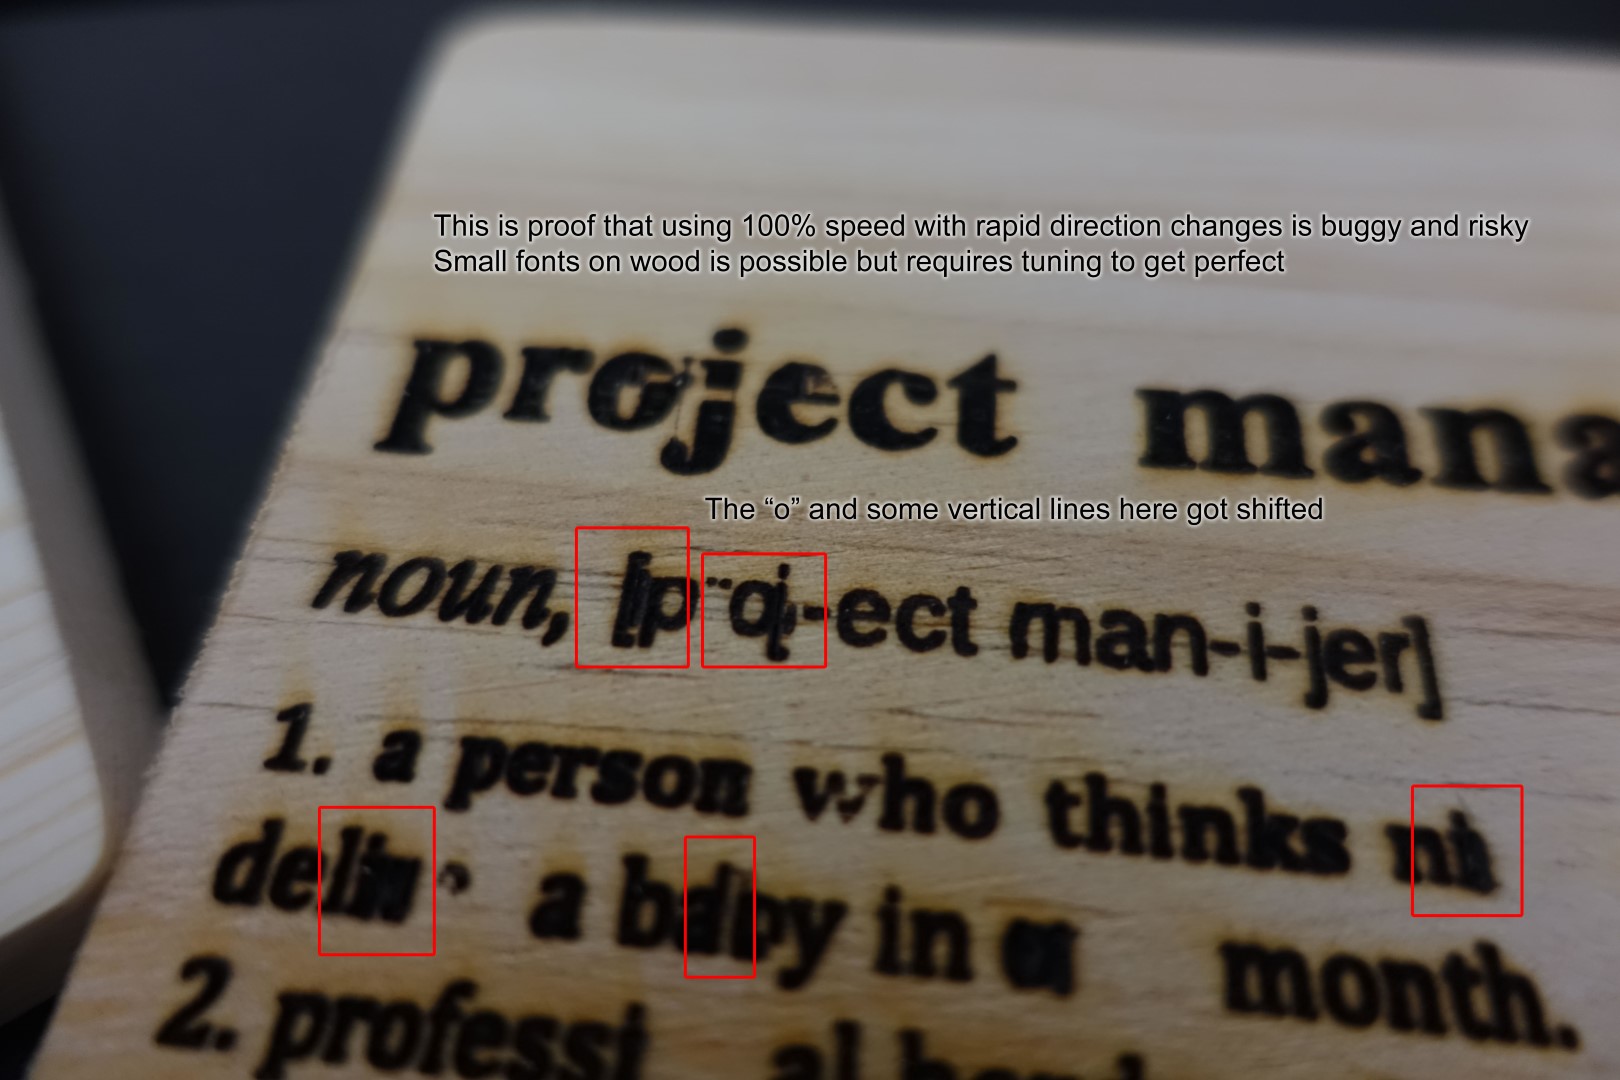
The 100% speed setting seems to have trouble sometimes. You could be etching some text and occasionally one letter will be misaligned. I highly suggest using 50% speed all the time. For the cheap wood I’m using, the speed of the operation has no real impact on the burn, just accuracy and reliability.
User Experience
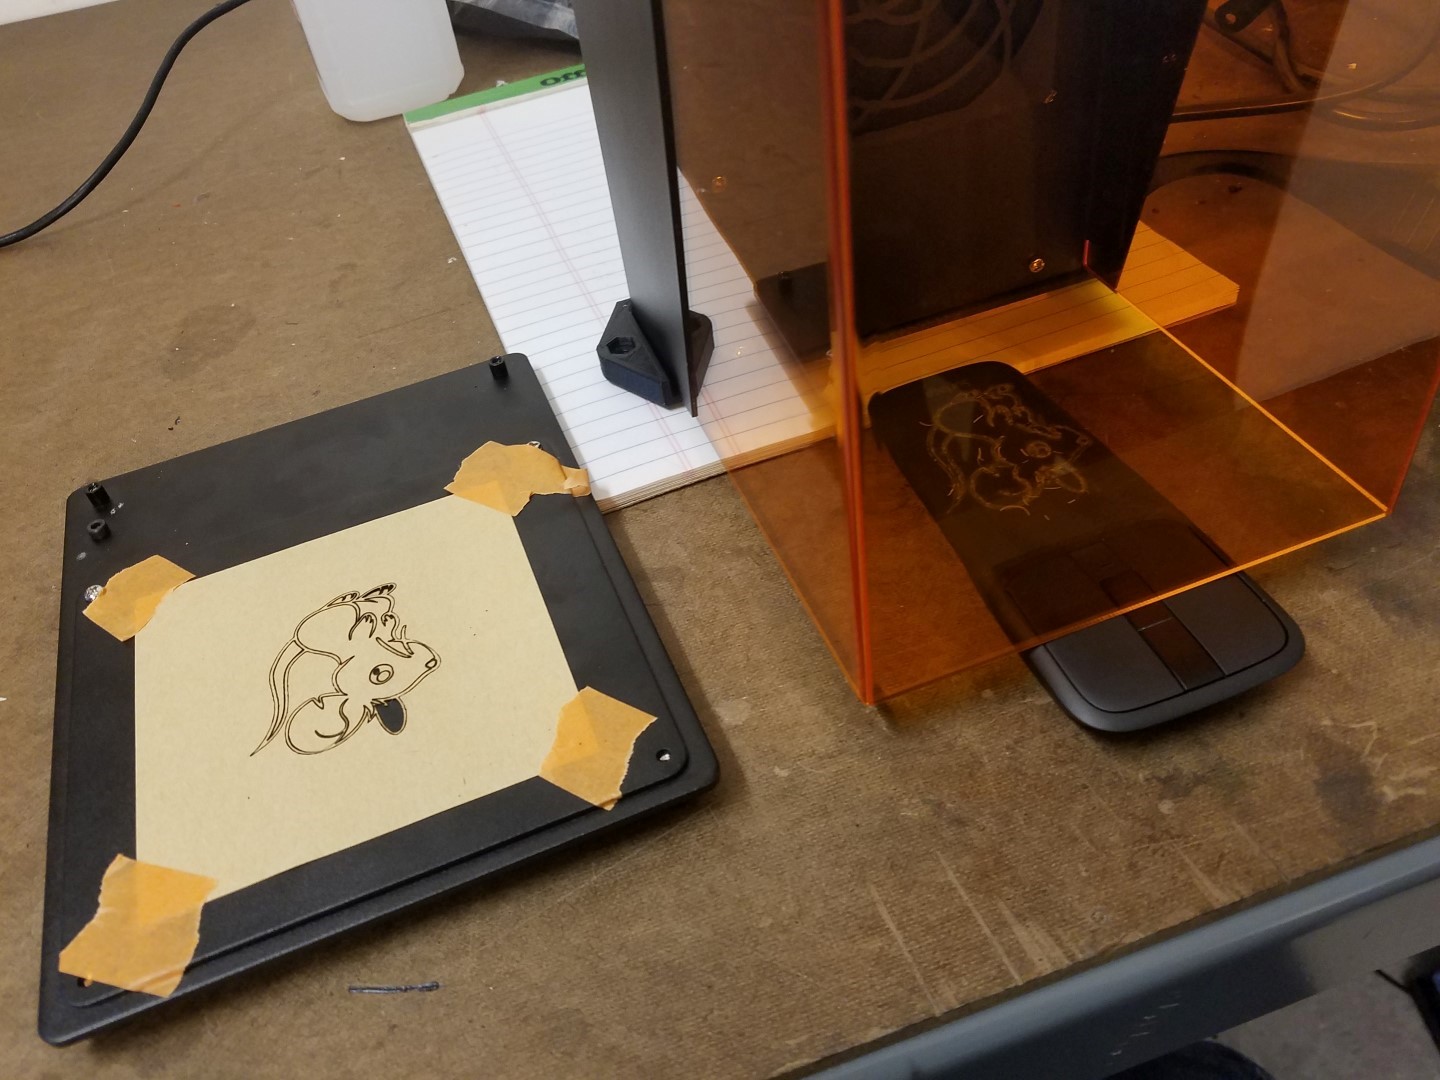
Centering your material is going to be a pain in the ass. First, as I said, the base plate slides a bit, this is mitigated by just always sliding it to a limit. The taller your material is, the smaller the drawing area is, so you need to either compensate or rig the material to be farther away. There’s no simple way to aim the laser, but I made my own Gcode files that simply draws the biggest square it can so the preview mode shows me the square edges to help me aim. Even then, the aim is only as good as your eyes.
With that said, it’s a good idea for every piece of art you want to do, also generate a separate Gcode file that only has a rectangle boundary. Preview the boundary first, because previewing the actual Gcode file will take hours, seriously (I’ll explain the software/firmware later).
The only options for fixturing is using tape, double sided tape is even better. If you are like me, you can 3D print fixtures too.
There is a centering function, a “jog” function from the app that can adjust the center point. If I started making fixtures, this might become useful, but right now I’m just using tape.
The fumes this thing generates makes it not suitable for indoor use. If you will be burning wood for an hour, that’s a lot of smoke. It does have a fan built into the shield with a filter but the filter doesn’t do much. I am running my unit on my balcony so I don’t trip my smoke detector.
Once you get used to the workflow, it’s not terrible. Repeating a job is not painful if you have a fixture. The safety code is kinda annoying but I do understand why they require it before any job starts. You are never going to be using this for production anyways, iterating on a design isn’t too bad either, just have to hit refresh on the SD card page of the app.
Software/Firmware
The way it works is that Gcode or BMP files are stored on a microSD card, your phone connects to Cubiio via BLE, and you choose a file to start.
You can do a preview run before you start, the laser will be at minimum power but you can see its path so you can position your material. For Gcode, it’ll just run all of your Gcode with minimum power during preview. For a BMP file, it’ll just run a rectangle outline during preview. The preview is slow! You cannot really visualize what the image will actually be, you can only really check boundary alignment.
You get to pick power and speed as a percent before you start actually engraving. For Gcode, it’ll start running your Gcode obviously, but for BMP files, it’ll simply scan the file line by line, if a pixel is dark, the laser is on, if a pixel is white, the laser is off. So for BMP files, it’s extremely slow and inefficient. My advise is to only use BMP files when you absolutely need to, otherwise, stick with vectorized art converted into Gcode.
There’s also an option to transfer images directly from your phone to the Cubiio. Do not use this, it’ll literally take half an hour just to transfer the file over BLE. Plus, all it is doing is converting it into a BMP file so it’ll be slow to etch.
The final way to etch is to use the touchscreen of your phone to draw… I guess it’s a good way to show off but I doubt you can get decent artwork on a phone screen. Maybe if you had an iPad sized device it’ll be more useful.
You can’t rename your Cubiio in the device list. There’s no option to auto-connect. The whole app is very bland, it feels rushed, even the error dialogs have that “not a full sentence” feeling. There’s no theme, no brand reinforcement.
You can start a job and disconnect, the laser will keep going. Current version of the app will crash when you go out of BLE range though… When it reconnects, it will still track progress but lose some information such as power and speed.
To generate Gcode, they provide instructions on how to install and use Inkscape along with a few plugins meant for lasers, plus a template file. It’s a pain in the ass. You will need multiple Inkscape windows open while you do this. You should not use the template file for anything other than positioning your art and generating the Gcode. If you delete the center mark from the template, the Gcode will be wrong. Generating hatch lines should be done in a separate file because it’ll try to hatch the center mark. The Gcode pathing algorithm isn’t optimized at all. Straight lines and circles are not recognized by the Gcode generator so you must manually convert them to a compound path first, if you miss one, you are screwed. Gcode generation is also obscenely slow.
There are a few annoying requirements that you’ll never realize unless you pay really close attention to instructions. Only file names that have 8 or less characters will ever show up, being somebody who doesn’t read manuals, I ran into this one… It wasn’t even in the manual, it was written beside just one step of using Inkscape. If your Gcode has anything that goes even slightly out of the 100mm x 100mm area, it’ll halt the job and give you an error. If you touch the power switch but not hold it down, your phone will still find the Cubiio but it won’t respond to any commands.
Overall, it’s not nearly as smooth of an experience as 3D printing or CNC milling (surprise!).
(remember when I said I have workarounds for problems? I’ve already edited the Inkscape extension to fix all of the problems above)
Other
If you can afford a Cubiio but don’t own a 3D printer, then go buy a 3D printer instead. If you really want a laser etcher but can’t afford Cubiio, then just know that you can buy a really basic one for under $100 from Aliexpress (half the cutting area though).
The Kickstarter is still shipping to backers right now, but it looks optimistic. I got what I expected, which is not much but I’m happy, even if I don’t praise it. It’s still a good way for me to make customized gifts for people I care about.
Michaels (the arts and crafts store) has a lot of prefabricated wooden plaques and stuff to etch, plenty of leather and fabric too.
Etching black things may not look as nice as you imagine, there’s not enough contrast. Wood or paper is much better at showing etchings. I see people have good luck with leather and denim fabric.
So far I’ve designed and 3D printed many two fixtures, a repair jig for my Cubiio’s microSD card slot, and a stand that defeated Cubiio’s safety features. I can find the world’s worst products and use it as an excuse to have some fun.
Hi ,
I could really use some help, I can’t find the app in english for my android phone. Do you have any idea where I can get it? (the one on google play is cubio.ro and t isn’t in english and doesn’t even look like it is for the Cubio.) I have emailed support and even the app developer and asked on the facebook page but nothing yet.
I would appreciate any help
Thanks
https://play.google.com/store/apps/details?id=com.muherz.cubiiobleremote&hl=en
You misspelt the name, the correct name is “Cubiio”
Hi Frank,
Thank you for your review. I have bought one and have had some fun but mostly frustration. As a computer code generating novice, would you be able to do a video using inkscape and converting a bmp into GCODE with the hatch feature?
Any help would be greatly appreciated.
Thanks,
Thanks a lot for your review! I just knew about the cube and was wondering about practical use. Will wait a better gadget.
Hi Frank
Thank you for your review. Can you recommend any other laser engraver for home use? Thank you
I have a Supercarver and find it is pretty much the same machine. I am wondering if anyone has reverse engineered to the point of using g-code or replacing the controller with an Arduino to enable g-code. Would make an interesting
I did not choose this one at that time because of security issues, and I did not choose the glowforge machine because of budget issues. I finally chose OMTech’s 40w laser engraver (https://omtechlaser.com/).