This post will describe the first few mods I’ve made to my Nomad 883 Pro CNC milling machine.
New Bed
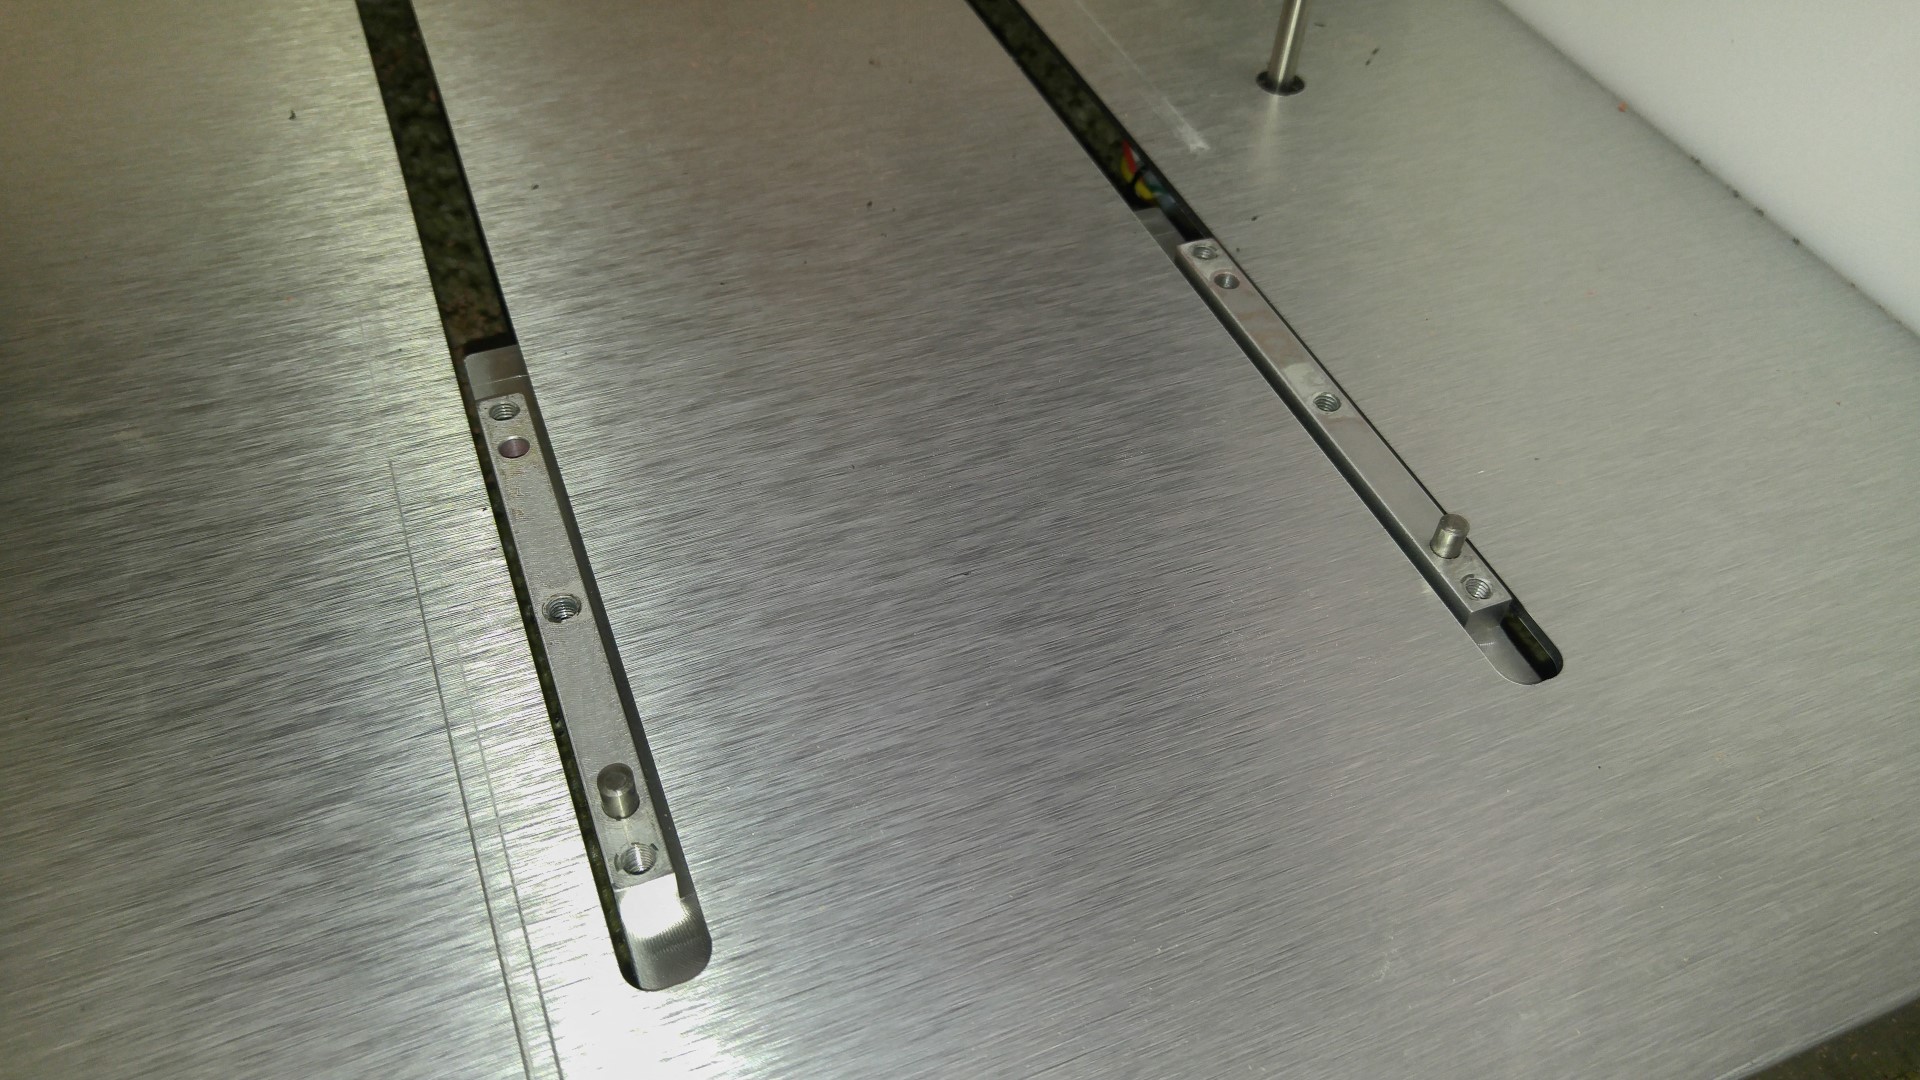
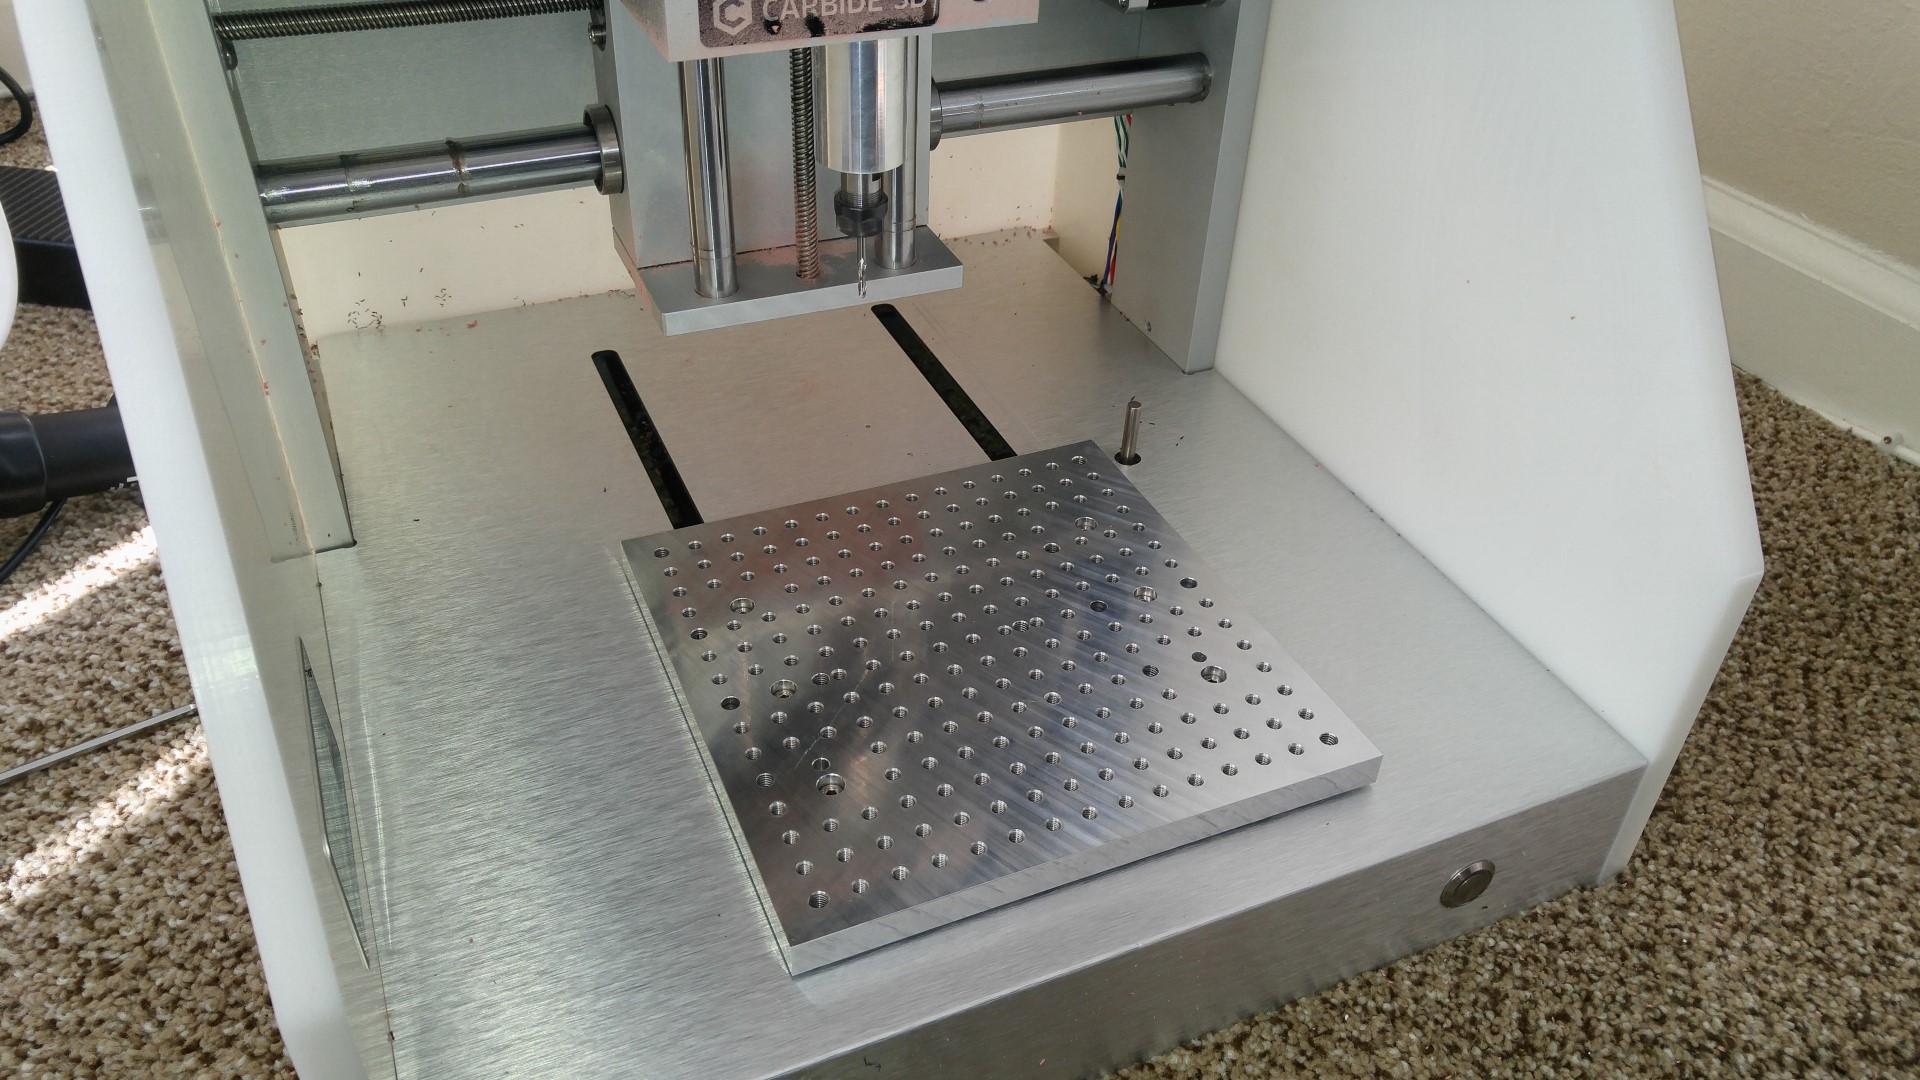
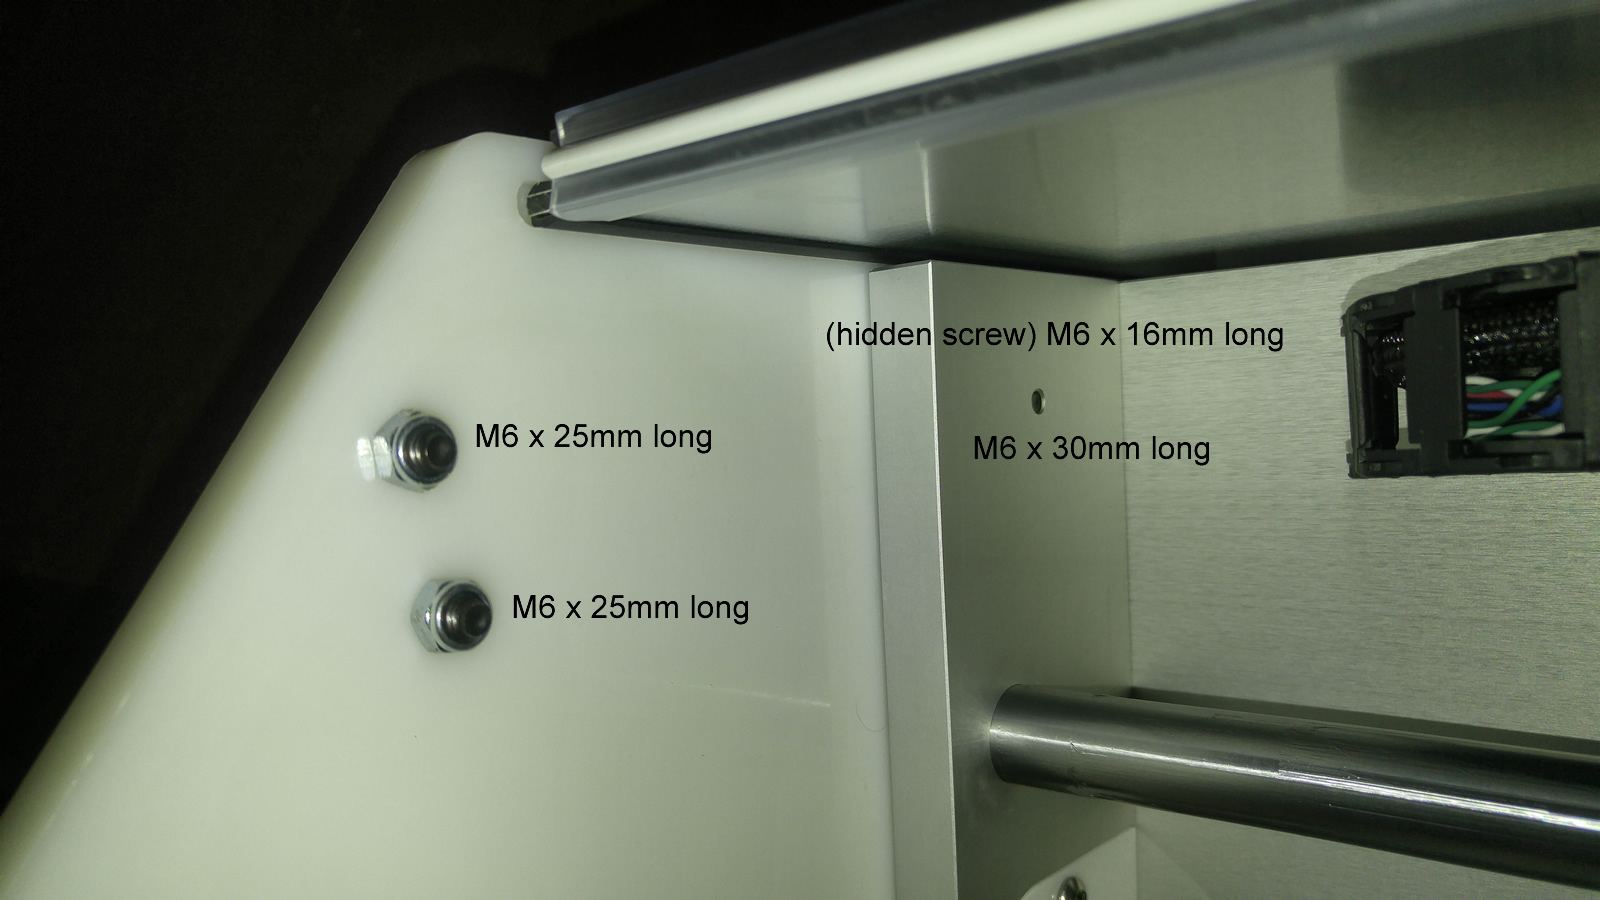
The stock Nomad 883 bed doesn’t have a lot of options for fixtures. It has 5 holes for spoilboards, a set of holes for the flip frame, and two more holes for the vice. I wanted something more flexible. A new friend from the Carbide 3D forum suggested I get this bed with a bunch of holes. Here are some pics of the old bed, the new bed, and the way it attaches to the Y carriage.
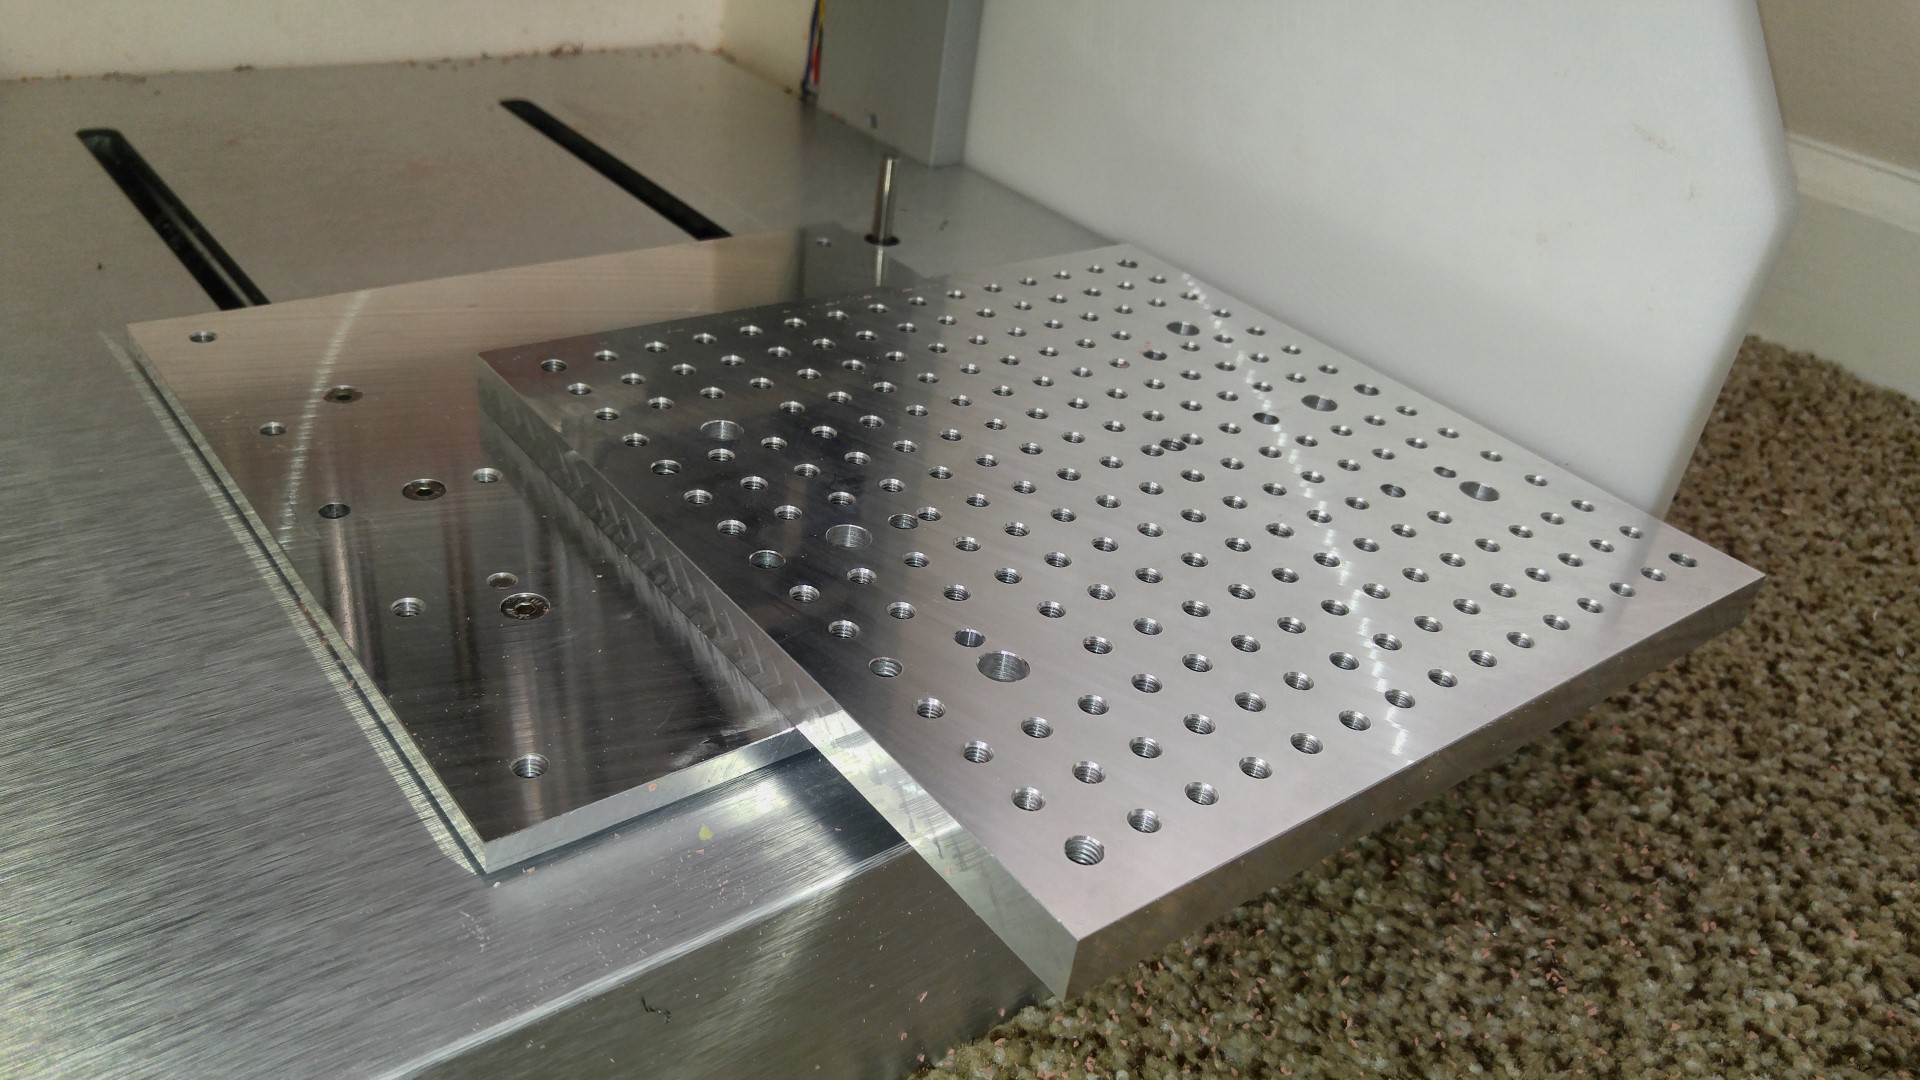
It’s slightly thicker by a quarter of an inch. This is kind of nice, because the shortest M6 screws (used to attach a spoilboard) is 12mm, which isn’t short enough. The thicker plate means 12mm long screws fit.
One of the holes wasn’t deburred properly (I think their deburring tool went dull and they got a new tool, but missed that hole), so I had to debur one hole myself. One of the holes that fit onto the carriage alignment pegs wasn’t big enough by a hair, I used a small round file to make it fit. Other than those two points, it’s pretty cool, and I got the combo deal that comes with a bunch of fixture pieces to screw into those holes.
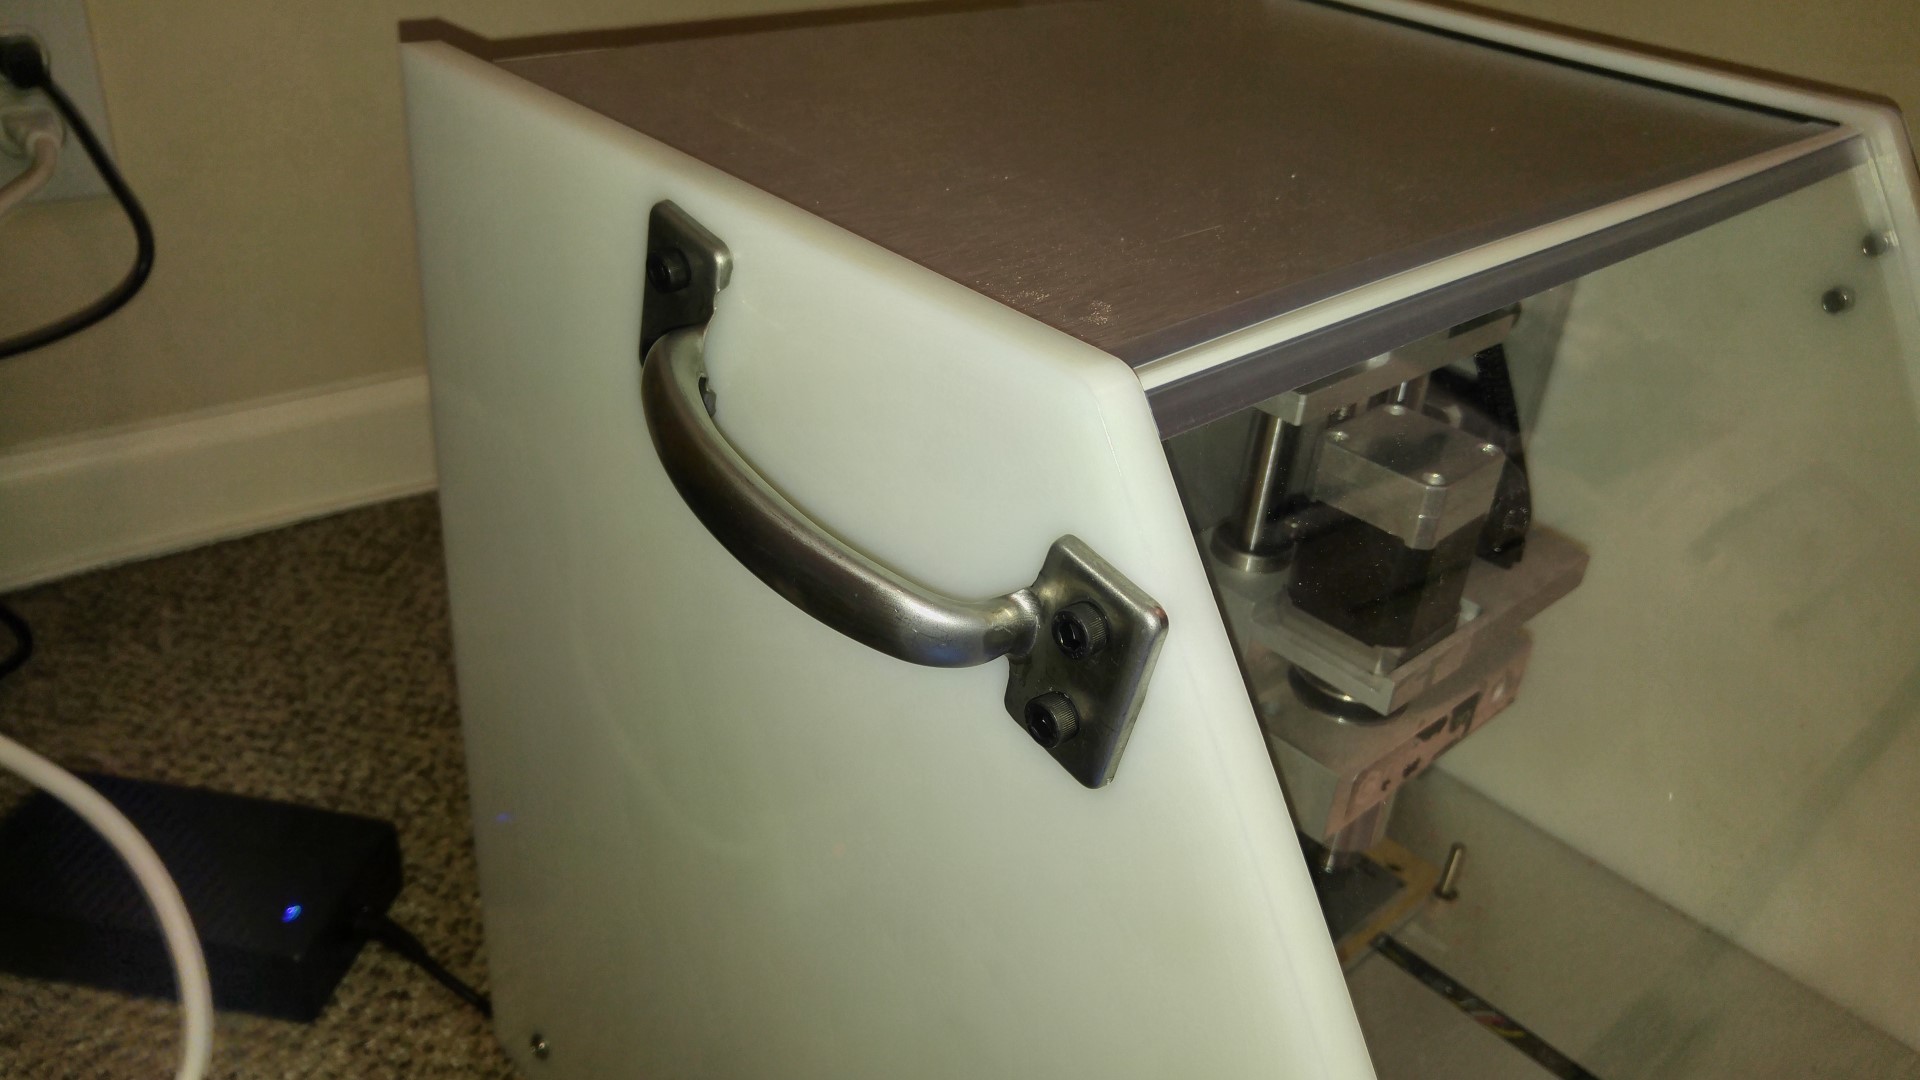
Handles
I added steel handles to the machine so it’s easier to move around. Trust me, it’s difficult to move the machine, especially for me, who is running it on carpet. Of course I didn’t want the HDPE panel to take the entire weight of the machine, so I attached the handle to the one place where the HDPE panel is screwed into the metal frame of the Nomad. To get the whole handle to fit, it’s slanted a bit. It might seem unbalanced but actually it feels fine when you are carrying it.
Coolant / Lubricant System
I’m not adding one. The machine isn’t exactly waterproof, there’s electronics underneath that’s kind of exposed. If you must use coolant and/or lubricant, check out what this guy did when he cut titanium on a Nomad, he made a “dam” to trap the liquid into one area.
LED Light Strips
I love my UM2’s LED lighting. I added similar light stripes to the Nomad, with some cheap dust proof strips (don’t want metal chips to cause short-circuits).
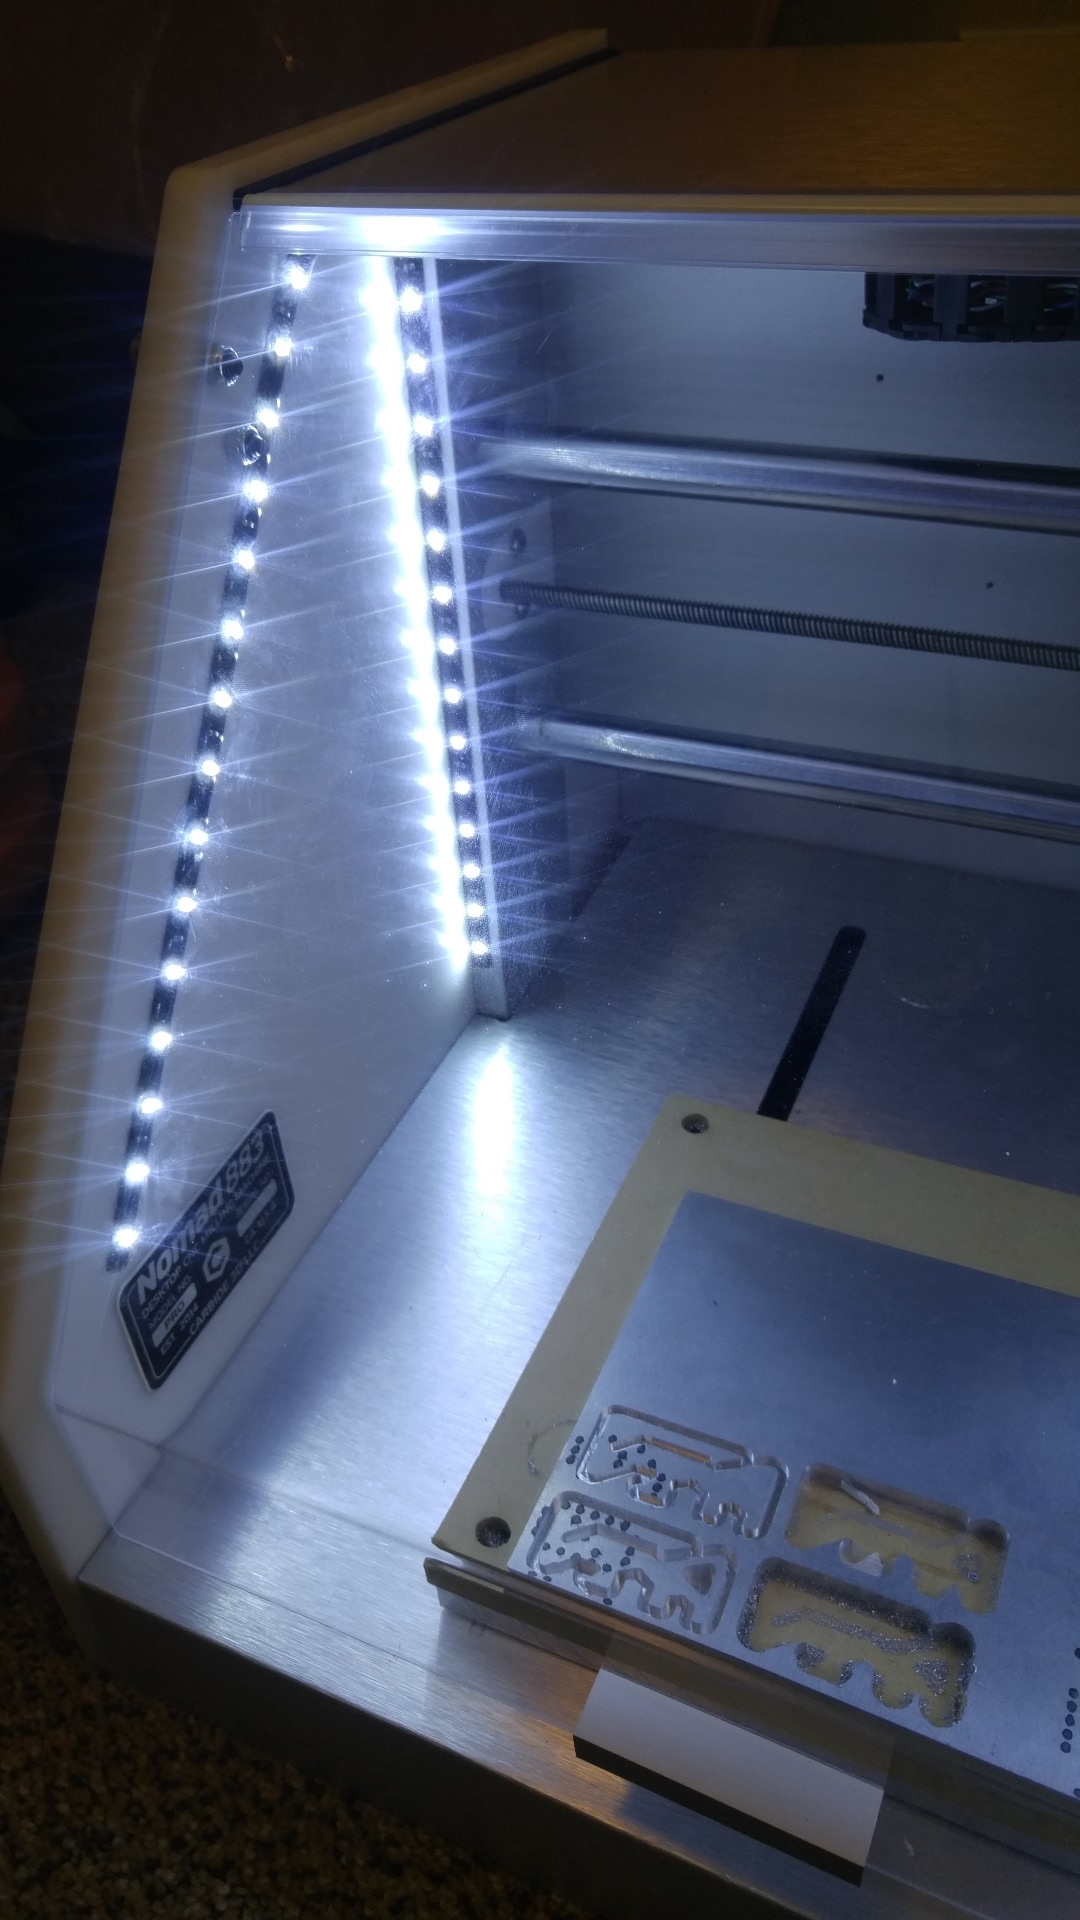
The LED stripes are powered off a 12V wall wart (I didn’t want to mess with the Nomad power at all). I built a small circuit that uses a MCU to PWM four MOSFETs to control the brightness of the LED strips. The circuit can control each strip independently, each strip can have one of three modes: off, medium, and full. The medium setting’s PWM duty cycle is set by a potentiometer voltage divider. I added a connector that accepts a trigger input so later, I can have the lights turn on or off according to if the machine is on or off. The circuit is protected by shrink wrap (I got lazy, this method is super fast). The entire circuit was made with things I already had.
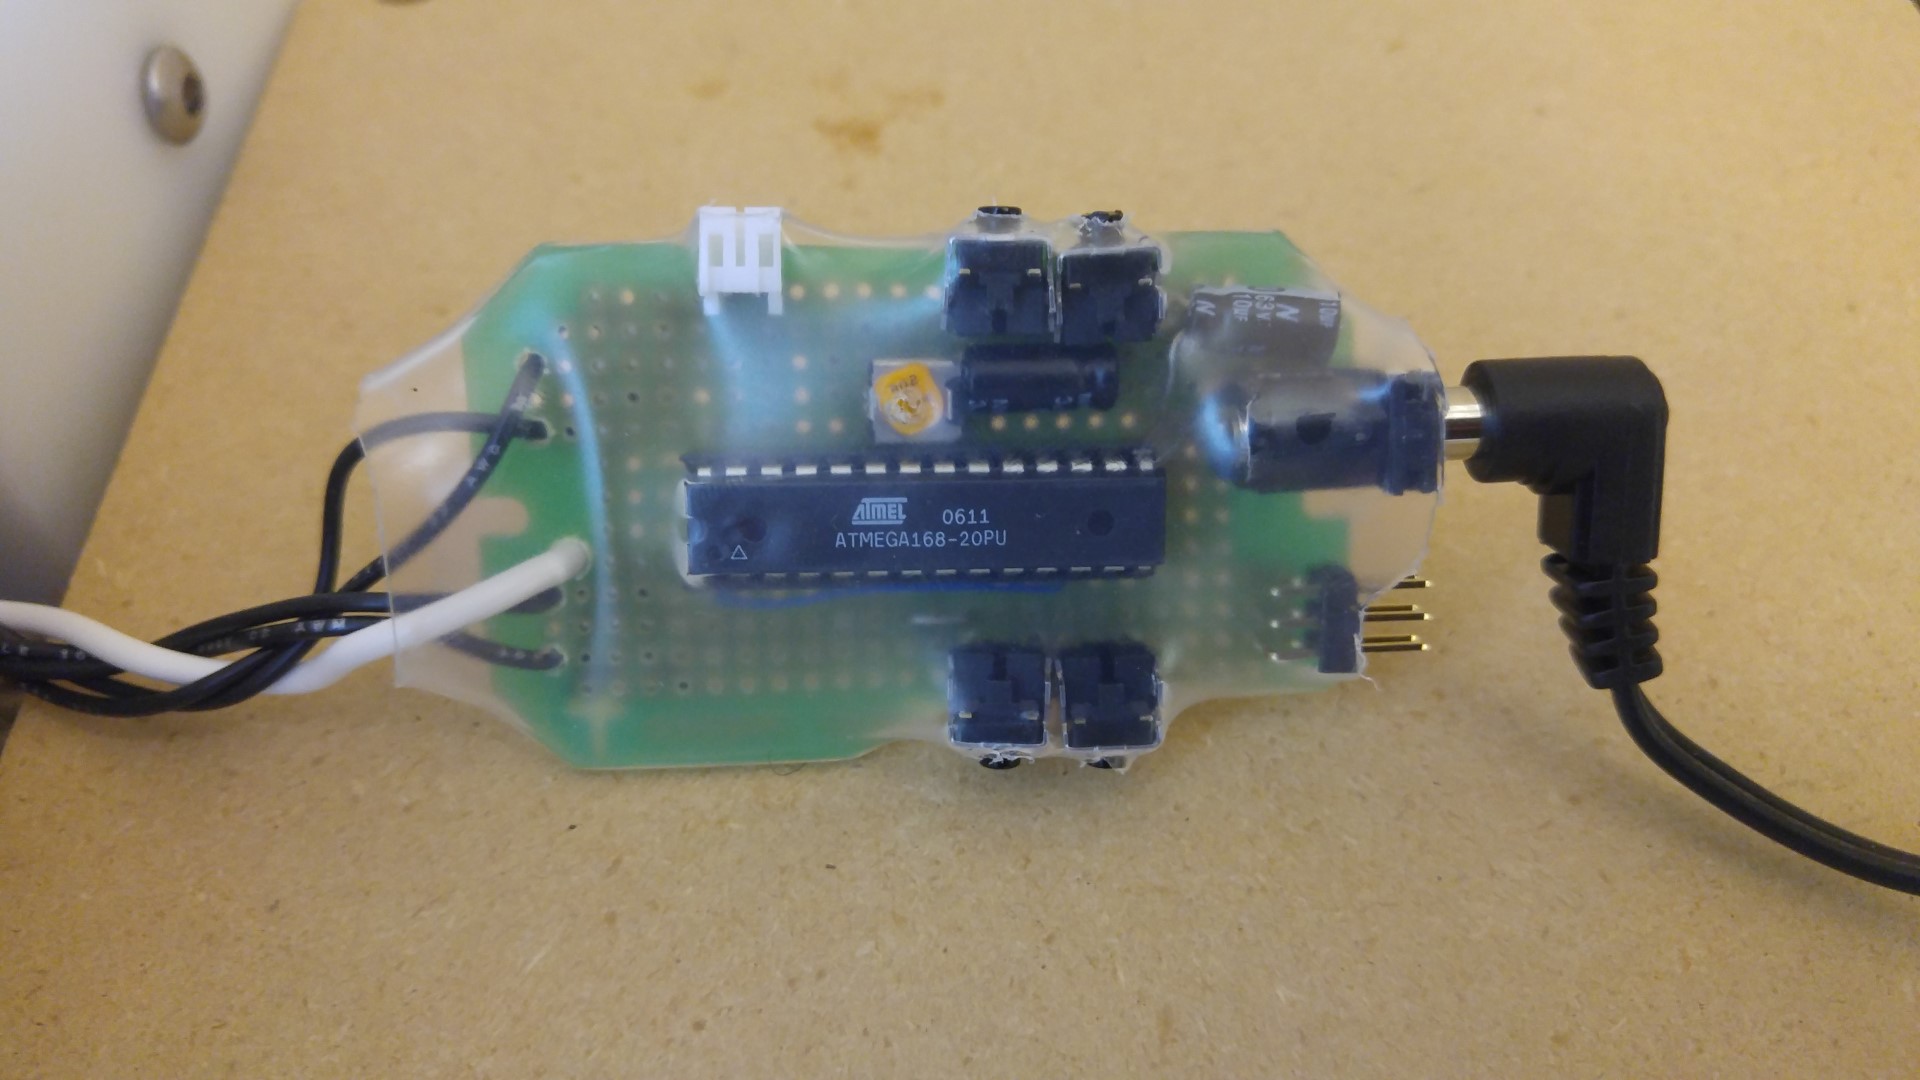
Most components were SMD and thus were on the back side of the board, the ugly side.
Hi Frank
Thanks (again) for this interesting post. Seems, we have a similar DNA: i’m also thinking about a private CNC mill, which can be operated in the home, and has still some capacity to do it’s job.
The whole arrangement remembers me somehow to the Ultimaker 2.
I’ll study this system carefully (and search for similar machines from Europe too).
I wish you happy milling (and enough time during the holidays to run it ;-D )
Kind regards
Paul Banziger